Do you have a question about the Pioneer PDP-506PU and is the answer not in the manual?
Detailed safety measures for technicians during repair work.
Guidelines for safe product handling and repair processes.
Procedures for optimizing product performance after repair.
Details about the packaging components and their arrangement.
Exploded view and parts list for the rear panel assembly.
Exploded view and parts list for the front panel assembly.
Exploded view of the main chassis components, part one of two.
Exploded view of the main chassis components, part two of two.
Exploded view and parts list for the PDP service assembly.
Diagram illustrating the interconnections between major functional blocks of the unit.
High-level block diagram showing the functional relationships within the system.
Block diagram for the 50 Address Assembly, detailing its internal components and signals.
Block diagrams for the 50 Scan A and B Assemblies, showing their internal signal flow.
Block diagrams for the 50 X Drive, SUS Clamp 1, and SUS Clamp 2 Assemblies.
Block diagram for the 50 Y Drive Assembly, illustrating its functional blocks and signal paths.
Block diagram for the HD Digital Assembly, showing its internal processing units and connections.
Block diagram for the HD Audio Assembly, detailing its audio processing components and connections.
Block diagram of the power supply unit, illustrating primary and secondary circuits.
Diagrams of various signal waveforms observed at different test points during operation.
Procedures for adjustments needed after replacing specific assemblies or parts.
Instructions for connecting the PC and special communication device for RS-232C control.
Details on the structure and protocol of RS-232C commands used for control.
Explanation of different types of RS-232C commands: simple-function, adjustment, setup, and quest.
List of RS-232C commands for controlling the microcomputer, with functions and remarks.
Details on acquiring panel status data, including resolution, generation, and model information.
Information on acquiring panel operation data such as mode shifts, PD data, and mask indications.
Procedure for acquiring miscellaneous panel data like serial number and hour meter readings.
Method for acquiring common panel adjustment data, including voltage and frequency settings.
Procedure for acquiring ABL/WB adjustment data and drive sequences.
Method for acquiring accumulated pulse counts for specific blocks from EEPROM.
Procedure for acquiring the latest power-down (PD) log data, including status and hour meter readings.
Procedure for acquiring shutdown (SD) log data, including sequence processor and MDU-IIC status.
Method for acquiring all input video signal data, including drive sequences and protection operations.
How picture quality functions like luminance and WB are affected by mask settings.
How panel protection functions like still picture detection are affected by mask settings.
Steps for copying adjustment data between EEPROMs when replacing the HD Digital Assy.
Procedure for initializing settings to factory presets using the PFS command.
Procedures for adjusting Vofs and Vyprst voltages after panel replacement using RS-232C or Factory Menu.
Steps for clearing historical data like hour meter, SD, and PD logs after panel replacement.
General overview of diagnostic procedures for the unit.
How to diagnose unit status based on LED patterns, PD, and SD counts.
Guide to accessing and navigating the panel factory mode for adjustments.
Details on specific mask settings and their corresponding drive sequences or values.
Steps for copying adjustment data between EEPROMs when replacing the HD Digital Assy.
Procedures for manual adjustment after HD Digital Assy replacement due to EEPROM issues.
Steps for clearing historical data like hour meter, SD, and PD when replacing the HD Digital Assy.
Detailed steps for clearing history data through the Factory Menu interface.
Instructions for removing the rear case of the unit, including screw locations.
Steps for removing and reattaching the front case assembly, including coupler alignment.
Instructions for removing the front chassis H assembly, including connector disconnection.
Steps for removing the SUS Clamp 1 and 2 assemblies, including panel holders and housing wire.
Instructions for removing the 50 Scan A and B assemblies, including PCB spacers and connectors.
A list of integrated circuits used in the unit, with their associated assemblies and part numbers.
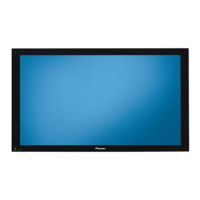
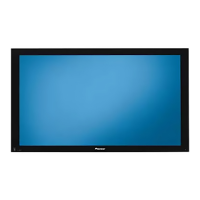
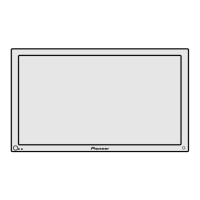
Diagram illustrating the front panel controls, indicators, and remote sensor.
Diagram showing the rear panel connectors, terminals, and AC input.
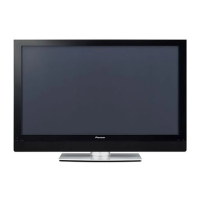
| Screen Size | 50 inches |
|---|---|
| Display Type | Plasma |
| Aspect Ratio | 16:9 |
| Contrast Ratio | 3000:1 |
| Viewing Angle | 160° |
| Brightness | 1100 cd/m² |
| Weight | 41 kg |
| Inputs | HDMI, Component, Composite, S-Video |