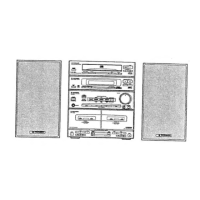
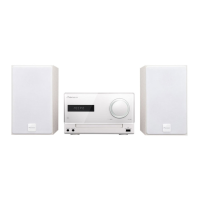
2Connecting Up Raccordement
13
En/Fr
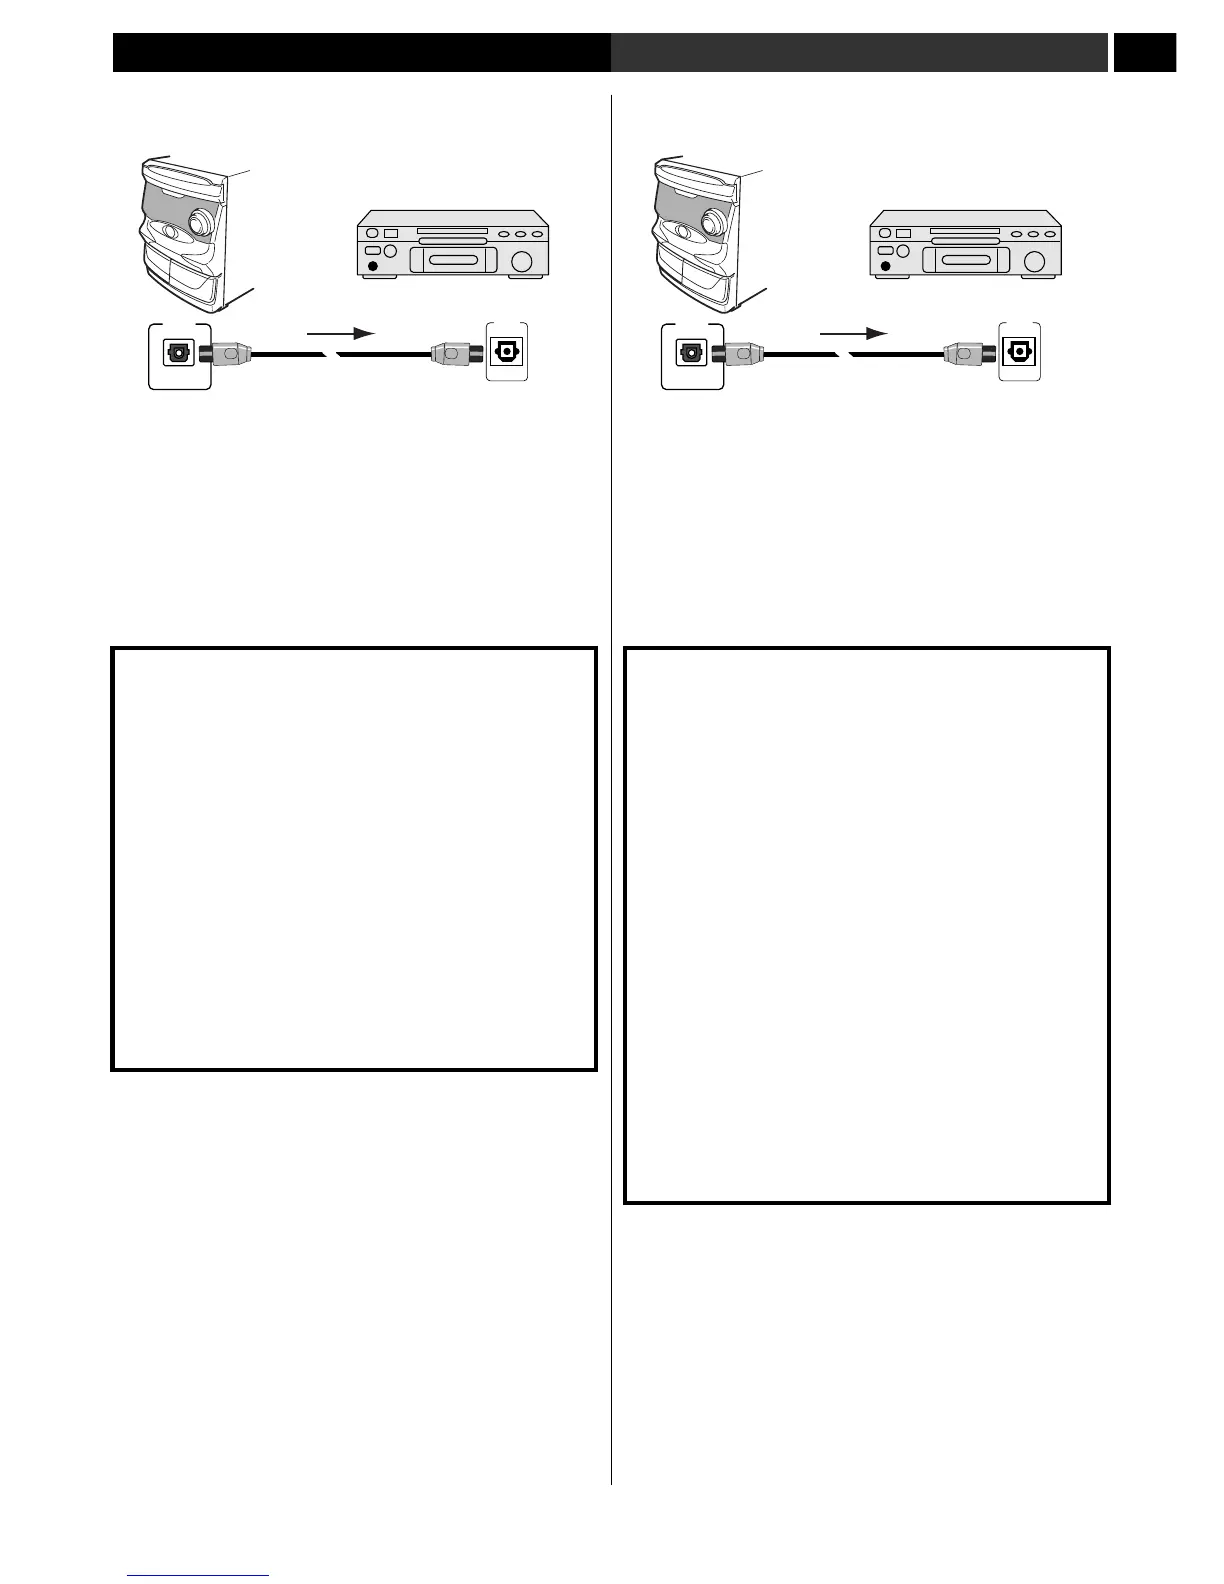
MD recorder, etc.
Optical digital
audio cable
Switching the demo mode on/
off
When you first plug in this system the display shows a demo
sequence. The demo will also start if the system is on but idle for
more than 5 minutes. The demo will stop if you press any button
on the main unit or the remote.
• To switch the demo mode off completely, press
and hold P.BASS (DEMO) (front panel only)
for 3 seconds while the demo is in progress.
• To switch the demo mode on, press and hold
P.BASS (DEMO) for 3 seconds while the system
is in standby.
Use an optical digital cord to connect a digital recorder or AV
amplifier using the OPTICAL OUT.
OPTICAL
DIGITAL OUT
OPTICAL
IN
Connecting the power
After making sure that everything is connected properly, plug in
the power cord to the AC INLET, and the other end to a main
power outlet.
Congratulations! You’re done setting up.
Activation/désactivation du
mode de démonstration
Au premier branchement de cette chaîne l’afficheur montre une
séquence de démonstration. La démonstration démarrera
également si la chaîne est allumée mais non sollicitée pendant
plus de 5 minutes. La démonstration s’arrêtera si vous appuyez sur
n’importe quelle touche de l’unité principale ou de la
télécommande.
• Pour désactiver complètement le mode de
démonstration, appuyez et maintenez enfoncé
P.BASS (DEMO) (panneau frontal uniquement)
pendant 3 secondes alors que la
démonstration est en cours.
• Pour activer le mode de démonstration,
appuyez et maintenez enfoncé P.BASS (DEMO)
pendant 3 secondes alors que la chaîne est en
mode d’attente.
Utilisez le cordon numérique optique pour raccorder un enregistreur
numérique ou un ampli AV en utilisant
OPTICAL OUT.
OPTICAL
DIGITAL OUT
OPTICAL
IN
Mettre sous tension
Après avoir vérifié tous les raccordements, branchez le cordon
d’alimentation dans AC INLET, et l’autre extrémité dans une
prise.
Félicitations ! L’installation est terminée.
Enregistreur MD etc.
Câble audio
numérique optique
 Loading...