ENGLISH
9
4.
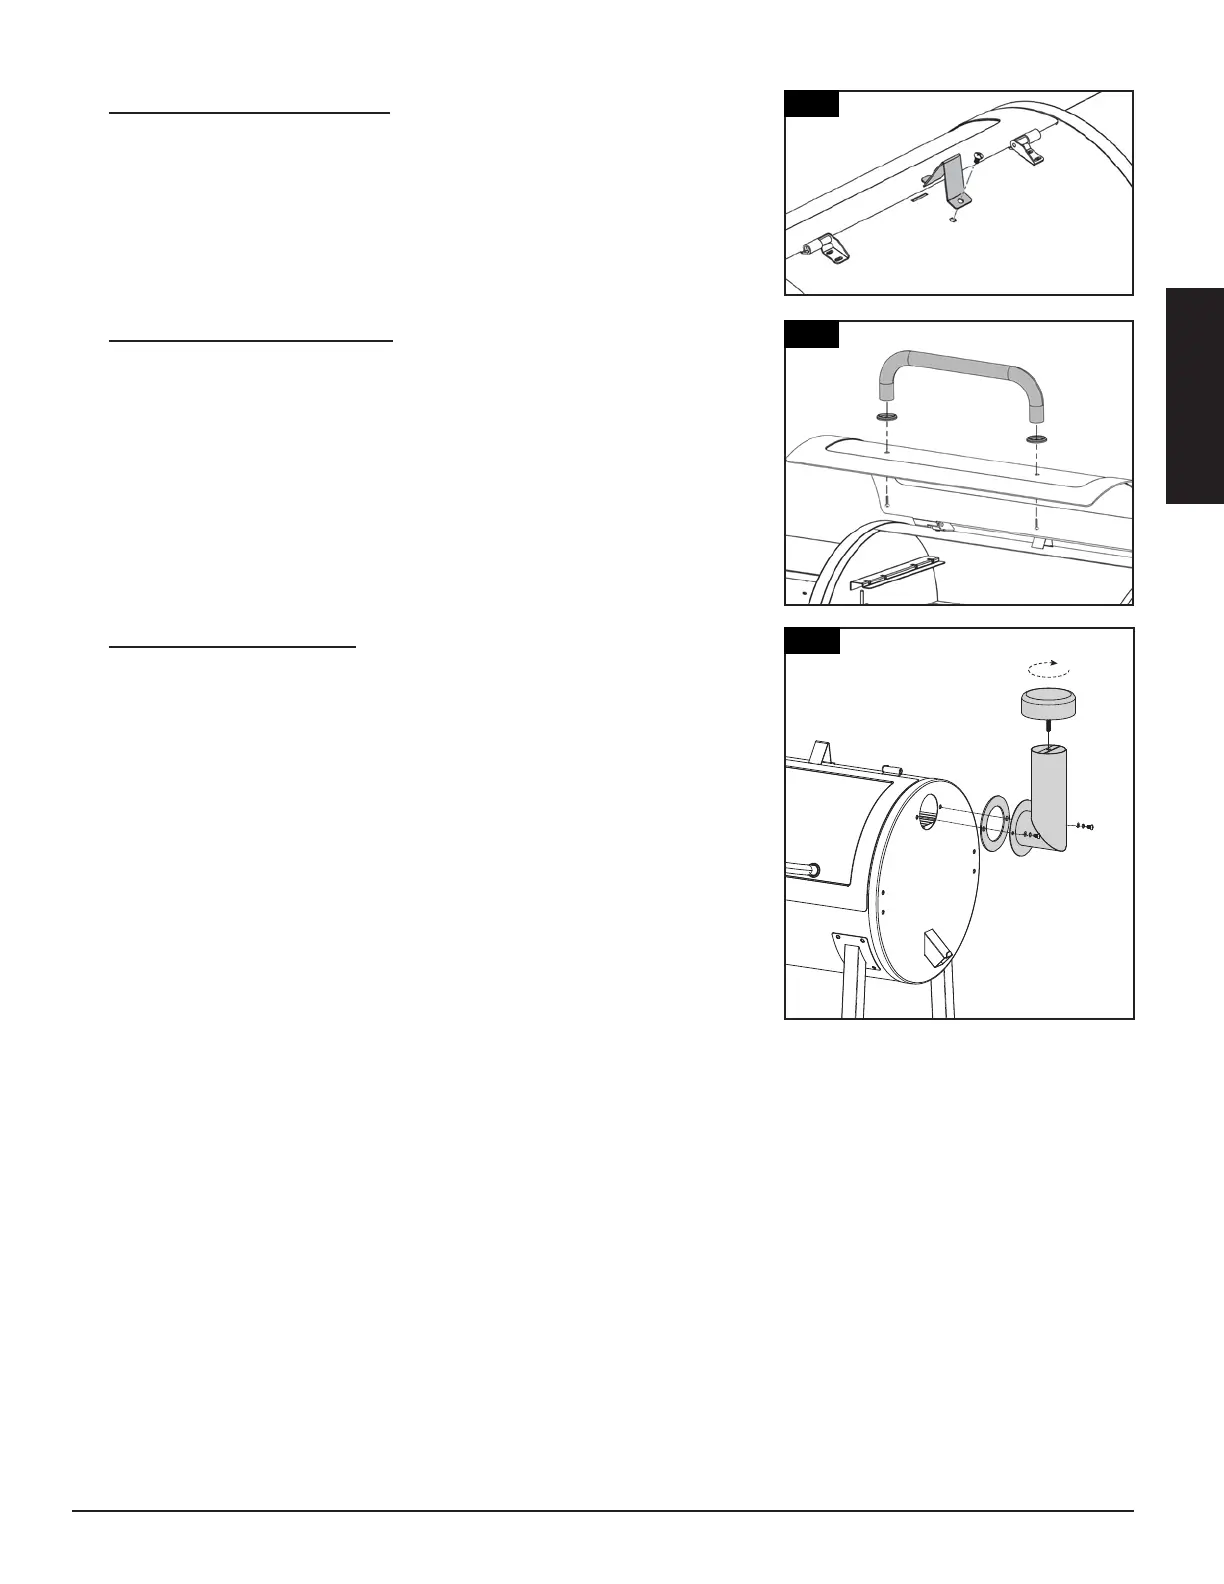
Parts Required:
1 x Ld Stopper (#9)
Installation:
Secure the Ld Stopper onto the top of the mn brrel usn the pre-
nstlled screw on the top of the mn brrel
5.
Parts Required:
1 x Ld Hndle (#10)
2 x Ld Hndle Bezel (#11)
Installation:
Remove the pre-nstlled screws from the Ld Hndle From nsde the
brrel ld, nsert one screw to protrude to the outsde Add bezel on
the screw, then hnd-thten the screw (from the nsde) nto the Ld
Hndle Repet sme nstllton for other end of Ld Hndle
6.
Parts Required:
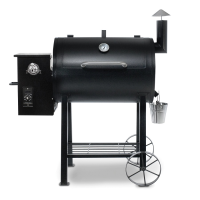
1 x Chmne Cp (#4)
1 x Chmne Stc (#5)
1 x Chmne Gset (#6)
2 x Screw (#A)
2 x Washer (#B)
2 x Locking Washer (#C)
Installation :
Locte the chmne openn on the sde of the Mn Brrel From the
outsde of the Mn Brrel, secure the Chmne Gset nd Chmne
Stc to the sde pnel usn two screws, locn wshers, nd
wshers The screw wll fsten to the pre-mounted nut on the nsde
of the brrel
Next, secure the Chmne Cp onto the top of the Chmne Stc s
shown
NOTE: Adjust the Chimney Cap to affect the airflow inside the main
grill. If cooking at low temperature, keep the cap more open. Ensure
the Chimney Cap allows for air to escape.
4
5
11
10
11
6
5
6
4
9



 To Next Page