EasyManua.ls Logo

Pit Boss PB1000SP User Manual

Pit Boss PB1000SP
24 pages
To Next Page IconTo Next Page
Page #1 background imageLoading...
Page #1 background image
5005166
MODEL / MODÈLE : PB1000SP
PART / PIÈCE : 10534, 10567
    
IMPORTANT, READ CAREFULLY, RETAIN FOR FUTURE
REFERENCE. MANUAL MUST BE READ BEFORE OPERATING!
      
IMPORTANT, PRENEZ CONNAISSANCE DE CE DOCUMENT ET
CONSERVEZ-LE POUR RÉFÉRENCE ULTÉRIEURE. VOUS DEVEZ
LIRE CE GUIDE AVANT D’UTILISER LE BARBECUE!
For outdoor nd household use onl Not for commercl use
Réservé à l'use extéreur et résdentel unquement Non destné à un use commercl
WARNING Plese red the entre mnul
before nstllton nd use of ths electrc,
pellet fuel-burnn pplnce Flure to
follow these nstructons could result
n propert dme, bodl nur or
even deth Contct locl buldn or fre
offcls bout restrctons nd nstllton
nspecton requrements n our re
AVERTISSEMENT  Veullez lre l’ntérlté
du mnuel vnt l’nstllton et
l’utlston de cet pprel électronque 
rnules Le non-respect de ces nstructons
peut entrîner des dommes ux
bens, des blessures ou même l mort
Communquez vec les utortés locles
en mtère d’ncende et de btment
concernnt les restrctons et les exences
d’nstllton dns votre réon
 
  
Question and Answer IconNeed help?

Do you have a question about the Pit Boss PB1000SP and is the answer not in the manual?

Pit Boss PB1000SP Specifications

General IconGeneral
Grill CategoryPellet Grill
TypeFreestanding
Temperature Range180°F to 500°F
Hopper Capacity20 lbs
Fuel TypeWood Pellets
MaterialSteel
Warranty5 Years
Cooking Area1000 sq. in.
IgnitionElectric

Summary

Assembly Preparation

Pre-Assembly Checks and Recommendations

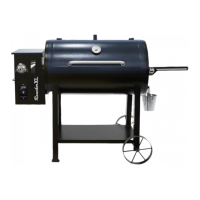
Inspect parts, discard packaging, note tools needed, and consider two-person assembly.

Assembly Instructions

Mounting The Wheels To The Legs

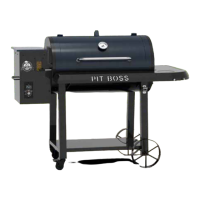
Attaching the four locking caster wheels to the support legs.

Assembling The Cart

Connecting the bottom shelf to the support legs using screws and washers.

Mounting The Cart Panels

Attaching the back and side panels to the cart frame.

Installing The Cart To The Barrel

Connecting the assembled cart structure to the main grill barrel.

Securing The Door Stopper, Door Magnet

Installing the door stopper and door magnet for cabinet doors.

Attaching And Mounting Cabinet Doors

Mounting cabinet door handles and attaching the doors to the cart.

Attaching The Lid Handle

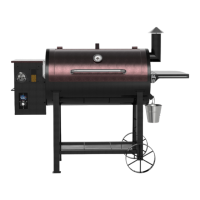
Mounting the handle onto the main grill lid.

Securing The Lid Stopper

Installing the lid stopper to the top of the main barrel.

Mounting The Side Shelf Handle & Serving Tray

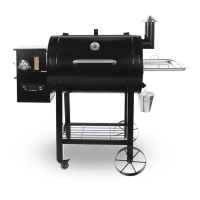
Attaching the side shelf handle and placing the serving tray.

Installing The Grease Tray

Mounting the grease tray and its handle to the unit.

Securing The Chimney

Attaching the chimney stack and cap to the main barrel.

Installing The Bottle Opener

Mounting the bottle opener accessory to the side of the hopper.

Installing The Cooking Components

Placing the diffuser plate, flame broiler parts, cooking grids, and upper rack.

Connecting To A Power Source

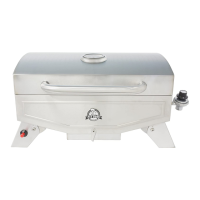
Details on electrical requirements, outlet types, and power considerations.

Important Information and Support

Product Return and Contact Policy

Instructions not to return product to store, and contact information for support.

California Proposition 65 Warnings

Warnings regarding exposure to chemicals like wood dust and carbon monoxide.
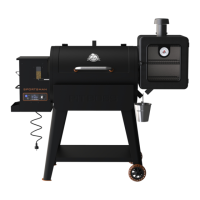
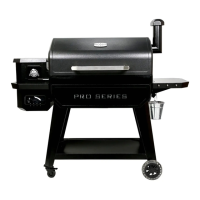
Related product manuals