Got questions? We’ve got answers! 4 Call 800-358-4983
Floor Setup
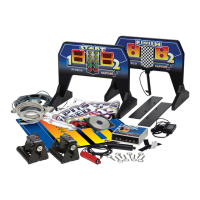
1. At the start and finish ends of the track location, fasten
the black ABS line anchors to the floor with duct tape
(Figure 2).
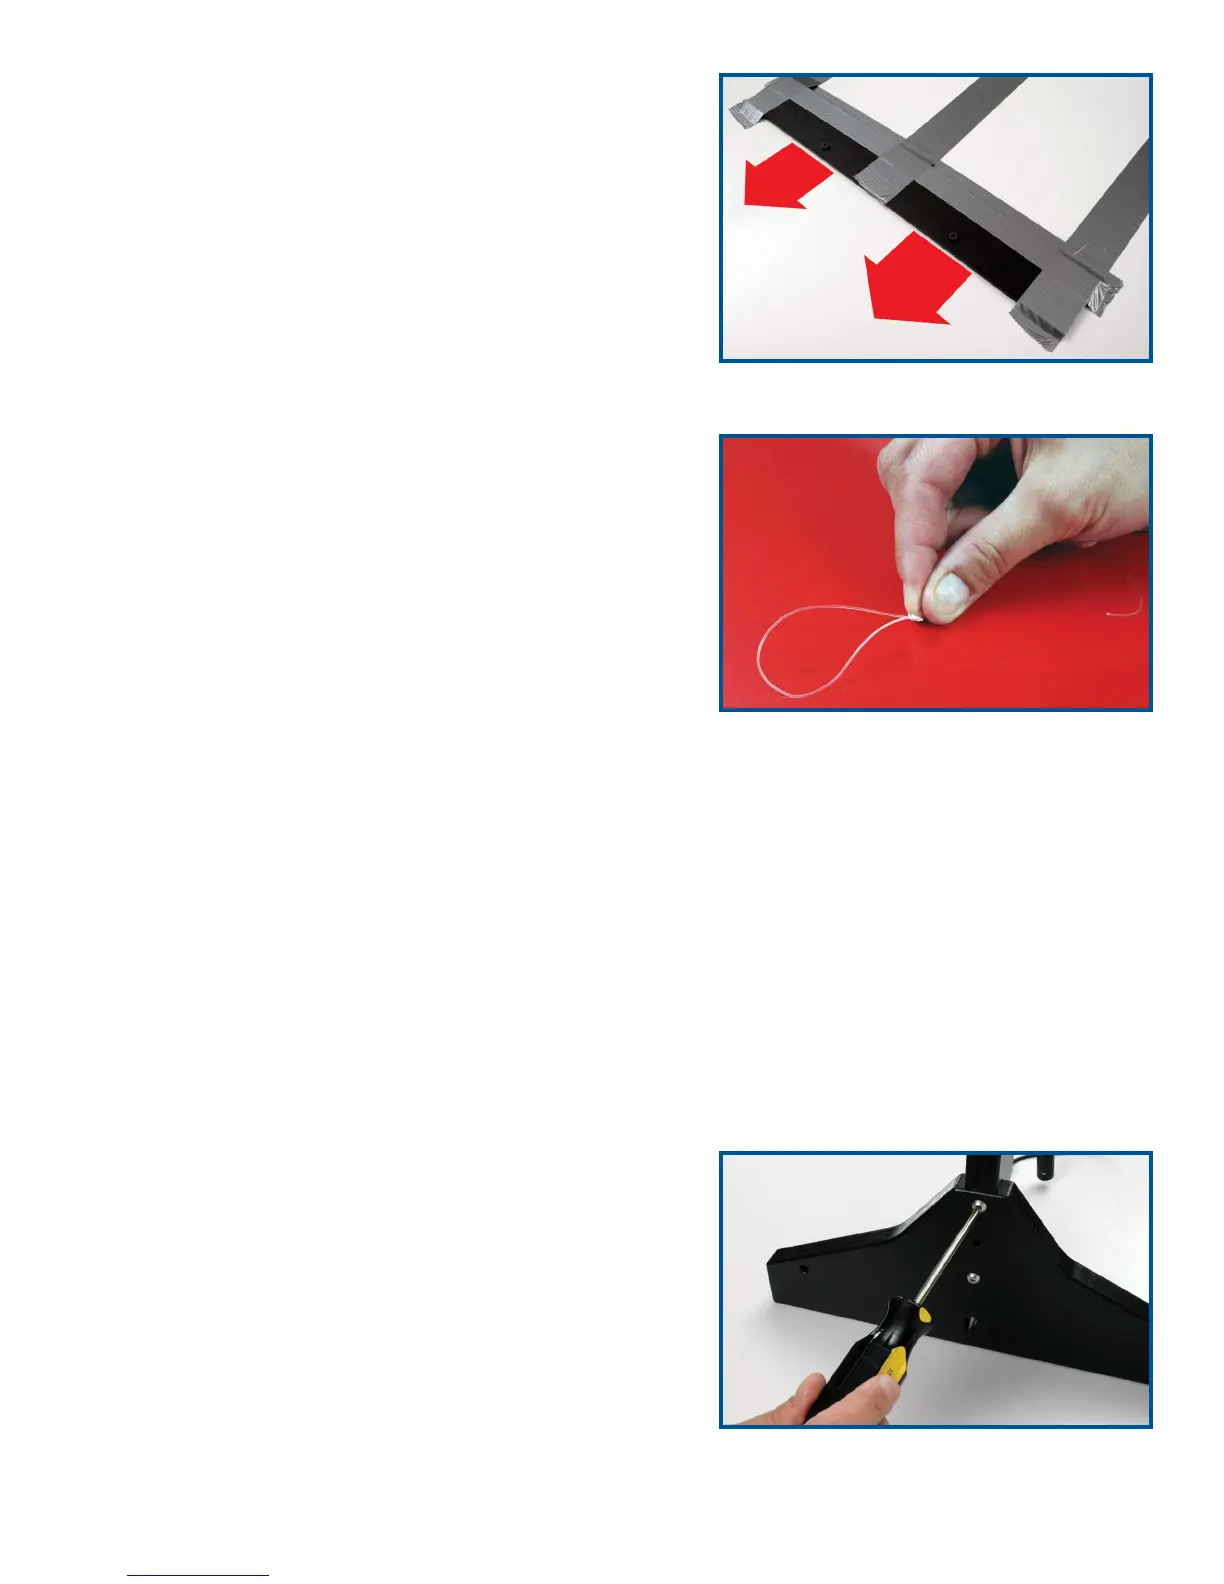
2. Locate the spool of monofilament line. Tie a loop in the
end of the line – use a knot such as the overhand or
figure eight (Figure 3).
3. Hook the loop over one of the anchor screws on the
ABS line anchor.
4. Walk to the opposite end of the track, allowing the line
to unreel from the spool as you go. Extend the line just
past the anchor and cut it.
5. Tie a loop at this end of the line using the overhand or
figure eight knot so the loop is approximately 24 inches
short of reaching the anchor screw. For example, if the
track is 80 feet long, tie a loop in the line so the length
of the line plus the loop is 78 feet long. The line should
be tightly stretched. A tight line should prevent cars
from going off course as they race down the track. Cut
off any excess line extending from the loop’s knot.
Note: If your track is shorter than 80 feet, 24 inches short
of the anchor screw might make the line overly tight.
6. Repeat Steps 2-5 for the other lane.
7. Attach the strips of Velcro material to the black rectangles on the start mat.
8. Place the start mat in position, sliding it under the two monofilament lines. Align the arrows on
the mat with the two monofilament lines.
FasTrak Elevated Racetrack Setup
Follow the procedures outlined in the FasTrak User’s
Guide for setting up the track and stretching the monofila-
ment line.
Gate Assembly
The start and finish gates will come unassembled. To
assemble them, simply attach the legs of each gate with
the four screws, screwing two in each side of the gate
(Figure 4). Now the gates are ready to be used. Caution:
Do not overtighten the screws.
Figure 3
Figure 4
Figure 2