Background
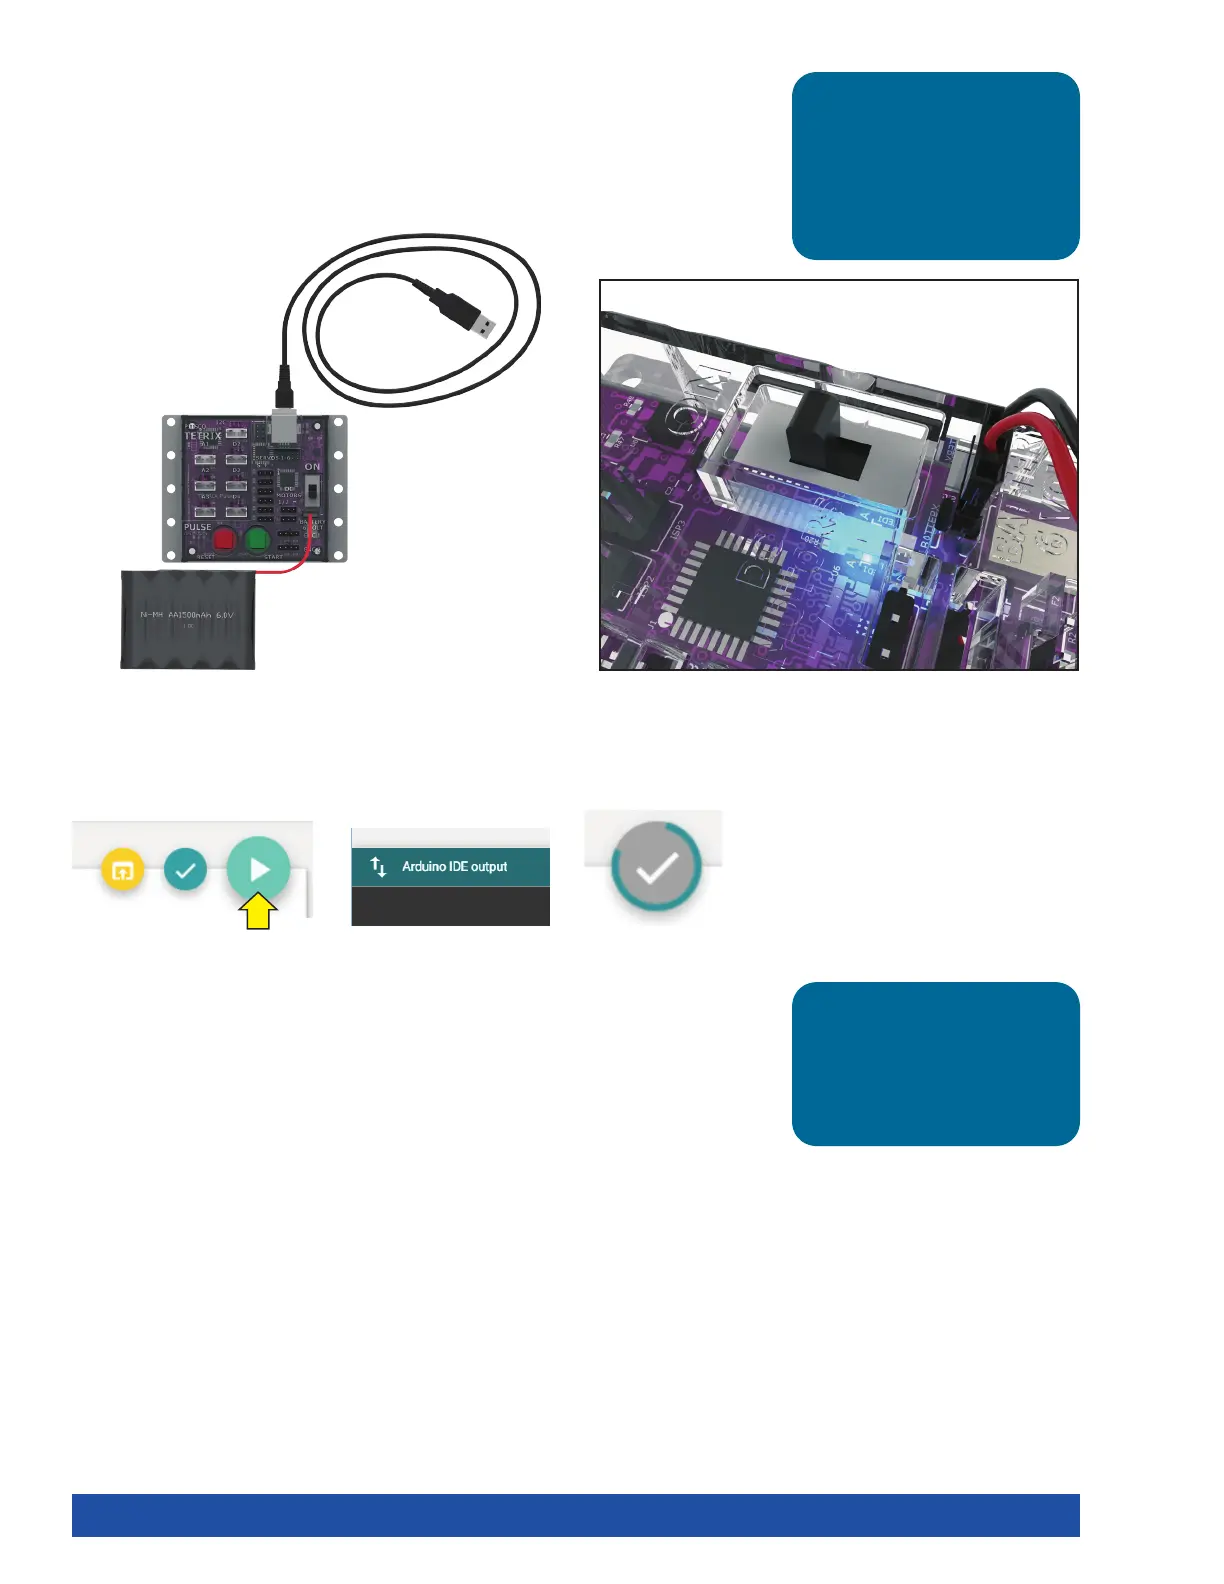
Before you can upload the sketch to the PULSE, you need to make sure the PULSE
has power, is connected to the computer, and is detected by the computer.
When the PULSE is connected as shown, turn on the PULSE with the on/off switch.
You will know the PULSE has power by the glowing blue light.
Watch the Upload Sketch button. A colored line will spin around the circle while the
upload is in progress (Figure 25). Be patient!
As the data uploads, the yellow LEDs on the PULSE controller will flash. When the
upload is finished, there will be a solid green LED light beside the red Stop/Reset
button. The green LED means the code is ready to execute. Press the green Start
button to execute the code. The red LED next to the Stop/Reset button will blink off
and on in one-second intervals. To stop the program, press the Stop/Reset button.
Congratulations! You have successfully uploaded your first sketch to the PULSE and
demonstrated the results to the world.
Execute the Code
To upload the sketch to the PULSE, click Upload Sketch (Figure 23). To check the
status of the upload, click Arduino IDE output on the bottom of the program (Figure
24).
Tip: To see if the PULSE is
detected by the computer,
check the port as you did
in the Configuring USB
Communication section on
pages 12-14.
Tip: Wait, why is the time in
milliseconds? Programmers
use milliseconds for more
precise timing. 1,000
milliseconds equal 1 second.
Figure 25
Figure 23
Figure 24
26 Getting Started Activities