Page 6 For technical questions, please call 1-888-866-5797. 68892
Operating Instructions
Read the ENTIRE IMPORTANT SAFETY INFORMATION section at the beginning of this manual
including all text under subheadings therein before set up or use of this product.
Before First Use
1. Check and fill oil as needed. See Checking and
Filling Hydraulic Fluid instructions on page 9.
2. Bleed the Lift Jack according to the
Bleeding instructions on page 9.
3. Test the Lift several times for proper operation
before attempting to lift a load. If, after bleeding
twice, the Lift still does not appear to be working
properly, do not use the Lift until it has been
repaired by a qualified service technician.
Lifting
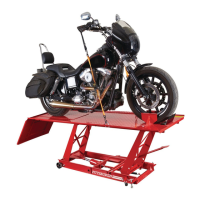
1. Position the lift on a flat, level, hard surface
able to support at least 1350 lb.
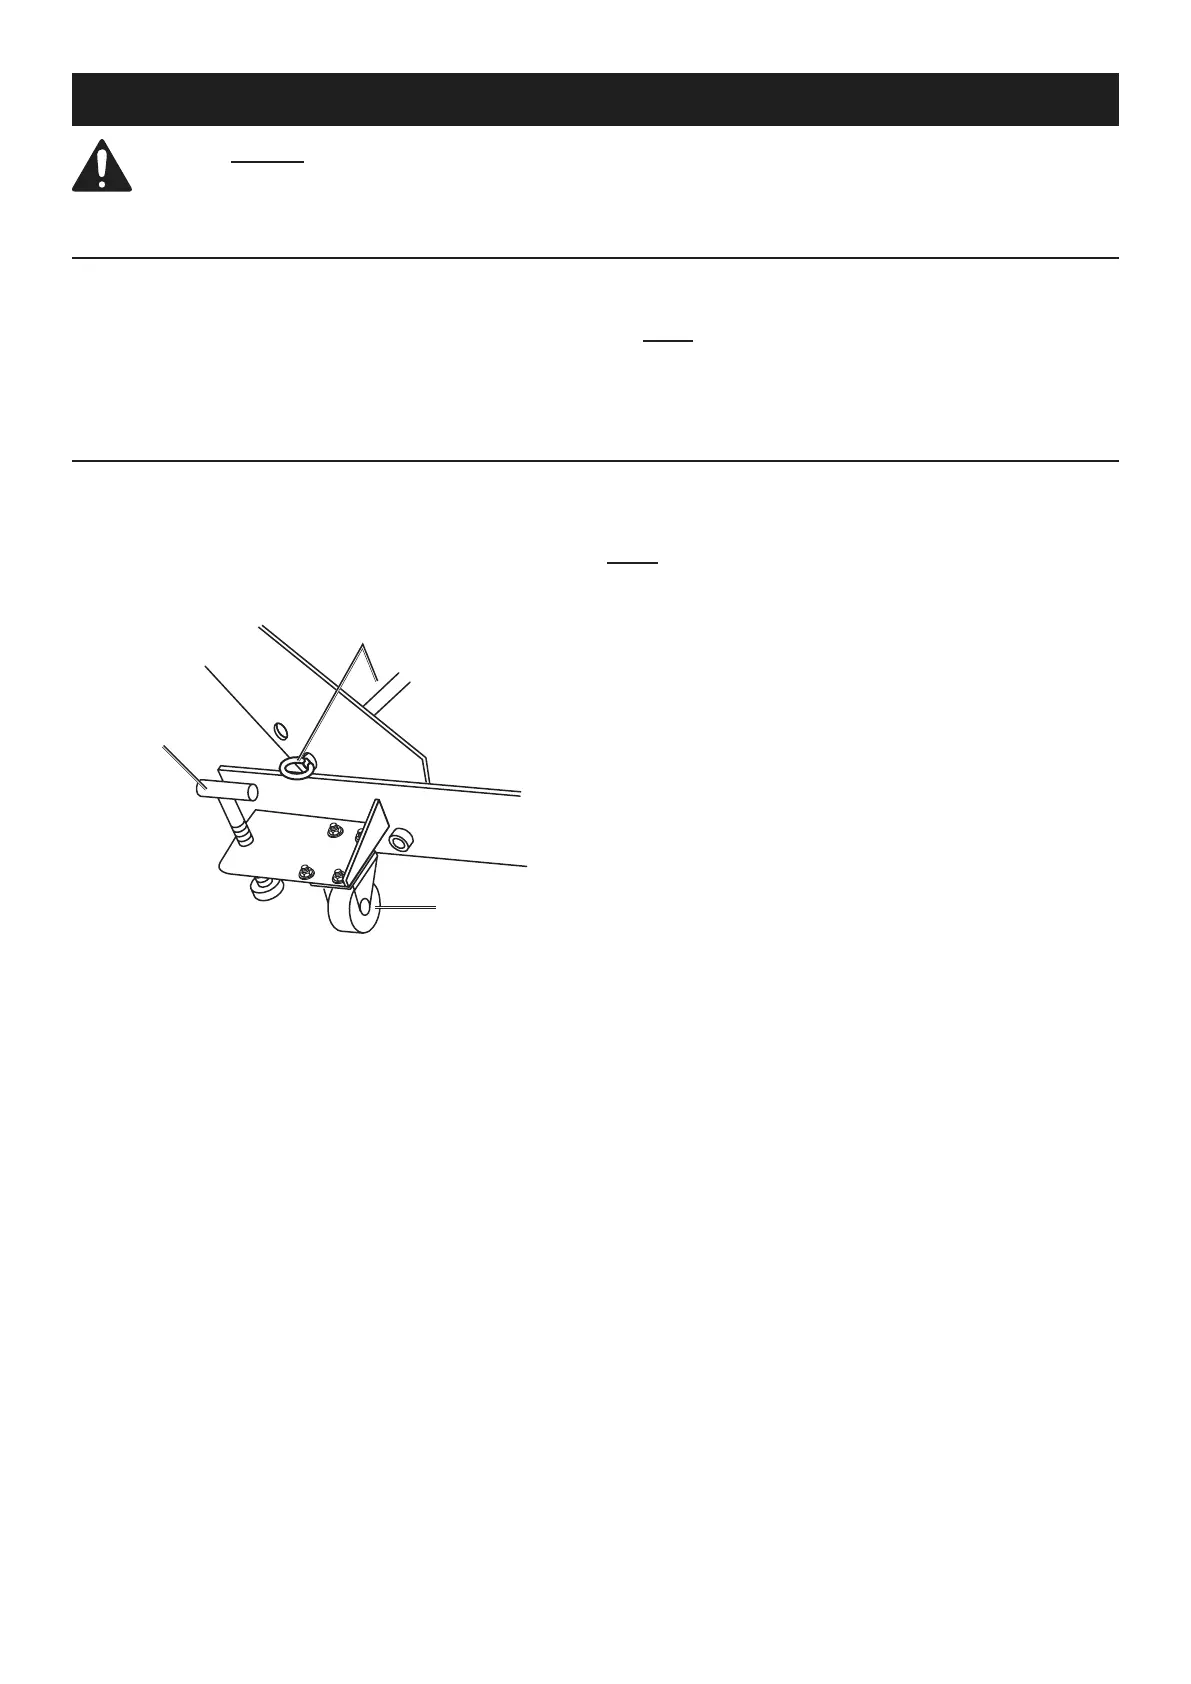
2. Turn the Lifting Screws clockwise to evenly raise
the Casters off the ground and limit movement.
Locking Bar (22)
Lifting
Screw (18)
Caster (14)
Figure A: Lifting Screw and Locking Bar
3. With the Access Panel in place, roll the motorcycle
onto the lift. Kick the center stand of the
motorcycle down to stabilize it on the Platform.
4. Clamp the front wheel of the motorcycle into
the Vise to prevent movement of the wheel.
Note: When properly set, front tire of motorcycle
should rest against Stop Plate with the axle centered
over the Front Wheel Vise Assembly. If not, slide
Stop Plate and/or re-position wheel Vise Base.
5. Once the Stop Plate is adjusted against the
motorcycle tire, tighten the Bolts that hold it in place.
6. Secure the motorcycle to the lift using tie-down
straps (not included). See motorcycle’s owner
manual for locations of strap attachments.
7. Pump the Foot Pedal repeatedly to raise the lift.
8. When the platform has been raised to
the working height, pass the Locking Bar
through the holes in the Rear Lifting Arm so
the lift cannot be accidentally lowered.
9. Gently press Release Pedal to lower the platform to
rest the load on Locking Bar and not on the lift jack.