6
Features
Connecting
The Wires
Installing
The Product
How to
Operate
Speed Pulse
Settings
Before
Using
Trouble-
Shooting
Initial
Settings
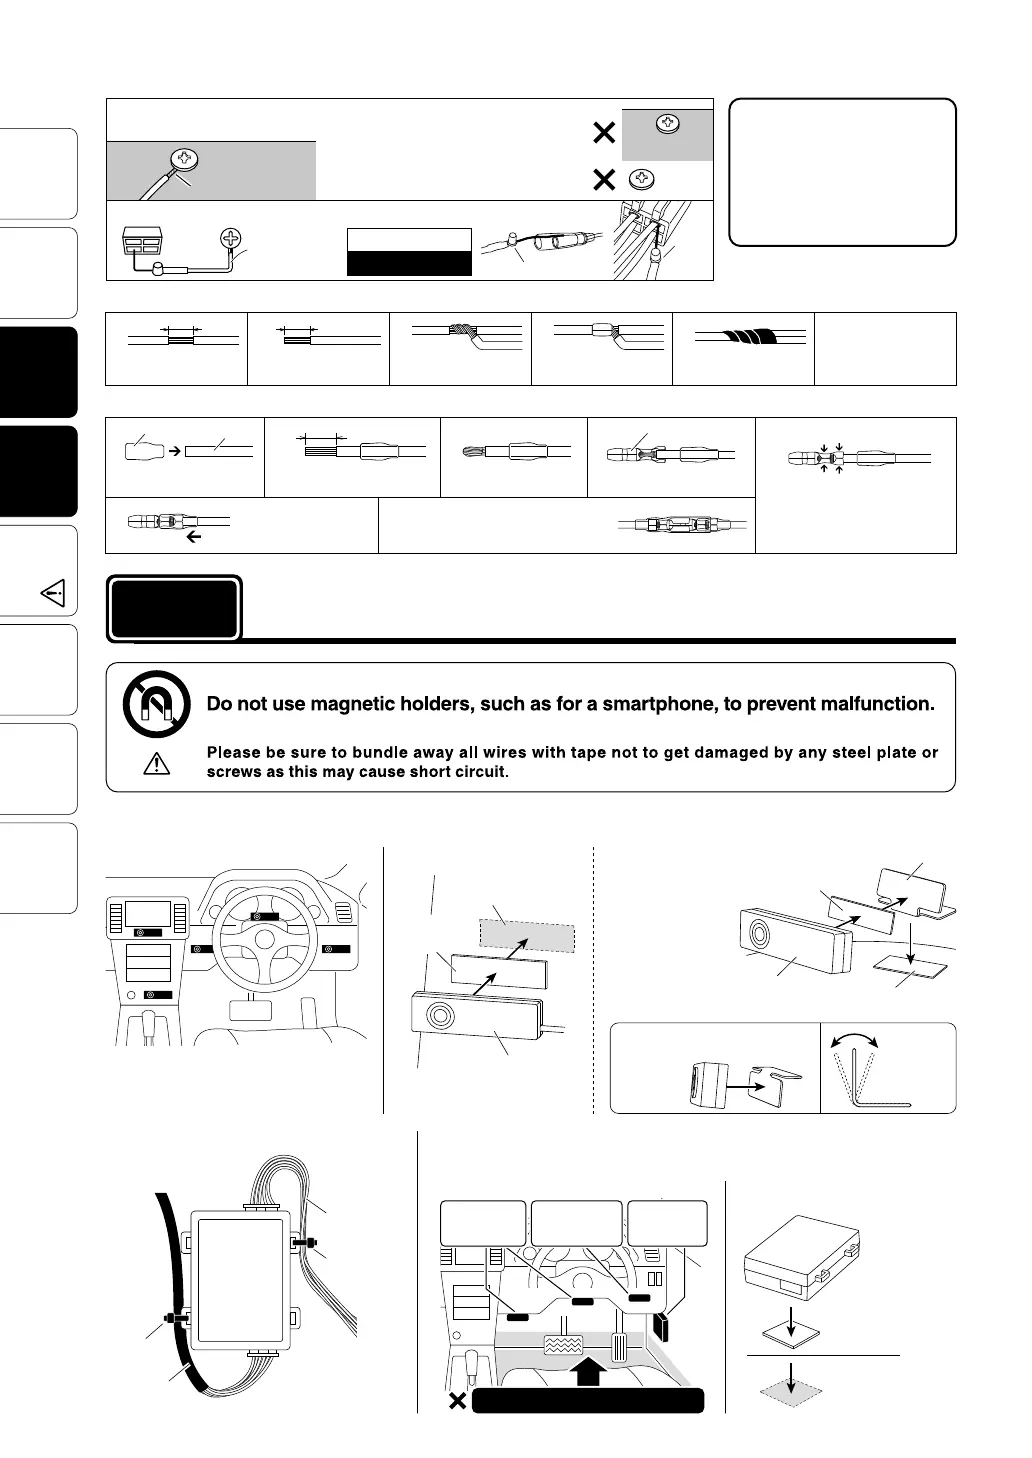
[Reference 3] How to use the Male Connectors
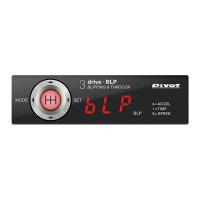
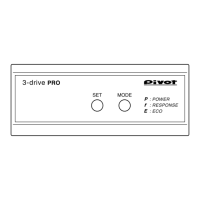
Controller
Controller
L-shaped Fastener
Fastening to a Flat Place
Installing The Controller
Install the Controller to a position which is easy to see.
Installing The Product
Double-sided tape
(Included)
Double-sided tape
(Included)
Using the L-shaped Fastener
By using the
L-shaped Fastener
that comes with
this product, it is
possible to install
the unit on the
dashboard even if
it is curved or on
an angle.
Note: It is possible to install the
L-shaped Fastener in the reverse
direction.
Double-sided
tape (Included)
Clean to remove
oil and dust.
(Example of Installation)
procedure 2
Adjustable
angle for
easier
viewing
[Reference 2] How to use the Cut Connectors
[Reference 1] How to use the Voltage Detector (supplied with product)
Lamp on : 12V
Lamp off : 0V
Metal part
Wire tip
Metal part
Wire tip
Plastic part
Plastic part
Painted
screw
LED lamp
1
1
2
Earth
(Screw,
etc...)
Voltage Detector
(supplied
with product)
10 mm
2
10 mm
34
When crimping, please
use crimpers or use
pliers to bend and then
solder together.
5
Loosen an earthed screw, insert
and fasten the wire tip (coiled wire).
Connect the tip of the LED to the place you wish to test voltage.
Note: As an earthing screw, only use a
screw that is fastened to a metal part.
Painted screws and screws connected to
plastic parts become insulated and cannot
carry electricity.
LED
lamp
Peel off of the vinyl
cover at connection.
Wrap around both
wire coils.
Insulate with vinyl
tape.
Close tightly with cut
connector.
Peel off of the vinyl
cover at the end of the
product’s wire.
In some car models, voltage
detector which is supplied
with product doesn't work
because of the current
capacity shortage. Please
use analog multimeter and
others in this case.
On the
back side of
the under cover
On the
inside of the
kick panel
Under the
steering
column cover
Do not install into low positions
Double-sided
Tape (Square)
Clean
to remove
oil and dust.
Fastening to a Flat Place
Cable processing of the Unit Installing The Unit
Unit
(Example of Installation)
(Example of Installation)
Specialized
Harness
Power Cable
Fasten the cables not to disconnect connectors
by getting caught on cables.
Fasten the cables not to disconnect connectors
by getting caught on cables.
Label
To Power
Sorce
To Sp ecialized
Harness
Zip Tie
(Small)
Zip Tie
(Small)
As shown in the diagram below, fasten the unit into positions not usually affected by water.
Note: After connecting the male and female
connectors, make sure to firmly twist the
male sleeve inside the female sleeve.
10 mm
12
3
Wire
Male sleeve
Pull the cable through the
male sleeve.
Remove about 10 mm of the
cable casing.
Turn back the tip of the
wires.
4
5
6
Crimp these places
Male Connector
Connect the male connector
to the end of the cable.
Crimp down with crimpers to make sure
that the inner wires are firmly connect-
ed to the inner part of the connector
and that the cable section is connected
to the outer part of the connector.
Affix the male sleeve to
the places as mentioned
above.
 Loading...