3
Trouble-
Shooting
Before
Using
Initial
Settings
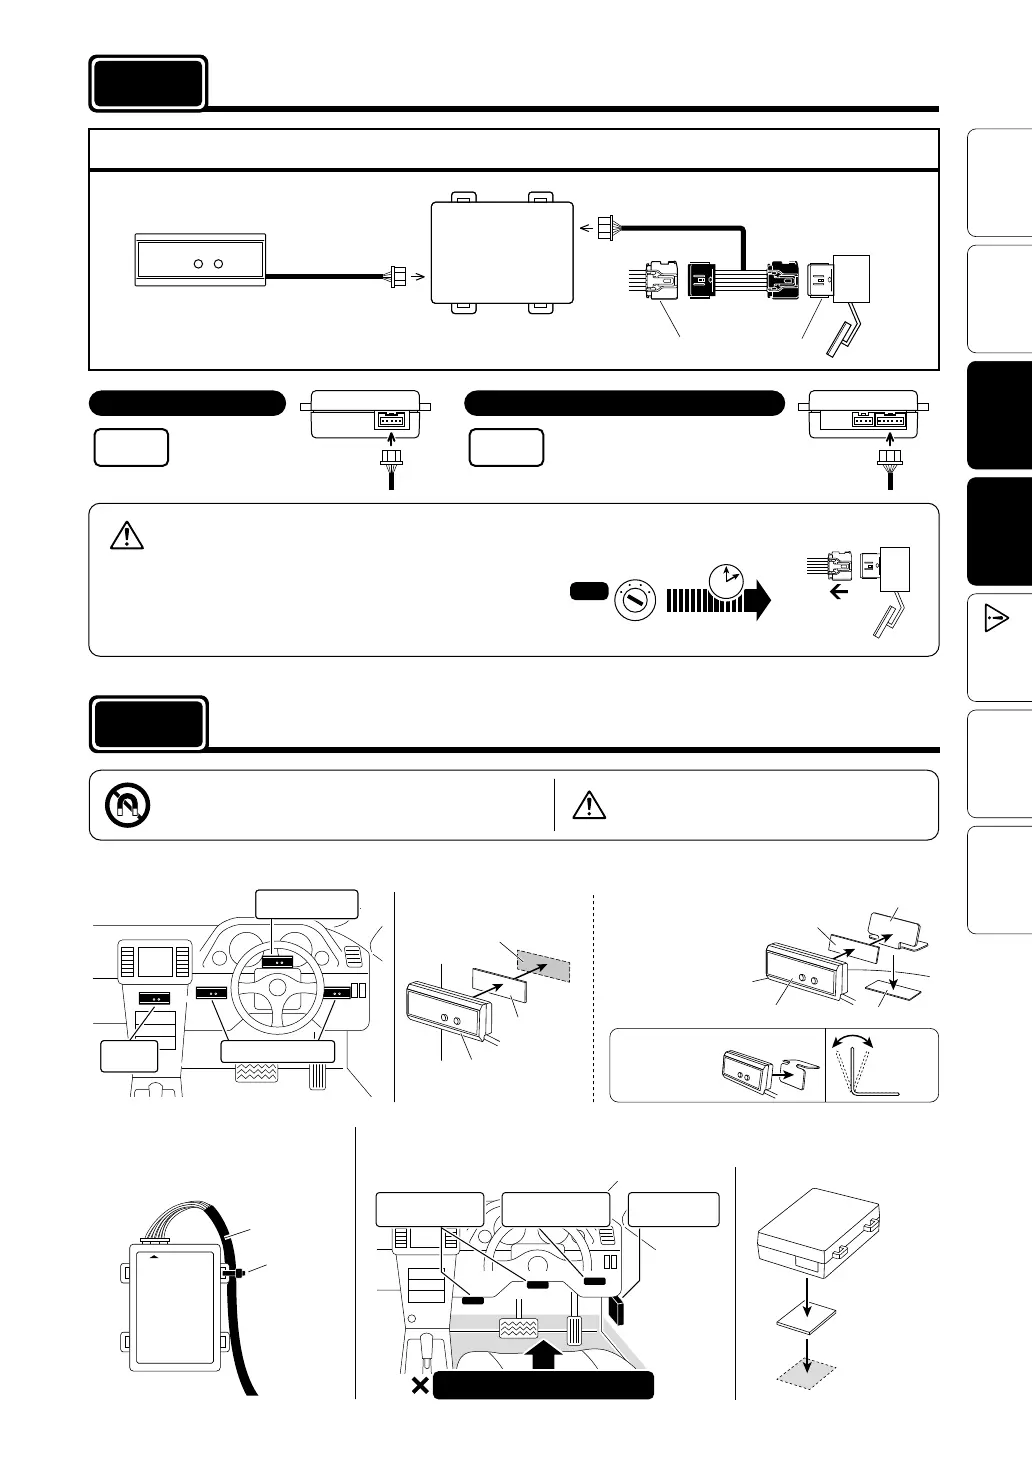
Connecting
The Wires
Installing
The Product
How to
Operate
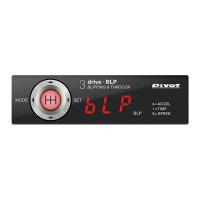
Features
OFF
Note: After inserting the connector, pull lightly to make sure that it is securely locked.
Basic Wiring
When installing make sure to use the correct Specialized Harness for your car model.
Unit
Accelerator
Controller
Controller Specialized Harness (sold separately)
(1.5m)
(0.5m)
Clean to remove
oil and dust.
Fastening to a Flat Place
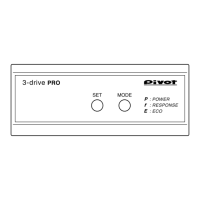
Installing The Controller
Install the Controller to a position which is easy to see.
Controller
(Example of Installation)
Fastening to a Flat Place
Installing The UnitCable processing of the Unit
As shown in the diagram below, fasten the unit into
positions not usually affected by water.
Unit
Clean to remove
oil and dust.
Center
console
Controller
L-shaped Fastener
Double-sided tape
Double-sided tape
Using the L-shaped Fastener
Instrument panel
Connect to the
side of the unit.
5-pin
Connector
Connect to the side of the unit.
6-pin
Connector
Turn the ignition
to the OFF
position.
Accelerator
Passage of over
15
minutes
Accelerator
Connector
Disconnect
the connector
Note: For details about connecting the specialized harness, please refer to the
user’s manual that came with that harness.
Depending on the type of vehicle, if the connector is disconnected before the
ECU power is switched OFF the Check Engine Light may go on. (If the Light
comes on: > Refer to Page 8, “How to Turn Off the Check Engine Light” )
Only disconnect the accelerator connector after having
waited at least 15 minutes from the time that the ignition
was turned OFF.
Connecting The Wires
procedure
1
5-pin Connector
(See Note)
6-pin Connector
(See Note)
Accelerator Connector
Specialized Harness
(sold separately)
Installing The Products
procedure
2
Do not use magnetic holders, such as for
a smartphone, to prevent malfunction.
Please be sure to bundle away all wires with
tape not to get damaged by any steel plate or
screws as this may cause short circuit.
By using the L-shaped
Fastener that comes
with this product, it is
possible to install the
unit on the dashboard
even if it is curved or
on an angle.
Note: It is possible to
install the L-shaped
Fastener in the
reverse direction.
Adjustable
angle for
easier
viewing
Fasten the cables not to disconnect
connectors by getting caught on cables.
(Example of Installation)
On the back side
of the under cover
On the inside of
the kick panel
Under the steering
column cover
Do not install into low positions
On the steering
column cover
Double-sided
tape
[25× 35 mm]
Double-sided
tape
[45× 14 mm]
Specialized
Harness
Label
To Spe c ial ized
Harness
Zip Tie
(Small)