4
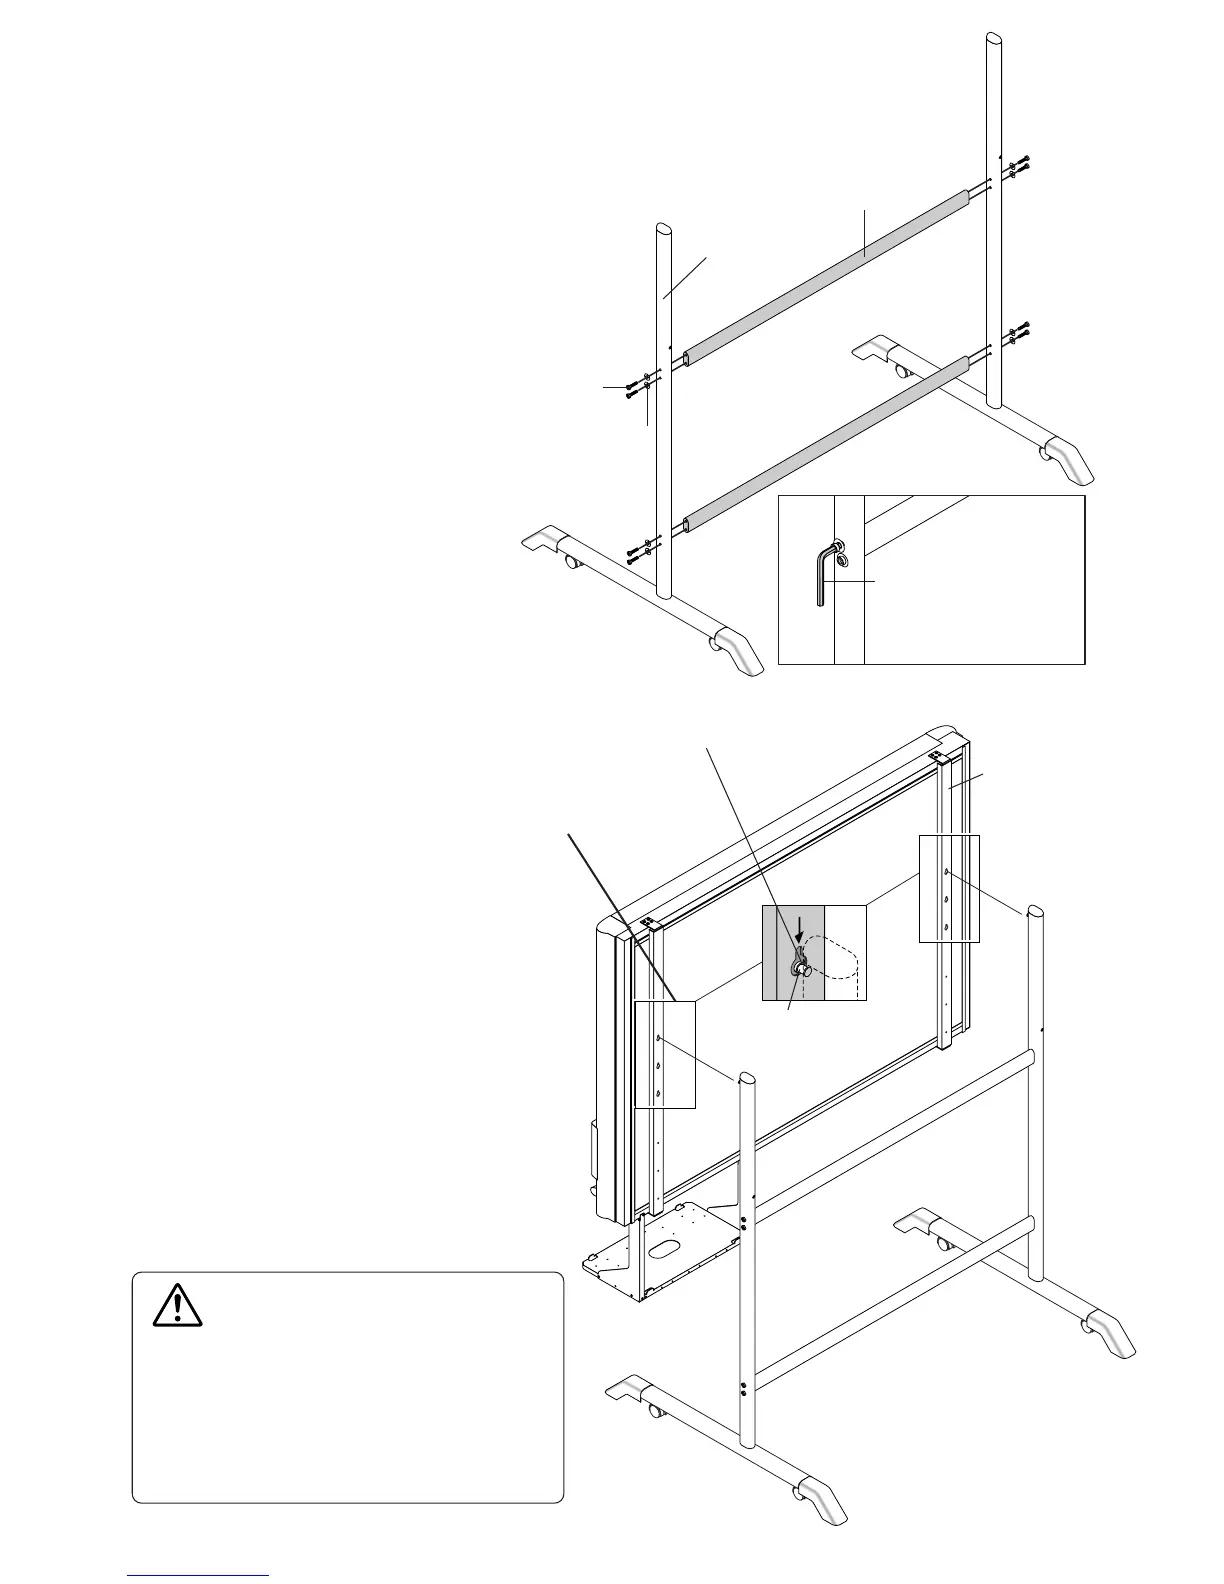
(4) Attach the two horizontal bars to the
T-shape legs.
Use hexagonal socket screws (M5) and flat
washers (M5) to attach.
Partially fasten using the hexagonal wrench (M5), then
tighten securely after the upper and lower horizontal
bars have been attached.
(5) Place the stand’s hooks in the mount-
ing holes in the support fittings and
insert the grooves in the hooks se-
curely.
There are 3 hole positions. By changing the position,
the installation height can be changed among 3 lev-
els in 100 mm units (1770, 1870, and 1970 mm (the
maximum height)).
(6) Mount the printer table to the Copy-
board.
See Page 9 for information about the assembly and
installation of the printer table.
* Installation of the printer table is not required when
the Copyboard is used only for USB memory stor-
age.
Hexagonal wrench (M5)
T-shaped leg
Horizontal bar
Hexagonal socket screw (M5)
Flat washer (M5)
CAUTION
Please have 2 or more persons lift the Copyboard
when installing it or making a height adjustment. If
the unit is dropped or falls over, this could cause un-
foreseen injury.
Check that the hook is securely inserted into the in-
stallation hole. Insecure installation could result in
the unit falling and causing bodily injury or damage
to the unit.
Mounting hole
Hook
The rear
frame