Do you have a question about the Plustek PSD300 and is the answer not in the manual?
Guides users through the physical assembly of the scanner, including installing accessories and closing the cover.
Instructions for installing the scanner's driver and software application via disk or download link.
Prepares paper for scanning by fanning it and loading originals facedown, top edge first, to prevent jams.
Start scanning by clicking predefined job buttons on the software application interface.
Overview of software features like online guide, job button configuration, and profile management.
Create new accounts and configure system settings for advanced setup and login methods.
Modify scan modes, resolution, and image processing for specific job profiles.
Manually split scanned multi-page documents into separate files by clicking between images.
Customize file saving formats (PDF/A, TIFF) and enable automatic renaming via barcode scanning.
Adjust scan settings like resolution, color mode, and image processing for scanning tasks.
Addresses problems with scanned images differing from the original, suggesting cleaning and calibration.
Troubleshoots scanner connectivity issues by checking connections, power, sleep mode, and drivers.
Guides on synchronizing eConnector job buttons with the scanner's physical hardware buttons.
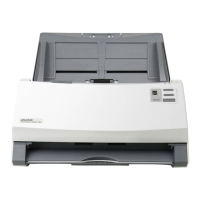
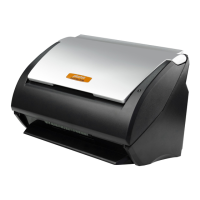
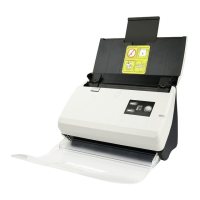
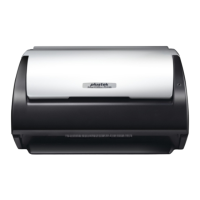
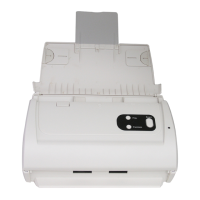
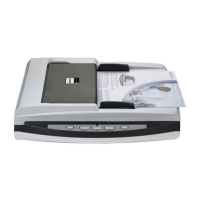
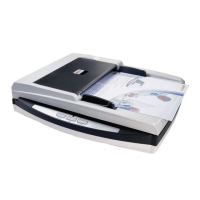
The Plustek PSD300 is a document scanner designed for efficient and reliable scanning of various paper documents. It is accompanied by a Quick Start Guide that details its assembly, connection, installation, scanning procedures, and software features, as well as troubleshooting and maintenance tips.
The primary function of the Plustek PSD300 is to digitize paper documents into various file formats, including JPG, PDF, TIFF, PNG, Multi-Page PDF, and Multi-Page TIFF. It is capable of scanning batches of documents, with a recommended maximum of 1,000 images and no more than 500 split files per batch. The scanner integrates with a dedicated software application that provides a user-friendly interface for managing scanning tasks, configuring settings, and processing scanned images.
Key functionalities include:
The Plustek PSD300 is designed for ease of use, from initial setup to daily scanning operations.
Proper maintenance ensures the longevity and optimal performance of the Plustek PSD300. The Quick Start Guide outlines several maintenance and troubleshooting steps.
These maintenance features, combined with the detailed troubleshooting steps, empower users to resolve common issues and keep their Plustek PSD300 scanner in excellent working condition, ensuring consistent and high-quality document digitization.
| Scanning Technology | CIS (Contact Image Sensor) |
|---|---|
| Duplex Scanning | Yes |
| ADF Capacity | 50 sheets |
| Interface | USB 2.0 |
| Color Depth | 24-bit |
| Grayscale Depth | 8-bit |
| Maximum Document Size | 8.5" x 14" |
| Document Size | A4, Letter, Legal |
| Duty Cycle | 3000 pages per day |
| Operating System Compatibility | Windows |