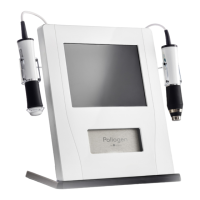
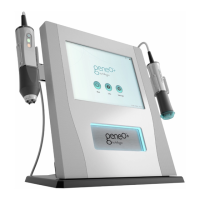
geneo+U
37
INITIAL SET UP
The kit is designed for simple installation. To install the kit, follow the subsequent procedure:
Unpacking The Kit
Unpack the Kit and verify that the components are intact and present. It is recommended to save
the packaging box and
materials for future transport. Check parts according to the following list:
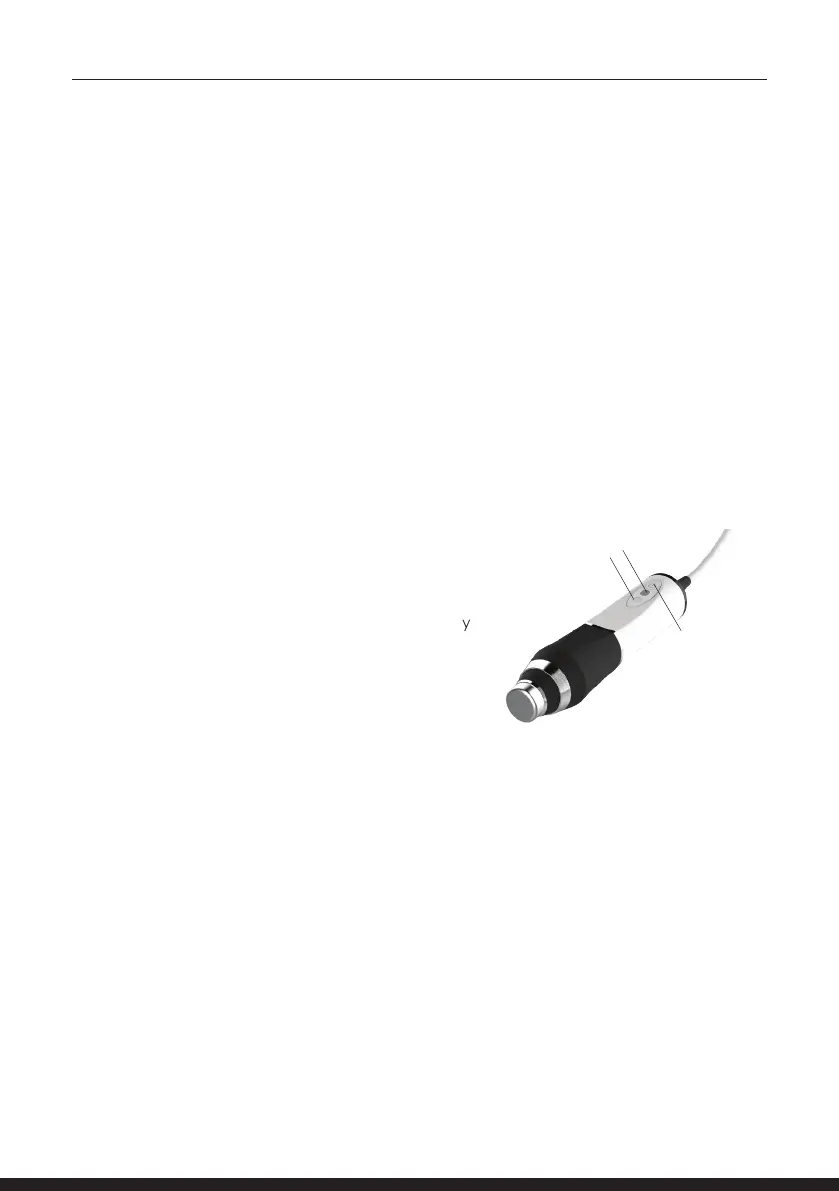
1. Ultrasound Applicator
2. Ultrasound Applicator Holder (with two screws)
NOTE: Check that the system and all its components are intact. If you detect any sign of damage
or a missing item, do not continue with the installation. Immediately report this to your Pollogen
representative.
APPLICATOR INDICATIONS
The Applicators must be connected and locked to the
System before they can be activated.
• Green LED is ON (1) - Indicates the applicator is properly
connected and the system identies it.
• Green LED is blinking. Indicates an Ultrasound session
was selected, and the program is loaded to the
Applicator.
Ultrasound
START button
1
2
• Blue LED is ON (1) - The START key was tapped. A treatment programs is running.
Ultrasound output is emitted.
• Orange LED (2) - Indicates contact level.
• Orange together with Blue LED ON indicates poor contact level.
• Orange together with Green LED ON indicates No contact and Ultrasound output is terminated
• Once the Applicator contact with the skin is reestablished or additional medium is applied,
the ultrasound emission resumes, Orange LED turns OFF.
When system is operated, verify that all above LEDs are operative. As a safety precaution, the
system will turn itself o when overheated & will turn o the Blue LED.
To turn o the system, switch the ON/OFF control to the OFF position at the back of the system.
Remove Power Supply from electrical outlet and disconnect from the geneo+U.
Warning: Before disconnecting the Power Supply cord, make sure that the ON/OFF switch is in the
OFF position.
Store your geneo+U and its accessories in a cool, dry place.