Do you have a question about the Polycom SoundPoint 320 and is the answer not in the manual?
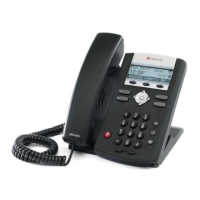
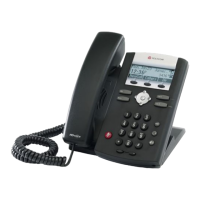
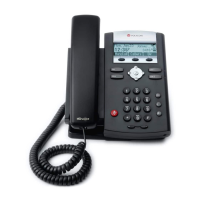
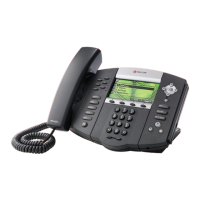
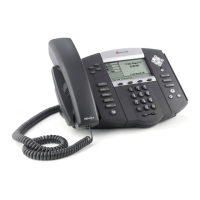
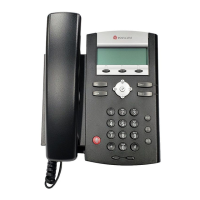
This document outlines the manual configuration process for Polycom SoundPoint IP phones (models 320, 321, 330, 331, 335, 450, 550, 560, 650, 670) for use with VirtualPBX services. The primary function of this guide is to enable users to integrate their Polycom IP phones with their VirtualPBX account, allowing them to make and receive VoIP calls through their existing phone hardware. This setup ensures that the phone operates as an extension of the VirtualPBX system, providing access to various features and functionalities offered by the service.
The configuration process begins with accessing the VirtualPBX account as an administrator. This initial step is crucial as it grants the necessary permissions to manage and add new devices to the system. Once logged in, users navigate to the "Admin" tab and then select the "VoIP Phones" menu option. This section of the VirtualPBX interface is dedicated to managing all connected VoIP devices, including softphones and physical IP phones.
A key feature of the VirtualPBX system is its support for various types of VoIP devices. The guide specifically directs users to click on "Add Softphone," which, despite its name, is the entry point for configuring both softphones and 3rd party IP phones like the Polycom SoundPoint series. This step leads to a page where users can choose between adding a "VPBX Softphone" or a "3rd Party Softphone." For Polycom phones, the latter option is selected, indicating that the device is an external, non-VirtualPBX branded phone requiring manual setup.
Upon selecting "Add 3rd Party Softphone," the system generates specific credentials that are essential for registering the Polycom phone. These credentials typically include a username, password, and server information. It is imperative that users record this information accurately, as it will be used in the subsequent steps to configure the physical phone. This information acts as the unique identifier and authentication key for the Polycom phone to connect securely to the VirtualPBX network.
The next phase involves configuring the Polycom SoundPoint IP phone itself. This process assumes that the phone is either new or has been reset to its factory defaults. If the phone was previously configured with another provider, a factory reset is recommended to prevent any conflicting settings from interfering with the VirtualPBX setup. This ensures a clean slate for the new configuration.
To begin configuring the phone, users must first identify its IP address. This is typically done by navigating through the phone's on-screen menu, usually under a "Status" or "Network" section, and then selecting "TCP/IP Parameters." The IP address is crucial because it allows users to access the phone's web-based configuration interface from a computer. Once the IP address is obtained, users open a web browser and enter the IP address (e.g., http://192.168.1.123) to access the phone's settings.
Within the phone's web interface, users will need to navigate to the "Lines" tab. This section is where the core registration details for connecting to the VirtualPBX service are entered. The guide provides detailed instructions for filling out the "Identification" section:
Following the "Identification" section, users proceed to configure the "Server 1" and "Server 2" sections under the "Lines" tab. These sections are critical for establishing the connection to the VirtualPBX servers.
After entering all the required information, users must click the "Submit" button at the bottom of the page. This action saves the configuration changes to the phone. The Polycom phone will then restart itself to apply the new settings. Once the reboot process is complete, the phone should register with VirtualPBX, indicating a successful connection and readiness to make and receive calls.
Maintenance features are also addressed, particularly concerning situations where the phone might have been previously locked or automatically provisioned by another service provider. The guide includes an "Optional: Factory Reset Polycom SoundPoint IP Phone" section to handle such scenarios. This is a crucial maintenance step to ensure optimal performance and avoid conflicts with previous configurations.
The factory reset procedure involves a specific sequence of actions:
Performing a factory reset effectively wipes all previous configurations, allowing users to start fresh with the VirtualPBX setup. This ensures that the phone is not hindered by outdated or conflicting settings from prior service providers, leading to a smoother and more reliable integration with VirtualPBX.
In summary, this manual provides a comprehensive, step-by-step guide for integrating Polycom SoundPoint IP phones with VirtualPBX. It covers the initial setup within the VirtualPBX account, the detailed configuration of the physical phone's web interface, and essential maintenance steps like factory resetting the device. The goal is to empower users to independently set up their Polycom phones, ensuring they can leverage the full range of VoIP services offered by VirtualPBX for their communication needs. The emphasis on recording credentials, accurate data entry, and understanding the purpose of each configuration field ensures a successful and robust connection.
| Lines | 2 |
|---|---|
| Speakerphone | Yes |
| PoE | Yes |
| Audio Codecs | G.711, G.729A, G.722 |
| Headset Port | Yes |
| Display | Monochrome graphical LCD |
| Ethernet Ports | 2 (10/100 Mbps) |
| Protocols | SIP |
| Power | PoE or external power supply |