7
UFH8ZMP
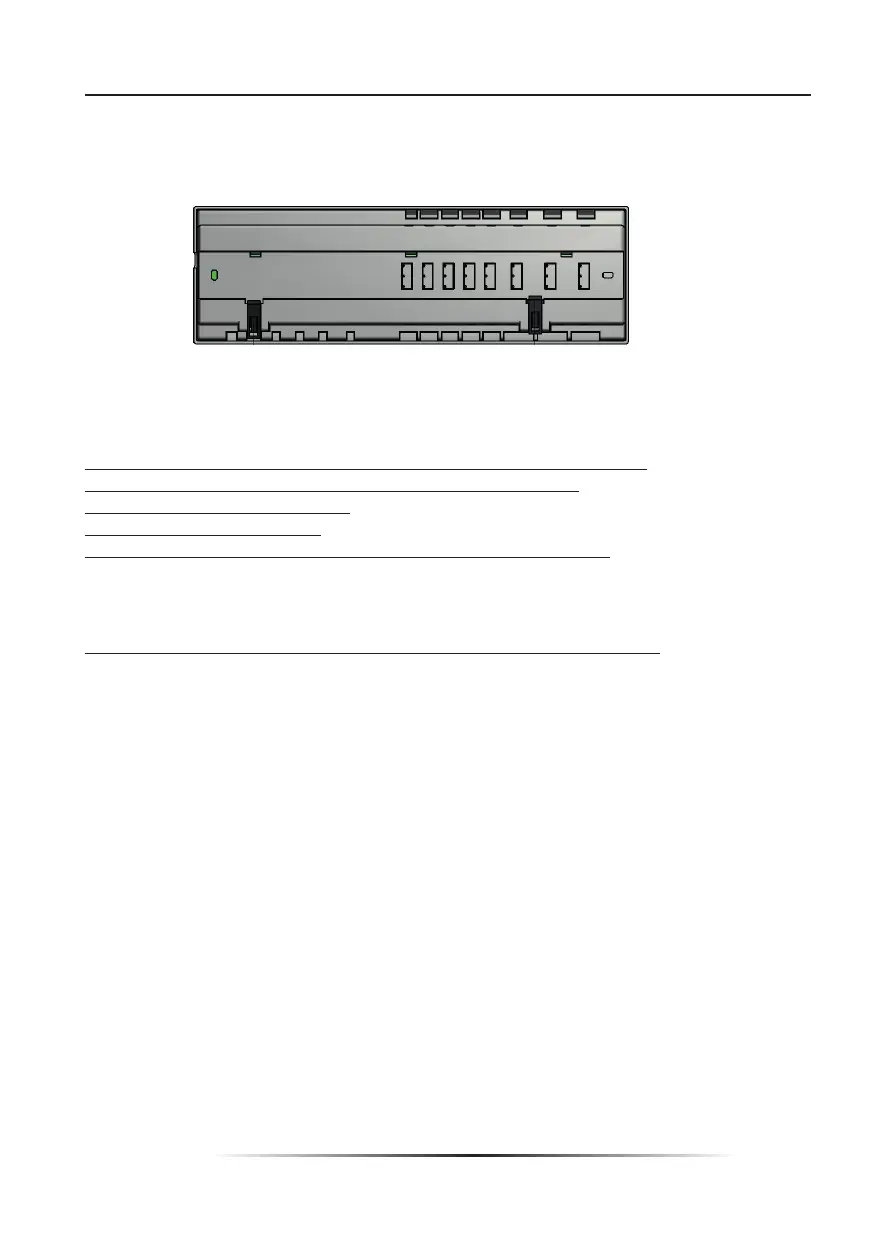
The controller may be installed on a DIN strip or by removing the front cover and using the
4 holes to screw to the wall.
III.a) First start-up
In order for the controller to operate correctly, the user must follow these steps when
starting the device for the fi rst time:
1. Connect UFH8ZMP with all the subordinate devices to be controlled
2. Switch on the power supply and check if the devices work.
3. Activate the Internet module.
4. Set current time and date.
5. Confi gure the temperature sensors settings / room regulators.
Step 1:Connect UFH8ZMP with all subordinate devices to be controlled
Remove the cover and connect the wires following the labels on the connectors and the
diagrams presented below.
Follow this order while connecting:
- all the necessary valve actuators (connectors 1..8)
- Internet module (using RS cable)
- pump
- an additional device
III. Controller installation
The controller should be installed by a qualifi ed person.
WARNING
Risk of fatal electric shock from touching live connections. Before working on
the controller switch off the power supply and prevent it from being accidentally
switched on.
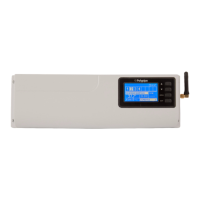
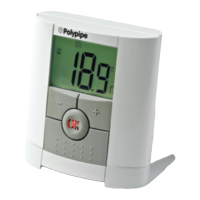
1. Cover (it should be removed to connect the devices to be controlled)
2. Display
3. Aerial – for wireless communication
4. Buttons
Controller may be installed as a free-standing device or as a panel mountable on a wall.
The controller may be installed on a DIN strip