www.cuisinetechnology.com 2019
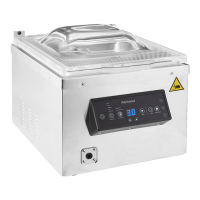
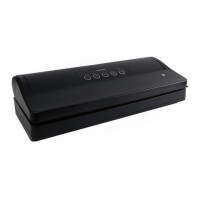
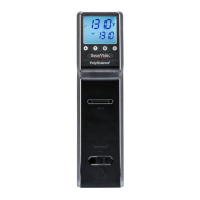
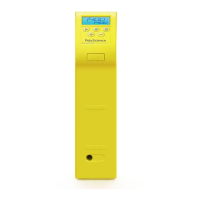
PolyScience Vacuum Sealing Systems
WARNING: Be sure to store vacuum packaged items
properly after sealing� All perishable foods must be
refrigerated or frozen to prevent spoilage� Vacuum
packaging is not a substitute for canning�
NOTE: The quality of the vacuum can be checked by
looking at the tightness of bag around the product� If
you notice air pockets, increase the vacuum one level�
NOTE: You can press at any point during
vacuuming or sealing to cancel the process�
!
WARNING: When vacuum packaging product in
canisters or bottles, always set the seal time to 00� This
prevents the seal bar from heating�
!
NOTE: A positive seal will look “clear” upon inspection�
If the seal is spotty or incomplete, increase the seal
time; if the seal is white or milky, decrease the seal
time�
!
!
Canisters & Bottles
Your 300 Series Chamber Vacuum Sealer can also be used for the
vacuum sealing of canisters as well as bottles with vacuum bottle
stoppers�
• The vacuum pump turns On and the LED associated with the
selected Vacuum Level begins ashing; the LEDs for lower
Vacuum Levels light as those levels are achieved� The time
on the Digital Display counts up (in seconds) until the selected
Vacuum Level is achieved�
• When the selected Vacuum Level is achieved, the LED
associated with that level lights steady and the vacuum pump
turns Off and three one-second audible signals sound to
indicate that the process is complete�
!
NOTE: Store vacuum sealed bottles vertically, making
sure that the liquid is not in contact with the stopper�
Manual Vacuum Packaging
When sealing powdered or granulated foods in canisters, cover
them with a paper towel before vacuuming to prevent the food from
traveling into the vacuum system�
When sealing bottles, allow at least 1 inch (2�5 cm) of space
between the bottom of the stopper and the liquid in the bottle�
1� Place the canister lid on the canister or the vacuum bottle
stopper in the bottle�
2� Attach the vacuum hose to the front panel External Vacuum
Port�
3� Attach the vacuum hose to the vacuum port on the canister lid or
bottle stopper�
4� Place vacuum port in the “vacuum” position (canisters only)�
5� Adjust the Vacuum Level as required (see Selecting the Vacuum
Level, page 17)�
6� Press � The vacuum process will proceed as follows:
7� Place the vacuum port on the canister in the “Closed” or “Lock”
position (canisters only)�
8� Remove the vacuum hose from the canister or bottle�
Delicate foods (such as seafood, berries, peas, etc�) may be crushed
or damaged while liquids or wet products may boil or be drawn out
of the bag if packaged using automatic vacuum packaging� Manual
vacuuming and sealing gives you more precise control over the
vacuum process to help prevent these problems�
1� Select the Vacuum Level and set the Seal Time as required (see
Selecting the Vacuum Level and Setting the Seal Time,
page 17-18)�
2� Open the Vacuum Chamber Lid�
3� Place the food item in a suitably sized heat-seal bag and secure
in the Vacuum Chamber (see Placing the Heat-Seal Bag in the
Vacuum Chamber, page 17)�
4� Close the Vacuum Chamber Lid�
5� Press and observe the bag closely as air is removed�
6� When the desired vacuum is achieved, press to seal the bag
and complete the manual vacuum packaging process� Three
one-second audible tones will sound to indicate that the
packaging process is complete�
7� Open the Vacuum Chamber Lid�
8� Open the clamp, remove the bag and check for proper vacuum
and seal�
!
 Loading...