7
EXTENSION CORDS
Use proper extension cords. Make sure
your extension cord is in good condition and is a 3-wire
extension cord which has a 3-prong grounding type plug
and matching receptacle which will accept the
machine’s plug. When using an extension cord, be sure
to use one heavy enough to carry the current of the
machine. An undersized cord will cause a drop in line
voltage, resulting in loss of power and overheating. Fig.
D shows the correct gauge to use depending on the
cord length. If in doubt, use the next heavier gauge. The
smaller the gauge number, the heavier the cord.
Fig. D
MINIMUM GAUGE EXTENSION CORD
RECOMMENDED SIZES FOR USE WITH STATIONARY ELECTRIC MACHINES
Ampere Total Length Gauge of
Rating Volts of Cord in Feet Extension Cord
0-6 120
up to
25 18 AWG
0-6 120 25-50 16 AWG
0-6 120 50-100 16 AWG
0-6 120 100-150 14 AWG
6-10 120
up to
25 18 AWG
6-10 120 25-50 16 AWG
6-10 120 50-100 14 AWG
6-10 120 100-150 12 AWG
10-12 120
up to
25 16 AWG
10-12 120 25-50 16 AWG
10-12 120 50-100 14 AWG
10-12 120 100-150 12 AWG
12-16 120
up to
25 14 AWG
12-16 120 25-50 12 AWG
12-16 120
GREATER THAN 50 FEET NOT RECOMMENDED
FOREWORD
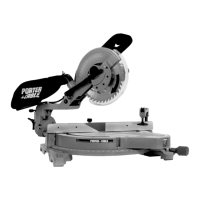
Porter-Cable Model 3807 is a high capacity 10" compound miter saw designed to cut wood and non-ferrous metals. It can
crosscut 11-1/2" x 3-3/16" and 9" x 3-7/8", miter at 45° both left and right 8-1/8" x 3-3/16", and 6-3/8" x 3-7/8", bevel at 45°
left 11-1/2" x 2-3/16" and 8-1/2" x 2-5/8", compound 45° left miter and 45° bevel 8-1/8" x 2-3/16" and 6-1/2" x 2-5/8" and
compound 45° right miter and bevel 8-1/8" x 1-7/8" and 3-1/2" x 2-5/8".
NOTICE: The photo on the manual cover illustrates the current production model. All other illustrations
contained in the manual are representative only and may not depict the actual color, labeling, or accessories,
and are intended to illustrate technique only.
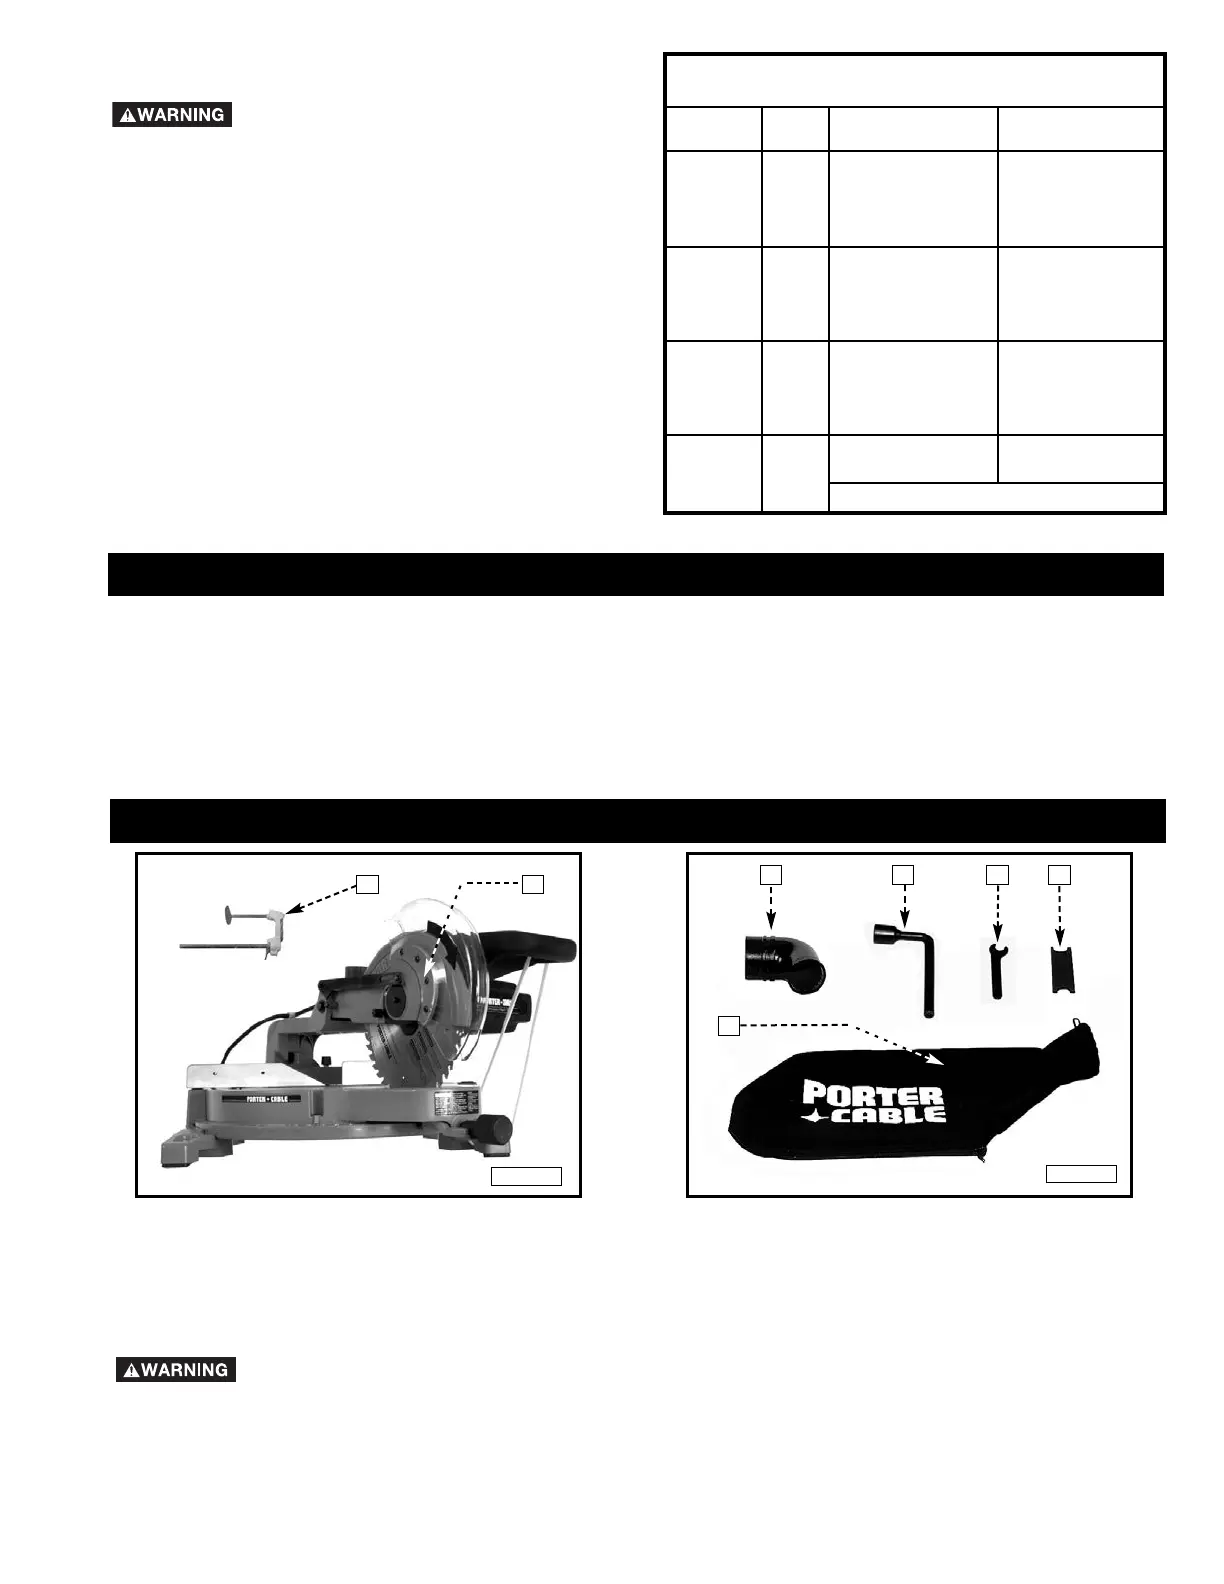
FUNCTIONAL DESCRIPTION
CARTON CONTENTS
1
2
5
3
4
1. Miter Saw
2. Work Clamp
3. Dust Elbow
4. Arbor Wrench
5. 7/16’’ Wrench
6. 1/2" x 7/16" Wrench
7. Dust Bag
1. Carefully remove the machine from the carton. Retain all packing materials until you have inspected and
satisfactorily operated the machine.
Do not operate this machine until you read and understand the entire instruction manual.
2. Place the machine on a firm, level surface with extra room for handling and proper support of the workpiece.
3. Familiarize yourself with all features and controls explained in this manual.
4. The machine is shipped with the cuttinghead locked in the down position and the table rotated to 45° left, Fig. 3.
To release the head and move it to the operating position, see “MOVING CUTTINGHEAD TO THE UP POSITION”
and “MOVING THE TABLE TO THE 0° CUT-OFF POSITION” in this manual.
UNPACKING AND CLEANING
Fig. 1
Fig. 2
6
7