8
MOVING THE CUTTINGHEAD TO THE REAR POSITION
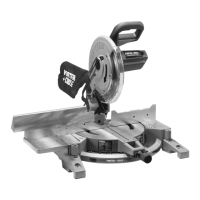
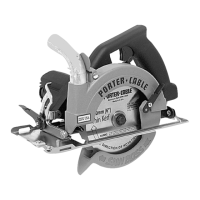
1. Remove the cable tie (A) Fig. 3.
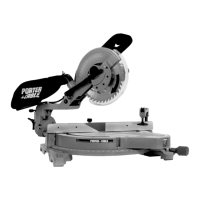
2. Loosen the lock-knob (B) Fig. 4 and push the cuttinghead (A) away from you.
3. Tighten the lock-knob (B) Fig. 4.
A
Fig. 3
Fig. 4
A
B
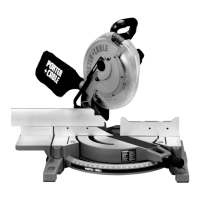
1. Rotate the lock knob (A) Fig. 6 counter-clockwise. Depress the lever (B) and rotate the table to the 0° straight cut-off position,
release the lever (B), and tighten the locking knob (A).
2. For proper operation and adjustment of the table, refer to sections, “ROTATING TABLE FOR MITER CUTTING”, and
“ADJUSTING SLIDING FIT BETWEEN MOVABLE TABLE AND BASE.”
A
B
Fig. 6
MOVING THE TABLE TO THE 0° CUT-OFF POSITION
ASSEMBLY
ASSEMBLY TOOLS REQUIRED
ASSEMBLY TIME ESTIMATE - 30 minutes
A
rbor and Fence Wrench (supplied)
7/16" Wrench (supplied)
1/2" x 7/16" Open-End Wrench (supplied)
Phillips Screwdriver
MOVING THE CUTTINGHEAD TO THE “UP” POSITION
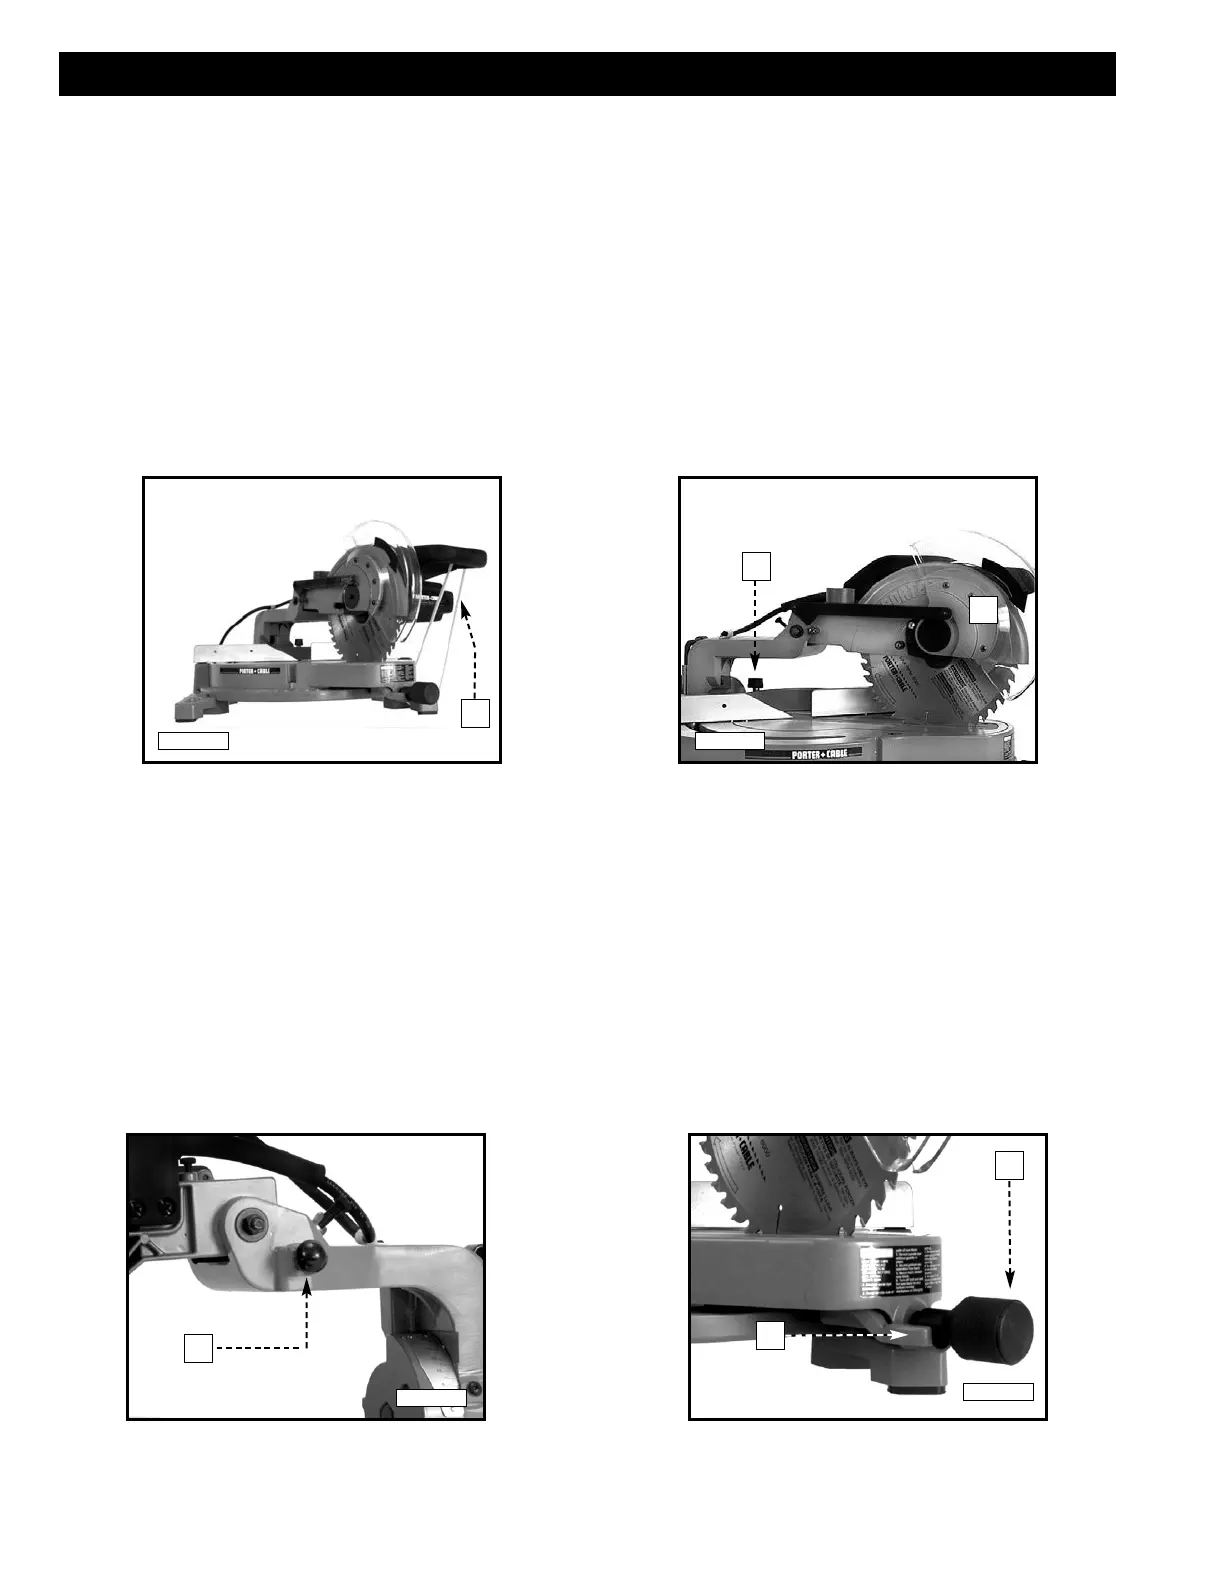
1. Push down on the handle of the cuttinghead, pull out and rotate the lock-knob (A) Fig. 5 (1/4 turn), and raise the cuttinghead.
Fig. 5
A