ENGLISH
10
22
23
21
Fig. N
31
30
Making a Cut (Fig. A)
Verify the proper alignment of the cutting cart and blade
before turning the saw on.
Secure tile against the cart fence, or edge guide
7
with
the edge guide lock
8
. Always keep hands away from
theblade.
1. Pull up the on/off switch
1
to turn the saw on. Wait
until the stream of water completely covers theblade.
NOTE: Cutting tile without water will damage theblade.
2. Ease the cutting cart toward the blade then slowly feed
the tile into the blade. Continue pushing until the blade
cuts completely through thetile.
3. Turn the saw off by pushing the on/off switch
1
down.
4. After the blade stops, remove the tile and remnant from
the cuttingcart.
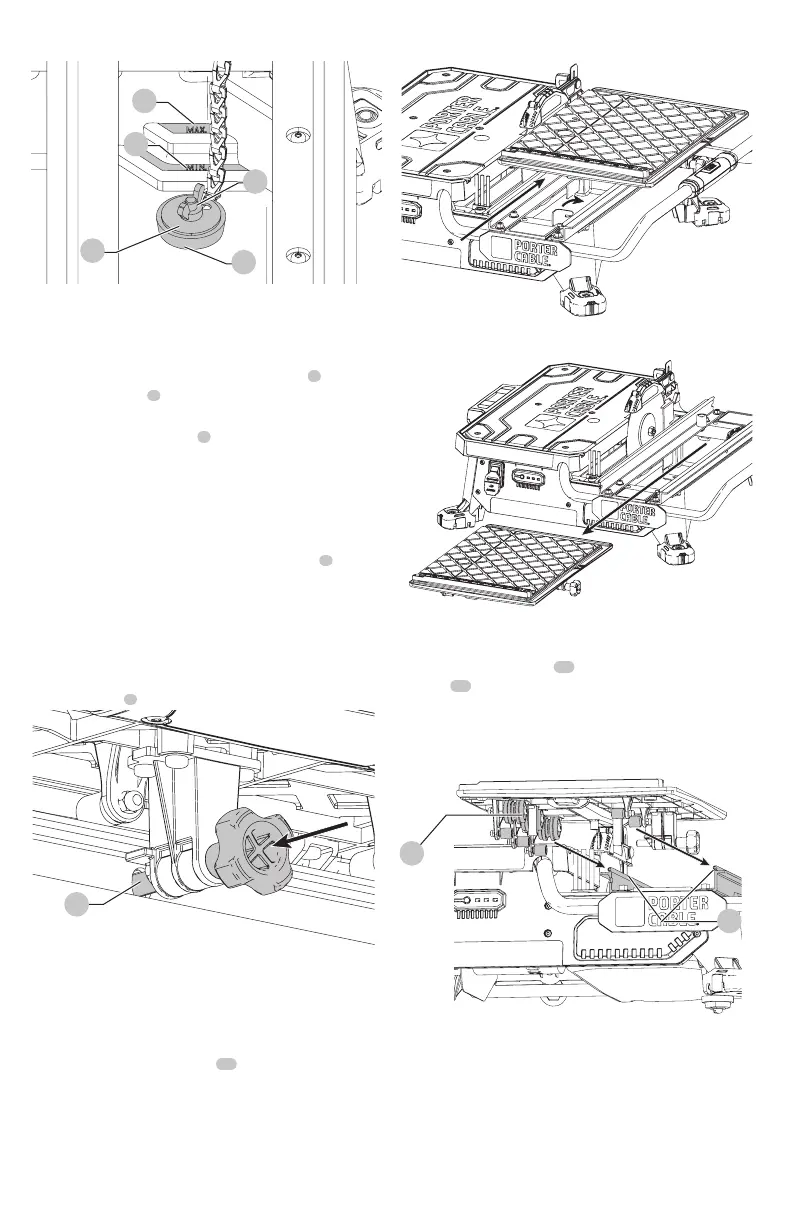
Locking the Cutting Cart (Fig. O)
There is one locking position for thecart.
Move the cart to the lock position and lock the cart by
pushing the pin
3
into a hole in therail.
Fig. O
3
Removal And Installation Of The Cutting
Cart (Fig.A, P, Q)
To Remove The Cutting Cart
1. Unlock the cutting cart stop
10
.
2. Slide the cutting cart off thetool.
Fig. P
Fig. Q
To Install The Cutting Cart
1. Align rail guide rollers
28
on the cutting cart to the
rails
29
on the tool. Make sure the cutting cart lock pin
is in the unlockposition.
2. Slide the cutting cart onto thetool.
3. Lock the cutting cartstop.
Fig. R
28
29
Types of Cuts (Fig. A, S)
WARNING: Do not make freehandcuts.
Always do a practice run to acquaint yourself with the path
of the blade. Practice on a scrap tile to ensure that you are
comfortable with the feel of the cutting operation. Push the
cart past the blade before turning the sawon.