ENGLISH
9
2. Turn the edge guide lock
8
clockwise totighten.
Fig. J
9
7
8
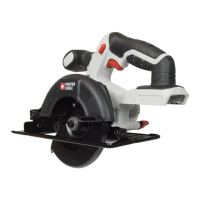
Specifcations
Voltage 20 V
RPM 2800
Depth of Cut 1.25" (32 mm)
Blade Sizes 7" (178 mm)
Arbor Size 5/8" (16 mm)
OPERATION
WARNING: To reduce the risk of serious personal
injury, turn tool off and remove the battery pack
before transporting, making any adjustments or
removing/installing attachments or accessories.
An accidental start-up can cause injury. Make sure the
switch is in the OFFposition.
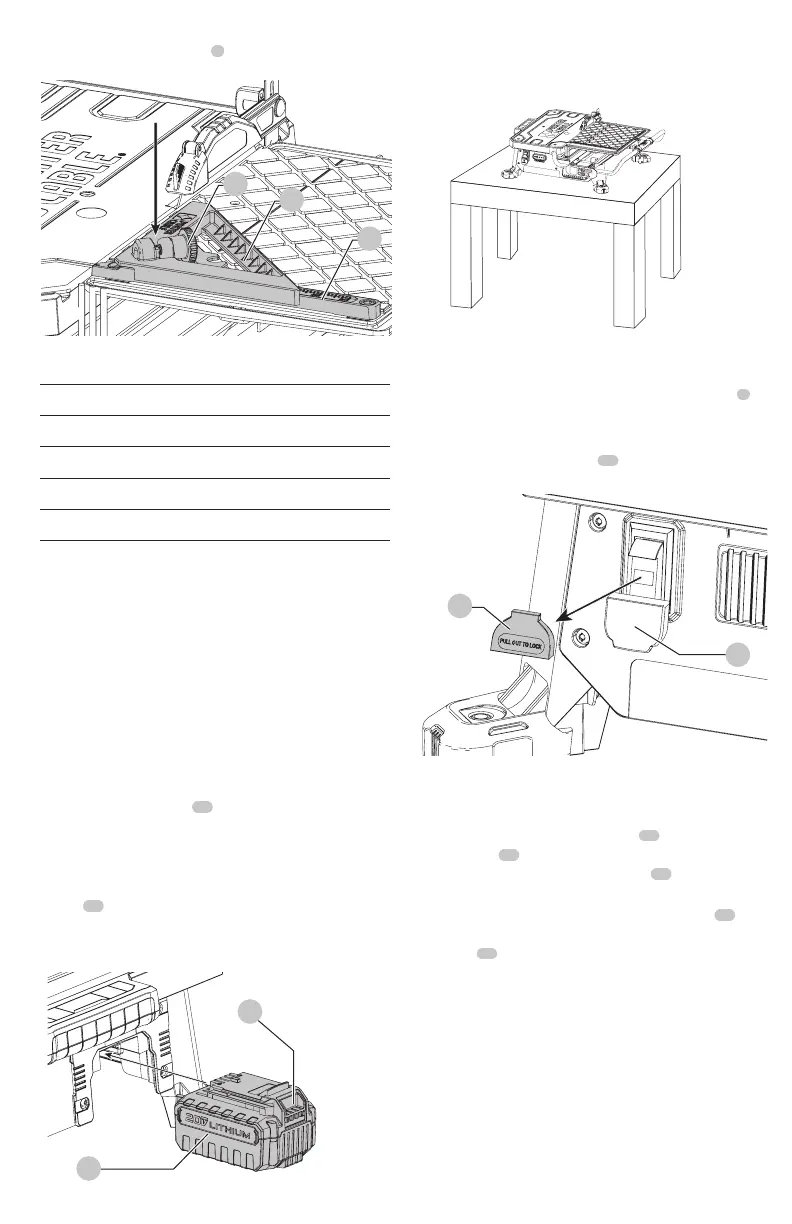
Installing and Removing the Battery Pack
(Fig. K)
NOTE: For best results, make sure your battery pack is
fullycharged.
To install the battery pack
24
into the tool, align the battery
pack with the rails on the side of the tool and slide it into
the tool until the battery pack is firmly seated in the tool and
ensure that it does notdisengage.
To remove the battery pack from the tool, press the release
button
25
and firmly pull the battery pack out of the tool.
Insert it into the charger as described in the charger section
of thismanual.
Fig. K
25
24
Tool Placement (Fig. L)
Place saw on a stable, levelsurface.
Fig. L
On/Off Switch (Fig. M)
• To turn the wet tile saw on, lift up the on/off switch
1
.
• The wet tile saw locks onautomatically.
• To turn the tool off, push the on/off switchdown.
NOTE: A removable safety lock
26
. can be removed to deter
unauthorizeduse.
Fig. M
26
1
Filling and Draining the Water Reservoir
(Fig. N)
1. Plug the water reservoir drain hole
21
with the
drain plug
22
. Secure the drain plug into position
by tightening the attached wing nut
23
as shown in
FigureN.
2. Slowly fill the water reservoir to the MIN fill line
30
, to
prevent accidental overfilling. Do not fill above the MAX
fill line
31
. (Fig N)
3. To drain the reservoir, p
lace a 5 gallon (19liter) bucket
under the drainplug.
4. Remove the drain plug by loosening the attached wing
nut and allow the water to empty into thebucket.