GAM Quick Installation Guide
Positron Access Solutions 23 Document 180-0211-001 R01
You are now ready to securely fasten the cover back onto the enclosure.
Step 18: use a 5 mm Allen (hex) key to secure
the 4 screws to ensure the IP67 water
protection of the enclosure. Tighten the screws
in an X fashion (top-right, bottom-left, top left,
bottom right).
The final step is the installation of the mounting bracket. The mounting bracket
included with the GAM enclosure facilitates installation on a pole or a flat surface.
You can also strand-mount the device using the optional GAM-STRAND-KIT
adapter.
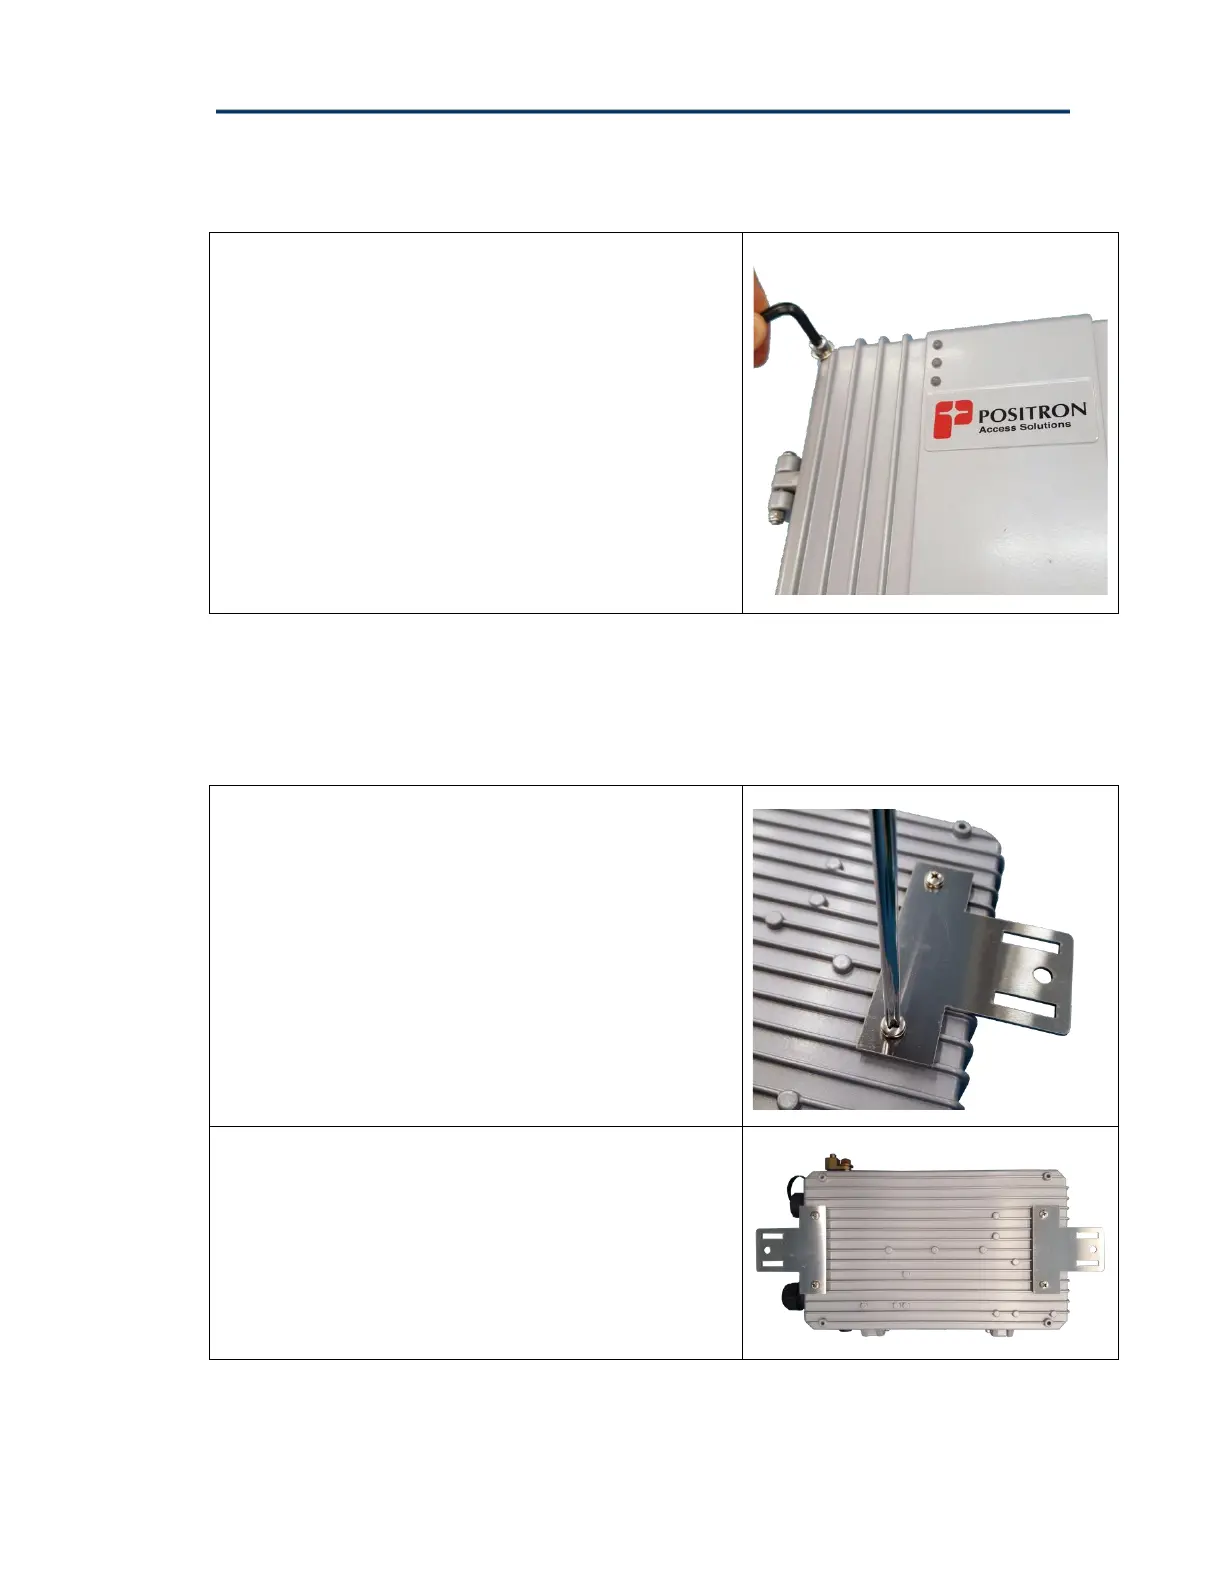
Step 19: the top and bottom brackets are
identical. Using the Phillips screws supplied
with the unit to fasten the bracket on the back
side of the enclosure.
Step 20: Once both brackets are attached to
the enclosure, you are ready to install the unit at
its definitive location.