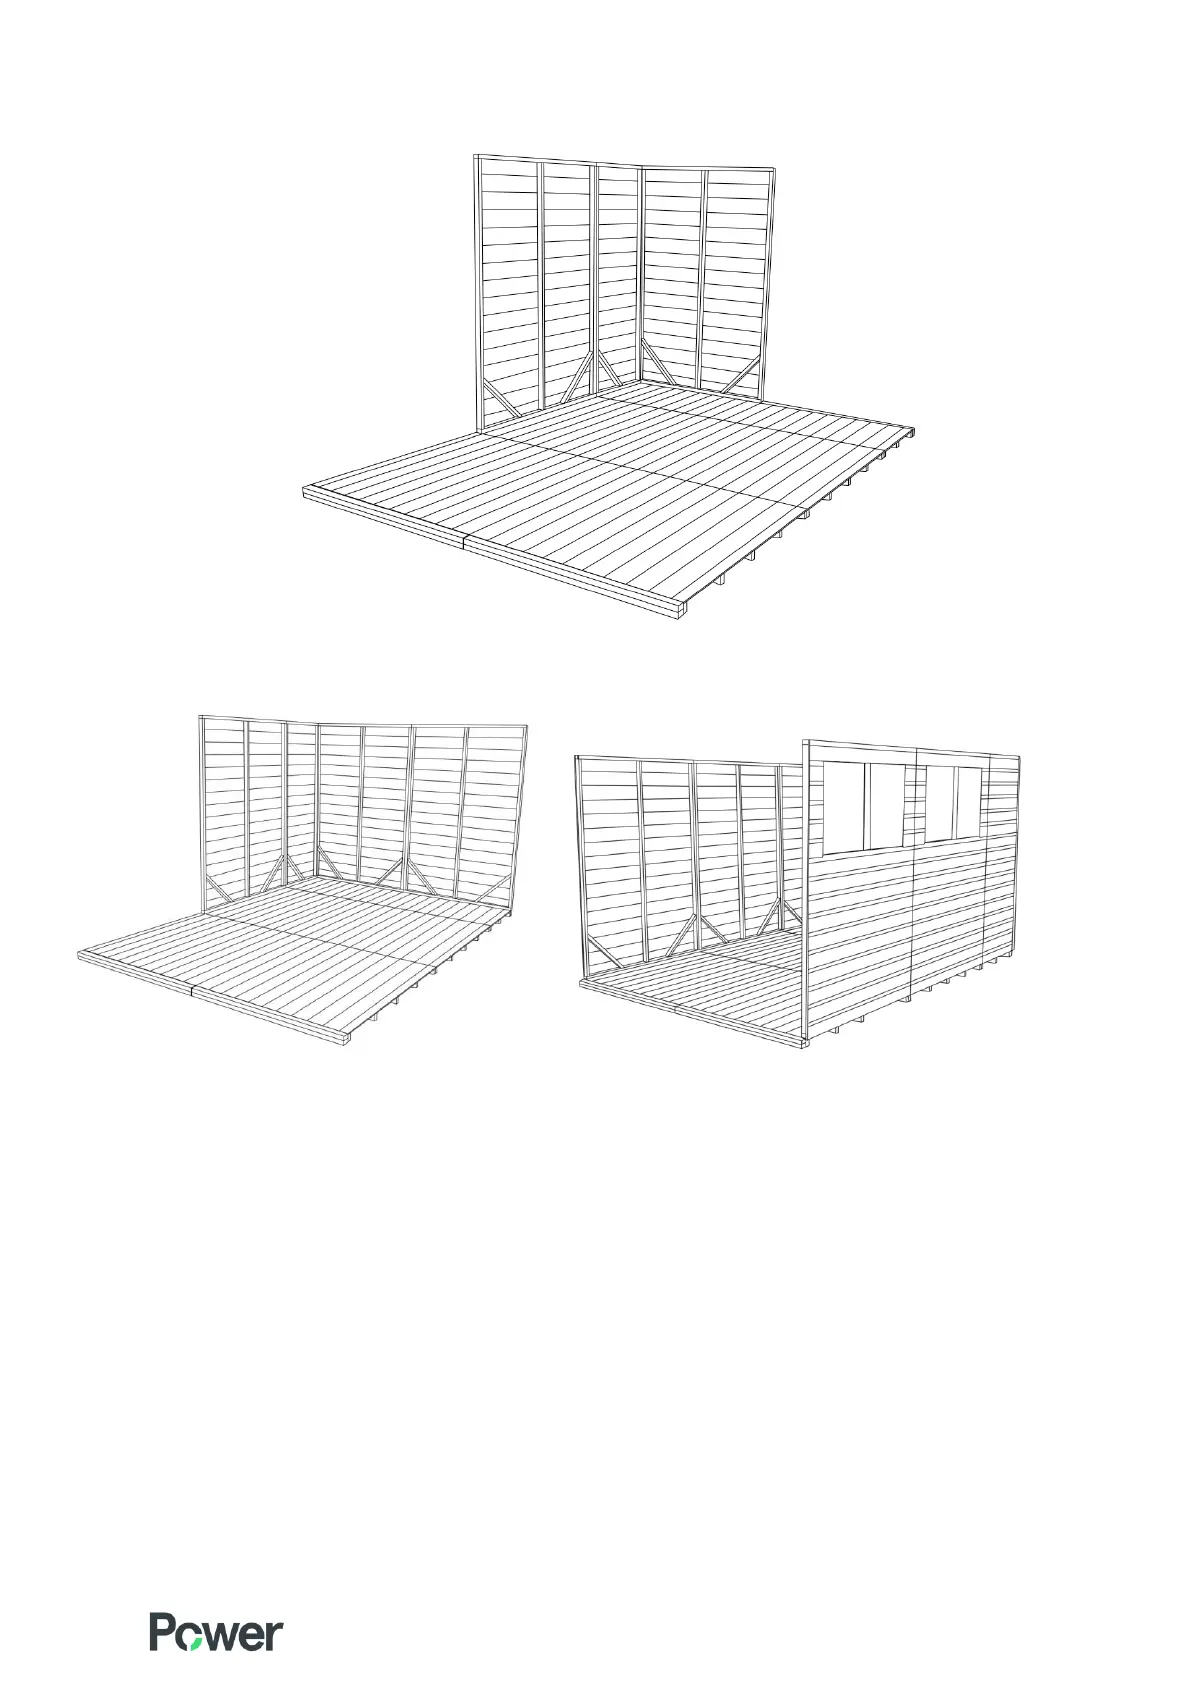
7. Place another wall panel and again secure using the 50mm screws provided.
Again, use three screws per join.
8. Continue doing this to place all remaining wall panels in position.
9. When you have secured all the wall panels (door panel, 2ft and 4ft blank panels, window panels) you then
need to secure these to the floor using 70mm screws provided. Screw into the floor with 2x screws for every
wall panel (internally) ensuring the screws are driven through the framing at the bottom of the side/gable
walls, through the floor boards and into the floor joists.
USEFUL TIPS!
You can work out the position of the floor joists from the location of the existing nails in the floor.
It may need screwing at an angle to ensure the screws go into the floor joists as bracing or upright pieces of
framing could be in the way
If you are securing these panels against a wall (which gives you little access to nail the cover strips on, explained
later) you can pre-assemble a side and move the whole side into position (with the cover lats already nailed on)