The Fixing Pack
Your fixing pack will include:
• 25mm screws (silver)
• 35mm screws
• 50mm screws
• 70mm screws
• Clout nails (for the felt)
• 40mm galvanised nails
If you have ordered a Power Base, you will also receive 80mm and 100mm screws.
On the rare occasion that not enough screws are provided please contact us and make us aware so we can
send more out to yourself. Please be aware we are unable to reimburse if you purchase your own.
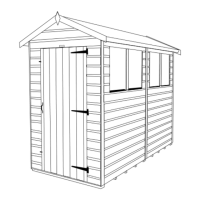
Pre-Assembly
1. Safely unpack your components and check that you have all the parts required.
Please use the table in the two previous few pages to view which components are required for the size you
have ordered.
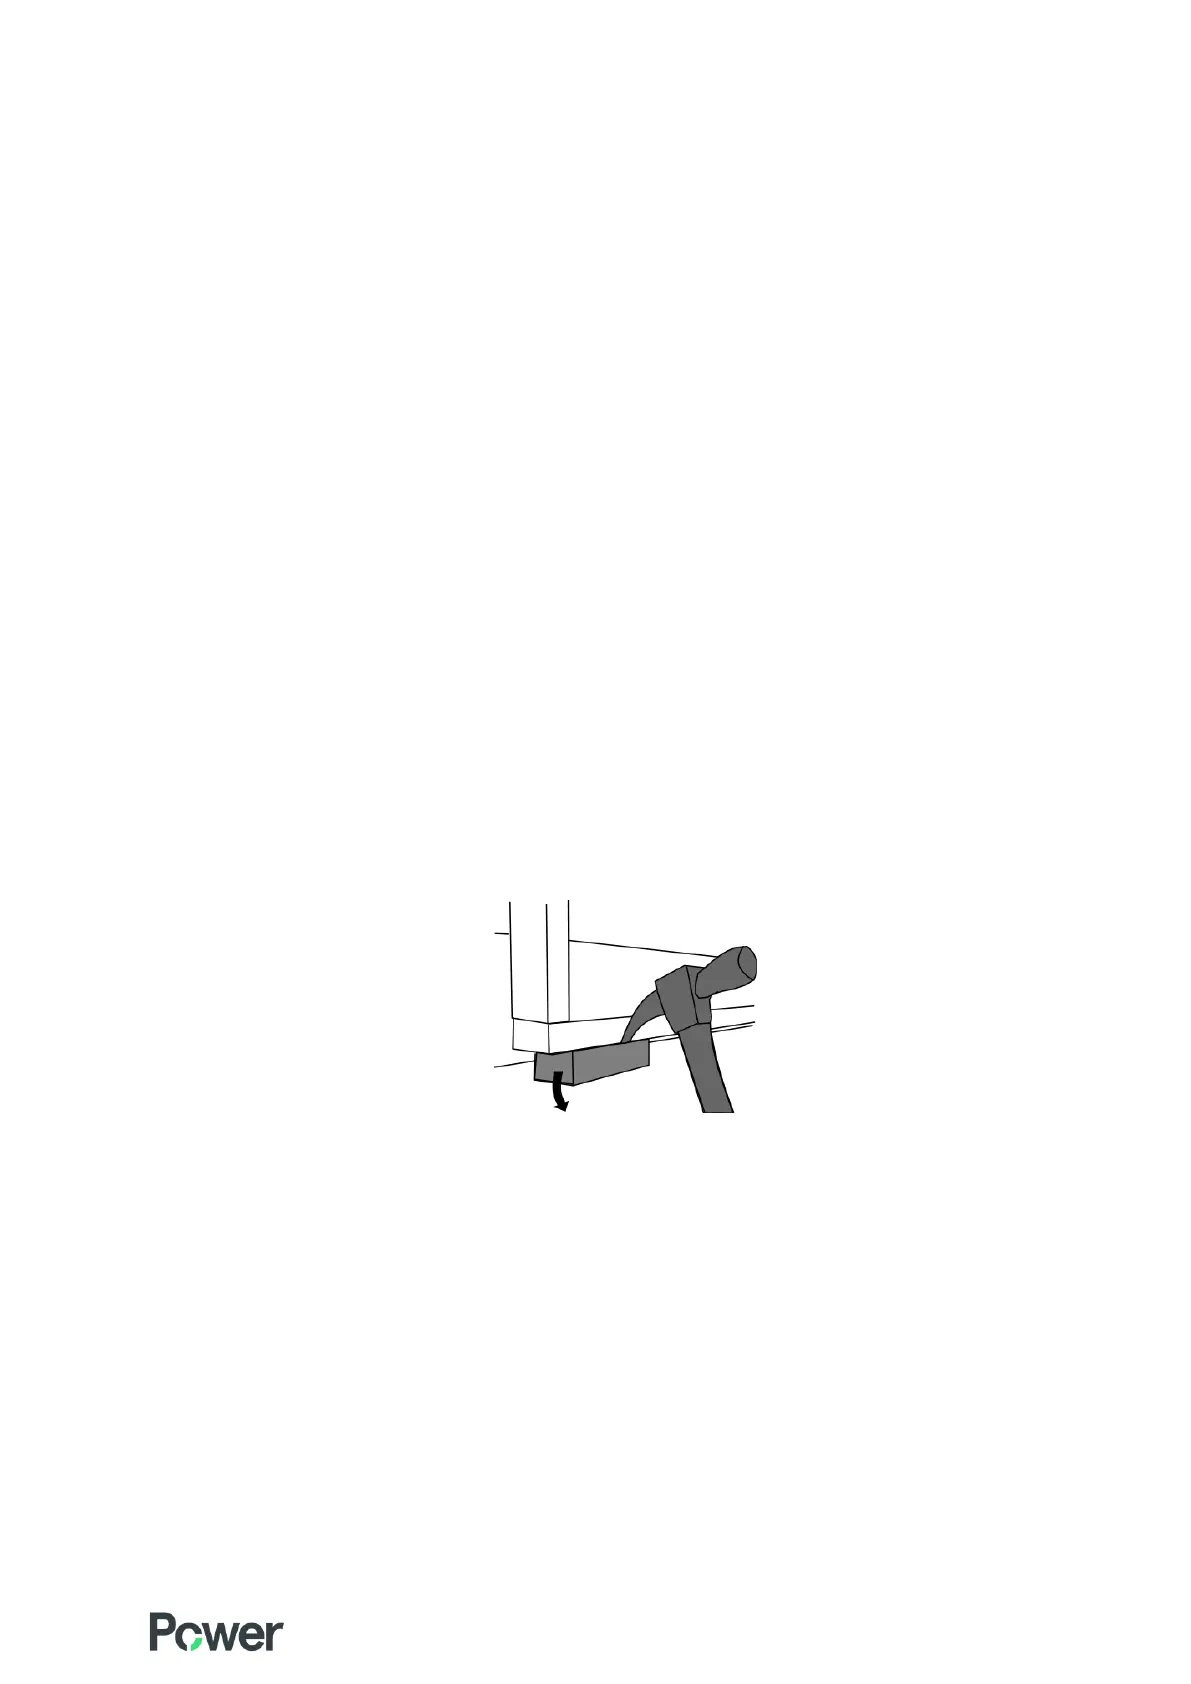
2. Carefully remove the pallet and any untreated packing timber.
3. Remove any transport blocks from the bottom of the blank and window panels. These are there to offer
further protection to the bottom board of the panel.
USEFUL TIP!
Re-treat the underside of the floor before assembly for additional protection and maximum longevity.
Drilling
In the instructions we will talk about screwing panels together. We recommend this is done with a drill.
We suggest that you pre-drill the timber with a 3mm drill bit before inserting the screws.
This will minimise the chance the timber will split.