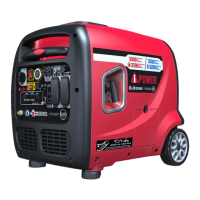
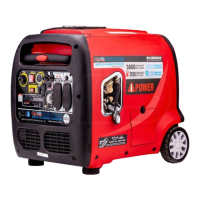
Page 09
ASSEMBLY
Your generator requires some assembly prior to
usage.
Install the Wheel Kit
Assembly the generator will require lifting the unit.
Always have assistance when lifting the generaotor.
CAUTION
Do not plug in or turn on the generator until it is fully
assembled according to the instructions. Failure to
completely understand manual and product could
result in death or serius injury.
Call our customer service at 1-855-888-3598 for any
assembly issues or concerns. Please have model
and serial number available.
NOTE:
The wheels are not intended for over-the-road use.
IMPORTANT: Before operating the generator the
shock-absorbing seat (K) must be adjusted for
clearance. Loosen the lock nut (L) and adjust the
shock absorbing seat (K) so there is about 3-4mm
gap between the top of the seat and the bottpm of
the alternator bracket (M). Re-tighten the lock nut
after adjustment.
3-4mm
1 - place generator on a flat surface.
2 - Tip the generator on a piece of cardboard or
other soft material to protect the frame paint and
prevent the generator from sliding.
3 - Slide axle pin (A) through the wheel (B), flat
washer (C) and generator frame axles hole (D).
4 - Secure everything with cotter pin (E). Repeat on
opposite side.
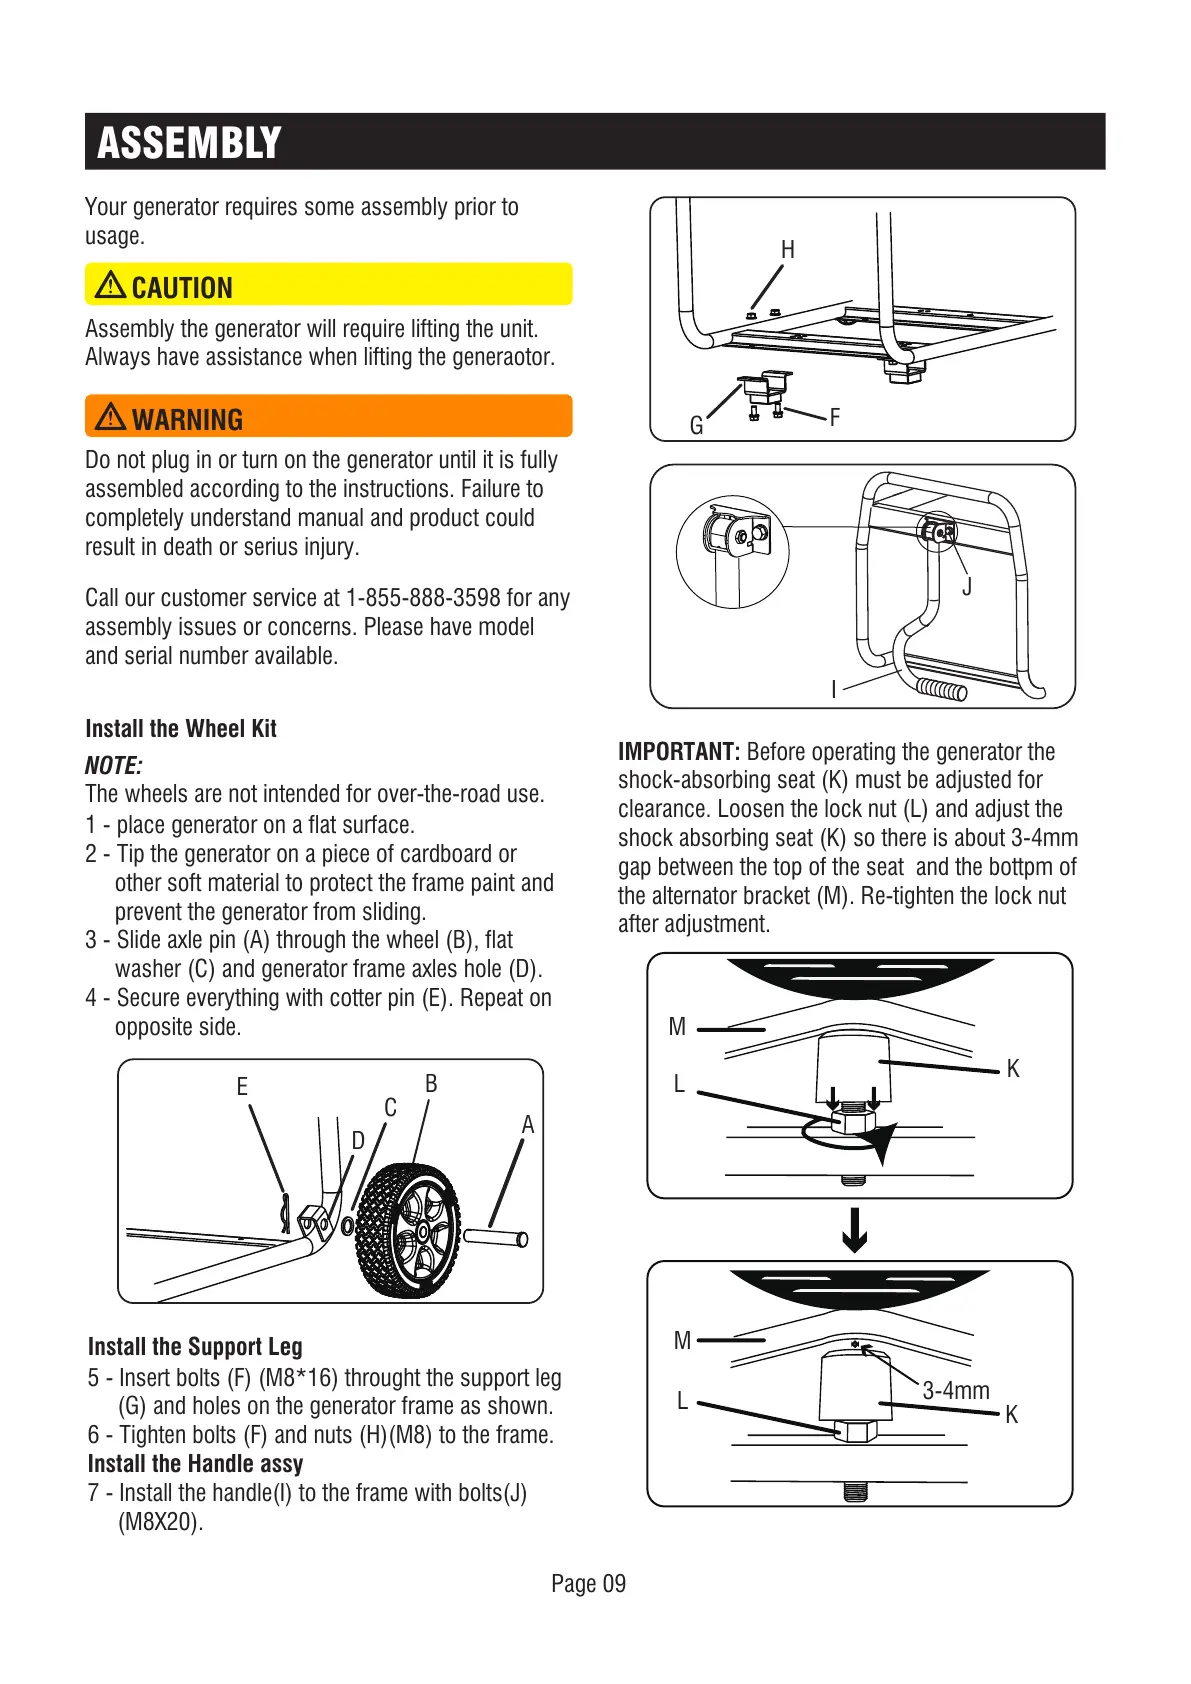
Install the Support Leg
5 - Insert bolts (F) (M8*16) throught the support leg
(G) and holes on the generator frame as shown.
6 - Tighten bolts (F) and nuts (H)(M8) to the frame.
Install the Handle assy
7 - Install the handle(I) to the frame with bolts(J)
(M8X20).
M
K
L
M
K
L
WARNING
A
B
C
D
E
G
F
H
뇈샽 25.400
I
J