Copyright © 2022-2023 PowerFlex Systems, Inc. All Rights Reserved. 8
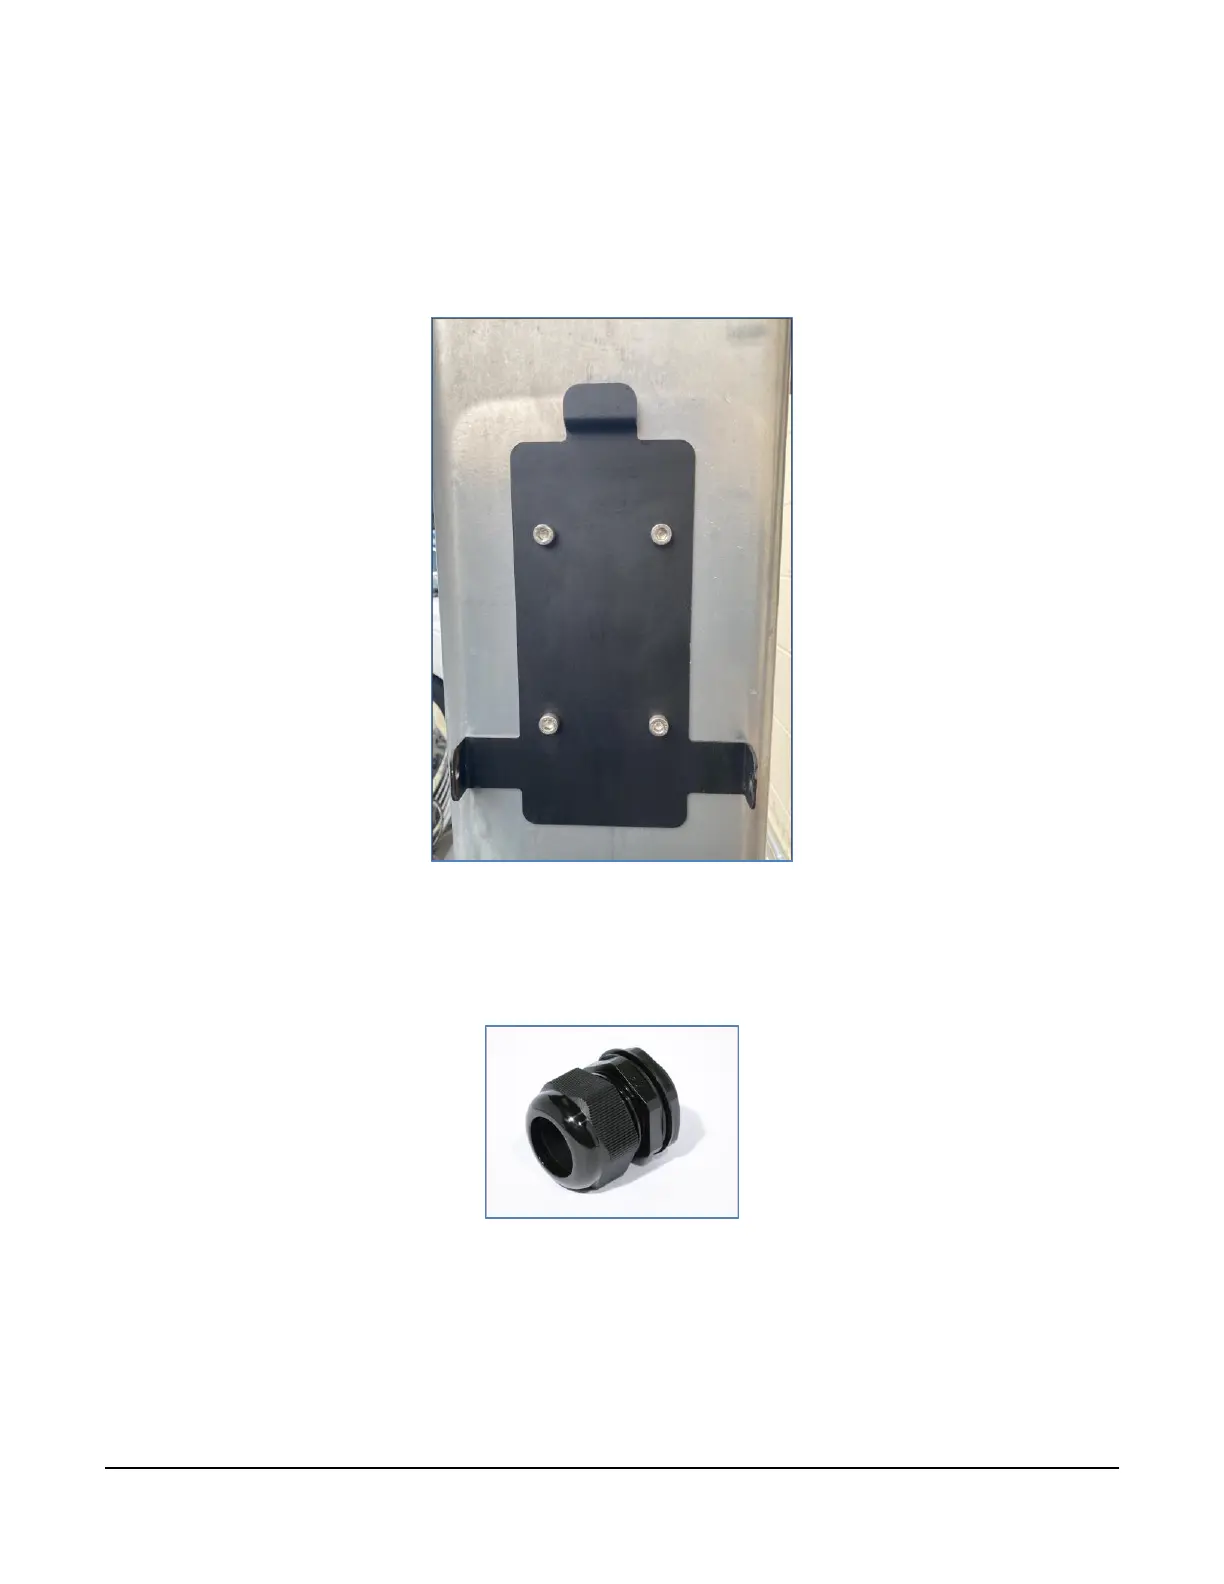
2. Remove the mounting bracket from the back of the charger by removing the two screws on the side
of the charger.
3. Place the mounting bracket on the pedestal at a location no higher than 45" from the ground.
4. Use a level to ensure the plate is level and mark the positions for the four screws on the pedestal.
5. Place the mounting bracket to the side and pre-drill four ¼" holes into the pedestal.
6. Attach the mounting bracket onto the pedestal using M6 screws (not provided).
7. If no wire management hole exists in the pedestal, use a 1 1/8" (29 mm) drill-bit to drill a hole
between 6-12 inches under the location of the charger, directly under the left cable. Use a 1" cable
gland to waterproof the cable opening: