9
5. Lay a straight edge across both extension table
and saw table to ensure proper leveling. Tap
down the extension table at various points along
its edge where it meets the saw table, until it is
level with the saw table (Figure 10). As one part
of the edge becomes level with the table, tighten
the clamp on that side. Then move to the other
side and repeat, until the full length of the edge is
level with the saw table.
NOTE: An alternate method of aligning table
surfaces is to use additional clamps at front and
back. Clamp a flat piece of wood that spans the
seam between saw table and wood extension
table, and tighten clamp until table surfaces are
even. Additional adjustment may be necessary
for full alignment.
6. When extension table is properly aligned and
clamps are tight, drill holes into the wood table
using the holes in the rails as your guide, as
follows (Figure 11).
Note: For the following steps, you may wish to drill
3/32" pilot holes first.
7. Drill 1/4" holes into front facing of wood table
using the holes in the front rail as a guide.
8. Drill 1/4" holes into back facing of wood table
using the holes in the back rail as a guide.
9. Install 1/4 x 1-1/2 flat head screws into front rail
and secure behind the wood table facing with 1/4
flat washers, lock washers and hex nuts. Finger-
tighten only.
10. Install 1/4 x 1-1/2 hex cap screws with 1/4 flat
washers into rear rail, and secure behind wood
table facing with 1/4 flat washers, lock washers
and hex nuts. Finger-tighten only.
11. Re-check the table for alignment, make further
adjustments if necessary, then tighten all screws
and nuts with 10mm wrench.
12. Rotate the footpads on the legs until they reach
the floor, then tighten the nut.
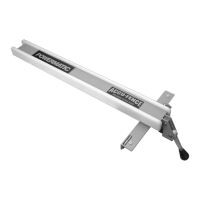
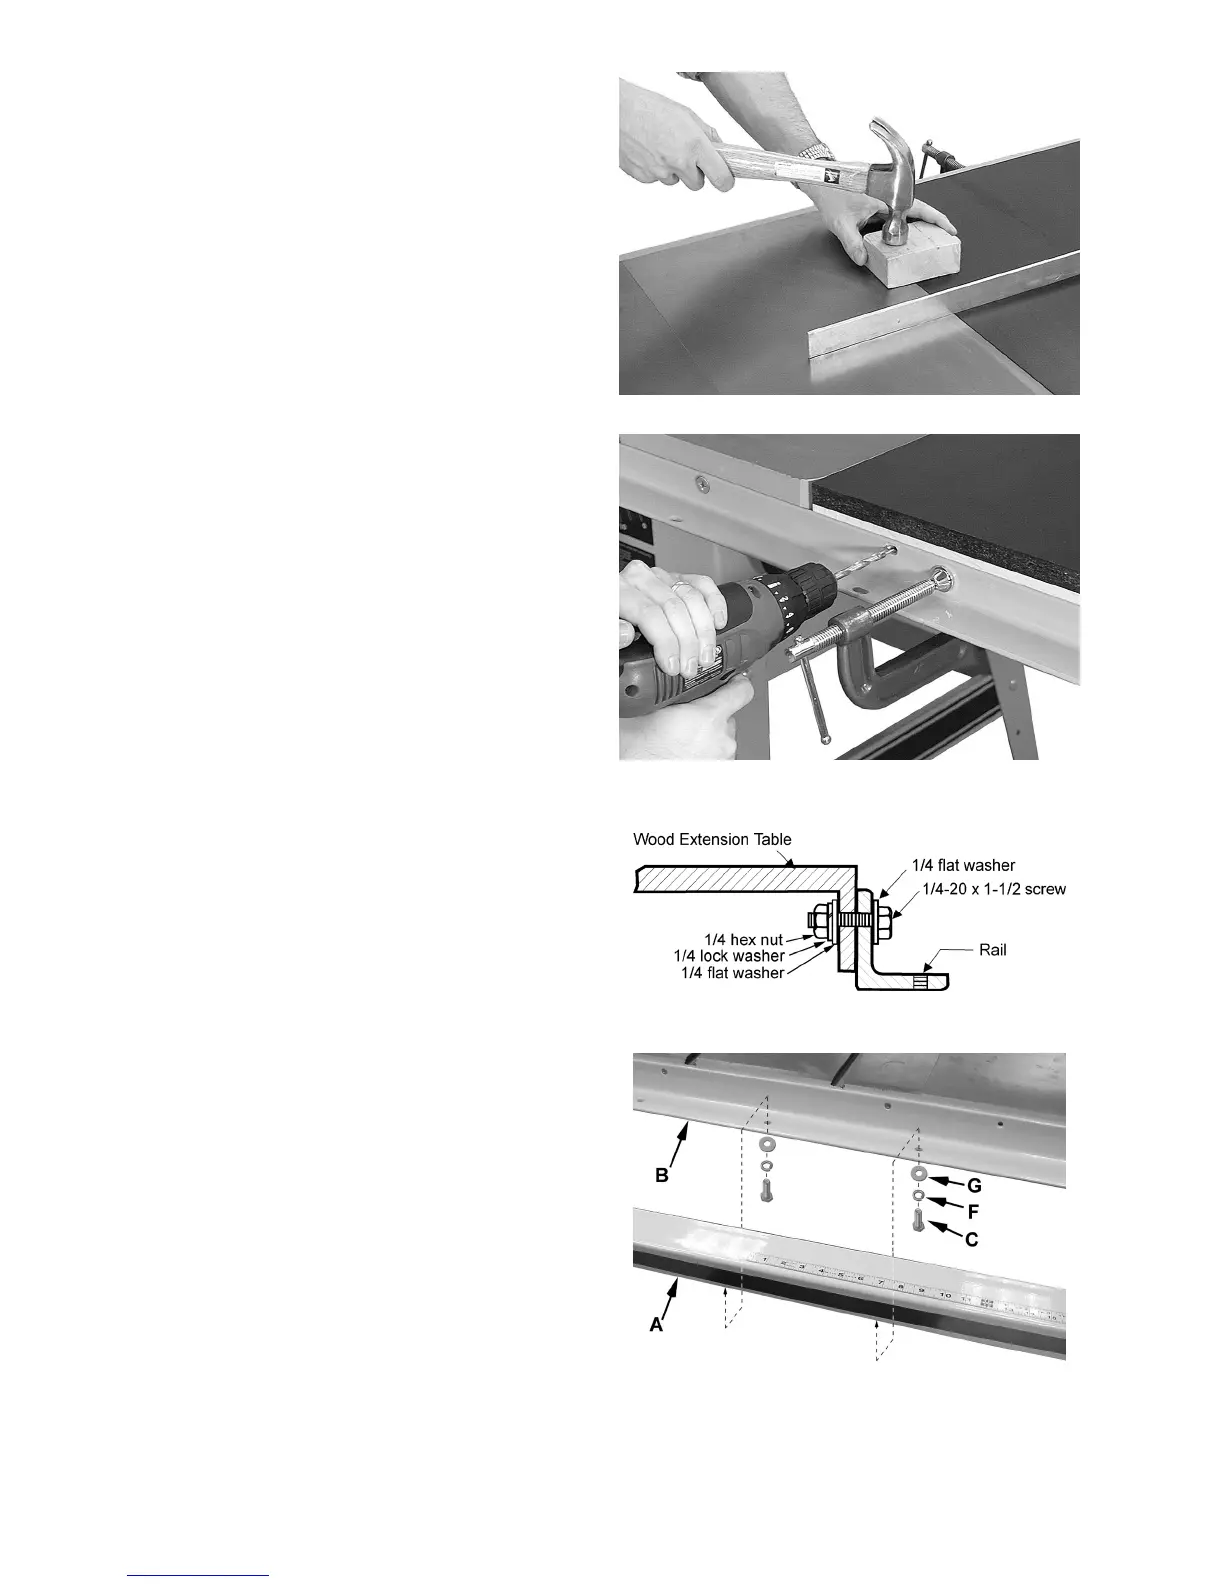
5.4 Guide tube
Refer to Figure 13:
The guide tube (A) is placed on top the front rail (B)
and is mounted with the scale facing toward the
operator.
1. Align holes in bottom of guide tube (A) with holes
in front rail (B).
2. Fasten guide tube to rail from beneath with 1/4 x
3/4 hex cap screws (C), lock washers (F) and flat
washers (G). Finger-tighten only.
3. Measure from guide tube to table edge in several
places, to ensure it is parallel with table top.
Adjust as needed, and tighten all screws with a
10mm wrench.
Figure 10
Figure 11
Figure 12
Figure 13
 Loading...