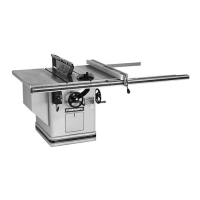
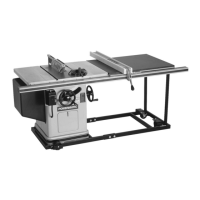
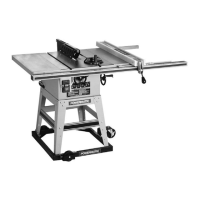
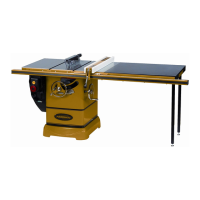
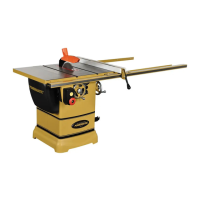
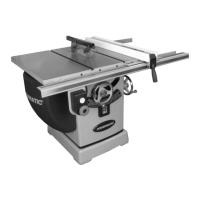
8
RECEIVING THE SAW
Open shipping container and all separate cartons con-
taining rails and accessories. Report any damage
immediately to your distributor. Read the instruction
manual thoroughly for assembly, alignment, mainte-
nance and safety instructions.
Box contents:
Box 1: table saw, extension wings, mitre gauge,
manual
Box 2: splitter and guard assembly, splitter support
shaft, arbor wrench
Box 3: Accu-Fence, lock handle, manual
Box 4: Front & rear rails, guide tube, hardware bag
(The contents of the fence & rail hardware can be found
in the Accu-Fence manual)
INSTALLATION AND ASSEMBLY
Tools required
3/8, 7/16, 1/2, 9/16, 3/4 wrenches
1/8 and 3/32 hex wrenches
Flat head screwdriver
Hammer & wood block (or rubber mallet)
Straight edge
Combination square
1. Remove box and wood crating from around saw.
2. With a 9/16" wrench, remove the carriage bolt
holding the extension wings together and set wings
aside for later installation.
3. With a 7/16" wrench, remove the lag screws hold-
ing the saw to the wooden skid. Carefully slide the
saw from the pallet onto the floor.
4. Tilt the saw, and pop off the metal tabs that se-
cured the saw to the skid, by pushing down on them.
NOTE: Exposed metal parts such as the top and ex-
tension wings have been given a protective coating at
the factory. This should be removed with a soft cloth
and solvent (such as mineral spirits) once the ma-
chine has been assembled. Do not use an abrasive
pad.