page no. 28 of 68
LX Range Users, Installation & Servicing Instructions Doc Ref M110 issue 1.0 Dec 2020.
appertaining to the area in which the heater is located,
particularly where special risks are involved such as
areas where petrol vehicles are housed, where cellulose
spraying is carried out, in wood working departments etc.
IMPORTANT:
Copper Sulphide / ‘Black Dust’
In some areas of the UK, particularly
Northern Ireland, problems have been
experienced with copper sulphide (more commonly
referred to as ‘Black Dust’) forming on the inner
surfaces of copper gas supply pipework. This dust can
enter the gas stream and may lead to blockages of
valves, filters and injectors.
If this heater is being installed in an area where ‘Black
Dust’ is known to be a problem, and copper gas supply
pipework is used, it is recommended that a filter having a
stainless steel 50 micron mesh and suitable for Natural
Gas is fitted at the inlet to the appliance immediately
downstream of the main appliance isolation valve. The
end user should be advised that the filter will require
periodic cleaning or replacement at least once per year,
during the annual service, or more often if the problem is
severe.
Note: Read the entire document before
commencing installation.
Note: The minimum clearances must be
observed for installation and servicing.
Warning: Any combustible material adjacent
to the air heater and the flue system must
be so placed or shielded as to ensure that its
temperature does not exceed 65°C.
Warning: When any modular components
are used in conjunction with the heater each
component must be individually supported.
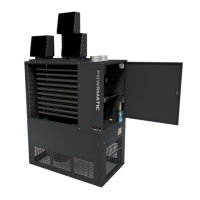
2.1.3. Suspending the Heater
Note: The access door to the controls section
may be removed to improve access. Open the
door to 90°, remove the earth cable at the
bottom, and then lift the door vertically
upwards to disengage the hinge plates. Refit in reverse
order. Ensure that the earth cable is refitted.
The air heater may be installed either:
a) suspended from suitable vertical drop rods
(recommended maximum length is 1.8m).
b) on specifically designed cantilever brackets from a non
combustible wall.
c) on a level noncombustible surface. The surface must
not extend past the front edge of LX heaters.
The method of installation must be capable of adequately
supporting the weight of the unit (See section 1.2) and
any ancillary equipment. Before installing the heater
the existing structure must be inspected to ensure it is
suitable. All supports should be protected against the
effects of rust or corrosion.
Raise the heater up to the point of installation using
suitable and safe means and connect to the means of
suspension.
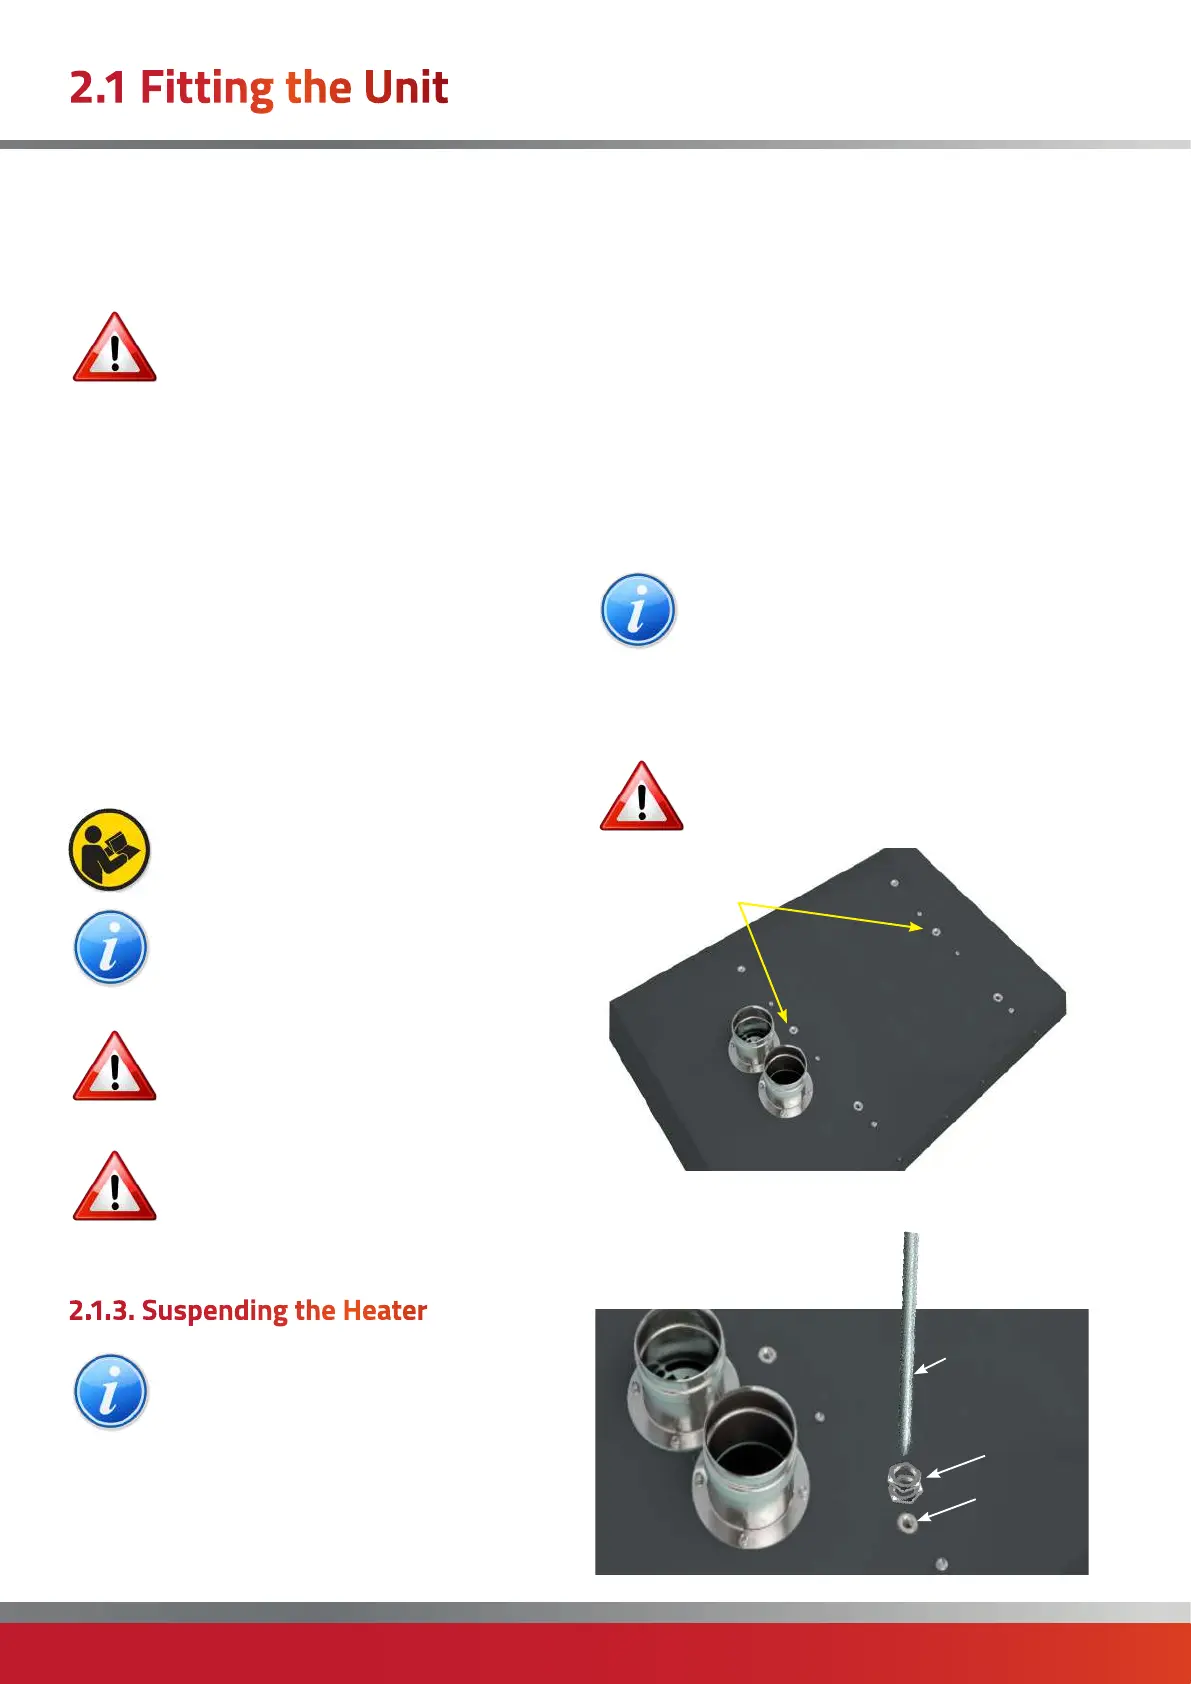
Note: Each heater is provided with additional
central suspension points (suspension points
running along the front and back are for
permanent connection, suspension points
running left to right in the centre are for temporary
support) that can be used to provide temporary support,
using suitable means, whilst the unit is being installed.
IMPORTANT: Under no circumstances must
these points be used as the final means of
suspension.
Temporary
supports
Threaded drop rods must have lock nuts fitted that are
tightened down onto the 10mm fixings in the heater.
All thread rod
Locknuts
Suspension
point
2.1 Fitting the Unit
 Loading...