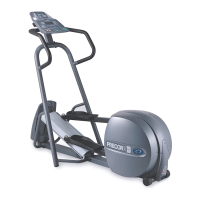
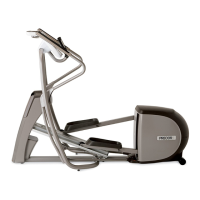
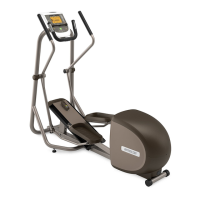
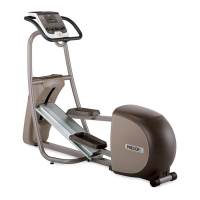
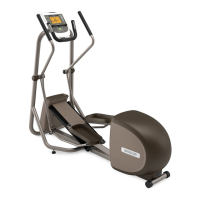
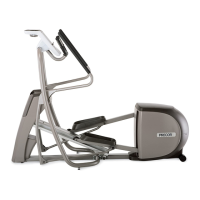
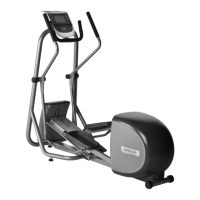
5.17 Elliptical Fitness Crosstrainer
Page 55
Procedure 6.16 - Replacing the Step-Up Pulley Assembly
1. Set the on/off switch in the “off” position and disconnect the power adapter from the EFX.
WARNING
Before continuing with this procedure, review the Warning and Caution statements listed in
Section One, Things You Should Know.
2. Remove the rear covers as described in Procedure 6.1.
3. Remove the stairarm assemblies as described in Procedure 6.22.
4. Remove the crankarm assemblies as described in Procedure 6.10.
5. Remove tension from the drive belts and remove the pillow block bearings per Procedure
6.11, steps 4 to 7.
6. Slide the step up and input belts off of the input pulley shaft and remove the input pulley and
eddy current disc assembly from the drive unit. (See Diagram 6.10, 6.12 & 6.13)
7. Remove the left and right tension bolts, locking tabs and brackets.
8. Carefully, lay the EFX on it’s side. Remove the bolts that retain mounting plate for the input
module and on/off switch. Swing the mounting plate away from the drive unit.
9. Slide the step up pulley assembly with both the step up and input belts out of the drive unit.
10. Place the step up and input belts on the replacement step up pulley.
11. Set the replacement step up pulley assembly with the step up and input belt at it’s mounting
position in the drive unit. Replace the tensioning bolts, locking tabs and brackets removed in
step 8. Thread the left and right tension bolts into the step up pulley shaft.
12. Slide the step up and input belts onto the input pulley shaft as you set the input pulley shaft
in it’s mounting position in the drive unit.
13. Slide the pillow block bearings onto the input pulley shaft.
14. Complete the installation, alignment and tensioning per Procedure 6.11, steps 8 to 13.