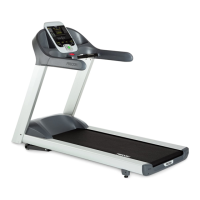
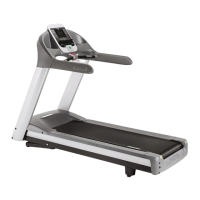
C960 Series Commercial Treadmill
Page 21
3. If the distances recorded in the previous step are equal to within 1/4 inch...
THEN... OTHERWISE...
Skip to Step 17. Continue with the next step.
4. At the PRESS ENTER FOR PROGRAMS prompt, press and hold the ENTER key.
5. Press ENTER when the display test starts.
6. With the ADJUST LIFT [YES/DN NO/UP] prompt displayed, press any
T key. The
message PRESS ENTER WHEN FINISHED is displayed on the electronic console.
7. If the distance measured at the front of the side rail is larger than the distance measured at
the back of the side rail...
THEN... OTHERWISE...
Press the INCLINE
T key until Press the INCLINE S key until the
the front and back treadmill front and back treadmill measurements
measurements are equal; then are equal; then press RESET.
press RESET.
8. Turn off the treadmill with the circuit breaker, then unplug the power cord from the wall
outlet.
WARNING
Before continuing with this procedure, review the Warning and Caution statements listed in
Section One of the Commercial Treadmill Service Manual.
9. Remove the hood.
10. Check the position of the zero sense switch in relation to the switch actuator (see Diagram
4.2).
11. If the widest point of the switch actuator is lined up with the center of the wheel on the zero
sense switch...
THEN... OTHERWISE...
The zero sense switch is calibrated The switch bracket must be adjusted;
correctly; skip to Step 16. continue with the next step.