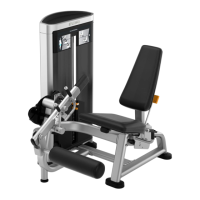
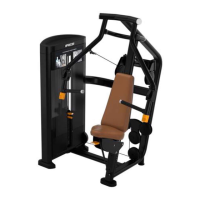
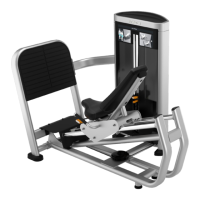
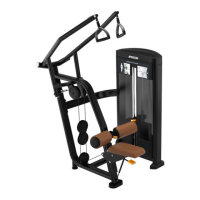
Do you have a question about the Precor Resolute RSL 314 and is the answer not in the manual?
Guidelines for placing, unpacking, and setting up the equipment.
Lists the necessary tools for assembly.
Information about Precor's trademarks.
Connect lower cross brace to weight stack tower and kick plate.
Attach upper cross brace to weight stack tower and main frame.
Align frame, tighten M12 fasteners, and note M10 screws.
Slide collars onto arm shafts and secure arms to frame.
Secure arms with washers and SHCS, then install end plugs.
Connect thigh adjustment bar to main frame with thigh bars up.
Attach seat assembly to frame and snap gas spring into place.
Adjust roller clearance using the adjustment tool.
Attach seat pad to seat assembly with wider end towards frame.
Snap cap rings onto roller pads and secure them.
Have assistant lift arms and secure cables to arms, tightening nut.
Route cable around lower pulley on weight stack tower.
Route cable to upper pulleys and tighten retainers to torque.
Align spacer, insert guide rods, place bumpers and weight plates.
Prepare lower base, secure rod, place bumper, spacer, weight, handle.
Place counterweight, straighten guide rods, and secure bolts.
Attach cable to top plate, ensuring specific requirements are met.
Apply weight labels and lubricate guide rods.
Snap lower pulley shroud onto lower front shroud and place into frame.
Place rear shroud, install middle shrouds, and install upper rear/front shrouds.
Place shroud crown on top and secure, then snap top tray into place.
Adjust feet to level equipment and anchor to floor.
Verify lubrication, cable movement, and fastener tightness.
| Brand | Precor |
|---|---|
| Model | Resolute RSL 314 |
| Category | Elliptical Trainer |
| Language | English |
