Page 12
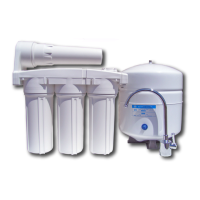
Blue Tube Connection (From The Tank to Shut off Valve)
Position tank in desired location. Stand it upright or lay it on
its side (using the black plastic stand). Measure the blue tube
(marked “TANK”) from the RO module to the tank and cut it to
length leaving a straight, square edge. Insert the tube into the
TXLFNFRQQHFW¿WWLQJRQWKHWDQNEDOOYDOYH0DNHVXUHWKHWXEH
is pushed in all the way to the tube stop (see page 7 for quick
FRQQHFW¿WWLQJXVHGLUHFWLRQV
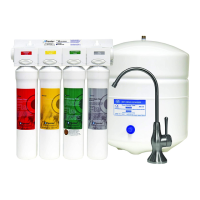
Step 19
7HÀRQWDSHPXVWEHDSSOLHGLQDFORFNZLVHGLUHFWLRQ:UDS
(7 to 12 turns) around the male pipe threads (MPT) on the
VWDLQOHVVVWHHO¿WWLQJRQWRSRIWKHWDQN
Tank Ball Valve Installation - Part#: 134018
Thread the quick connect ball valve (supplied in the parts bag)
onto the stainless steel connector on the tank.
Note: Do not over-tighten plastic connections.
Step 17
Step 18
Note: Set the blue ball valve knob in-line with the blue tube, this is the “open” position.
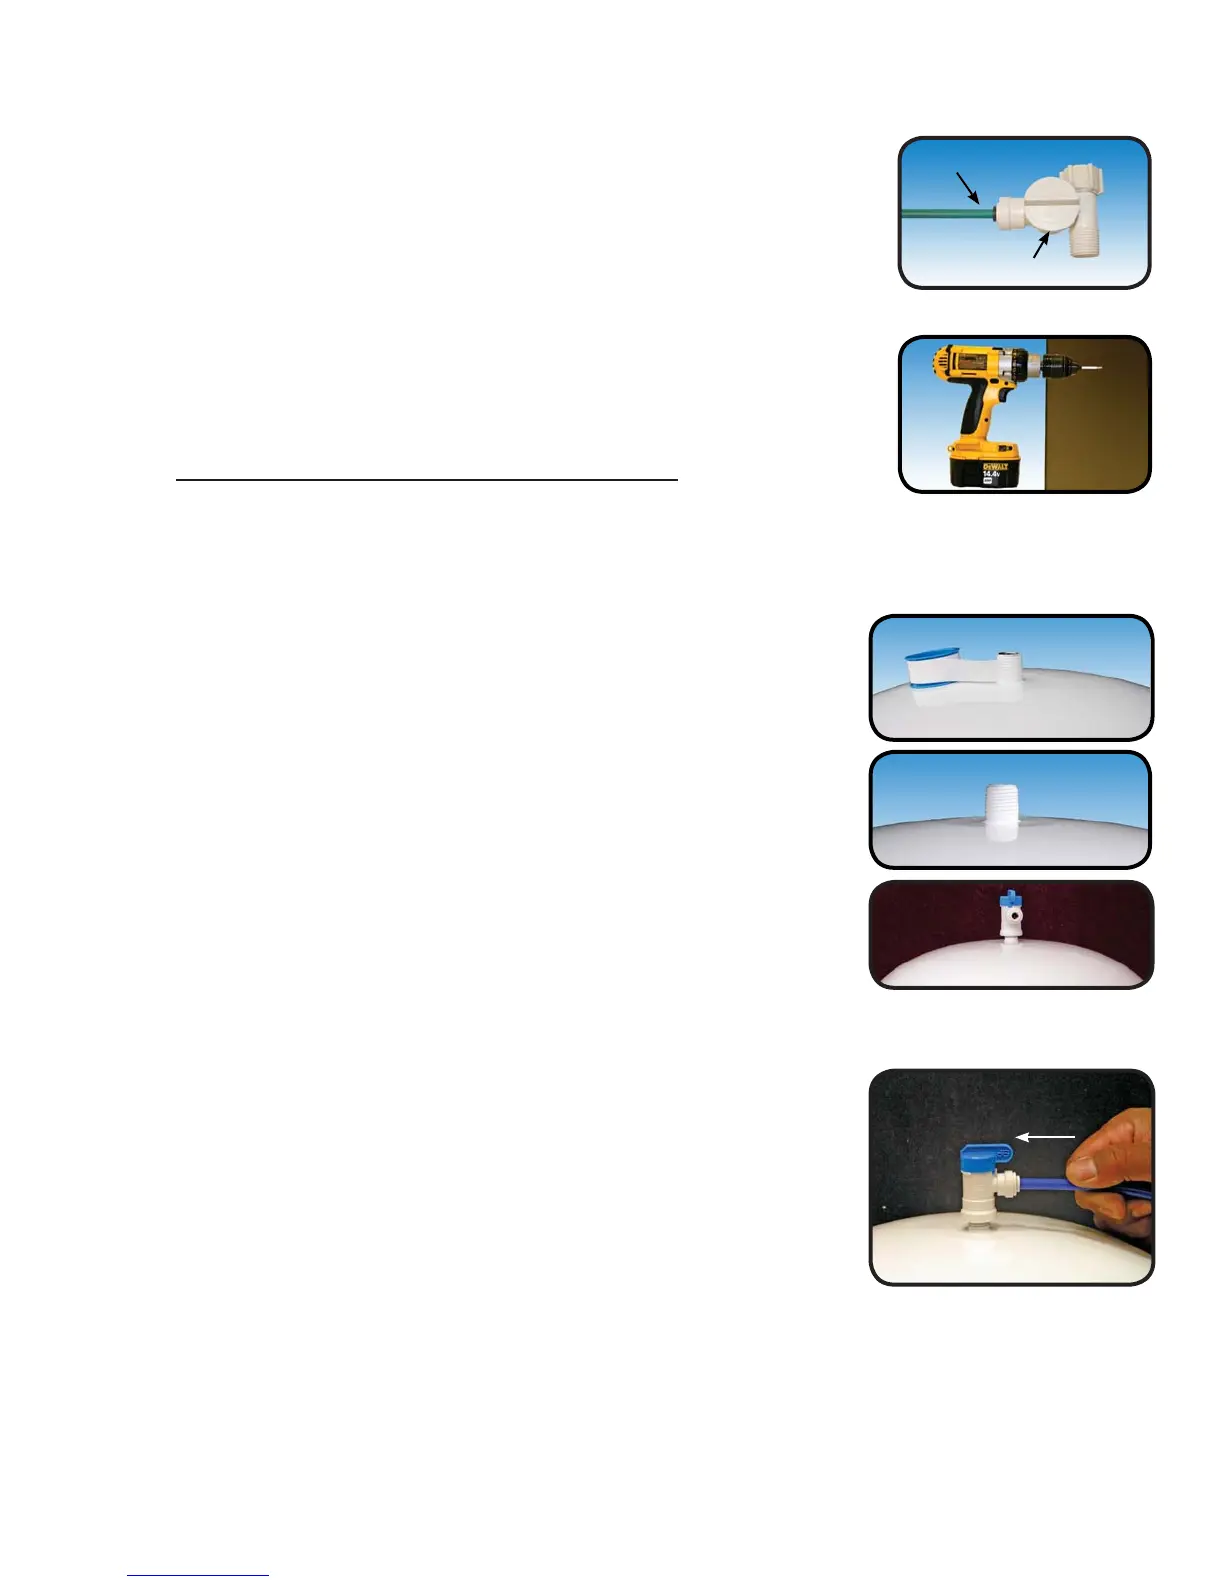
Reverse Osmosis Module Mounting
Step 16 Determine best location for the RO module to be mounted to allow
for future system maintenance. The parts bag has 2 self tapping
screws. Using an electric drill with a Phillips bit, screw them into
the cabinet wall 6” apart and 16” from the bottom of the cabinet.
Do not cut any RO system tubes at this timeNote:
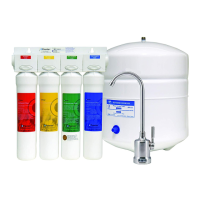
Green Tube Connection
Step 15
Locate green tube attached to the RO Module. Insert the open
HQGRIWKHJUHHQ´WXEHLQWRWKHRSHQ´TXLFNFRQQHFW¿WWLQJ
on the plastic water feed valve making sure the tube is pushed in
all the way to the tube stop.
Green Tube
Adapt-a-Valve