c) Antenna Type. If you don’t have an antenna yet, put NO ANTENNA.
d) License Level. Select your FCC license level
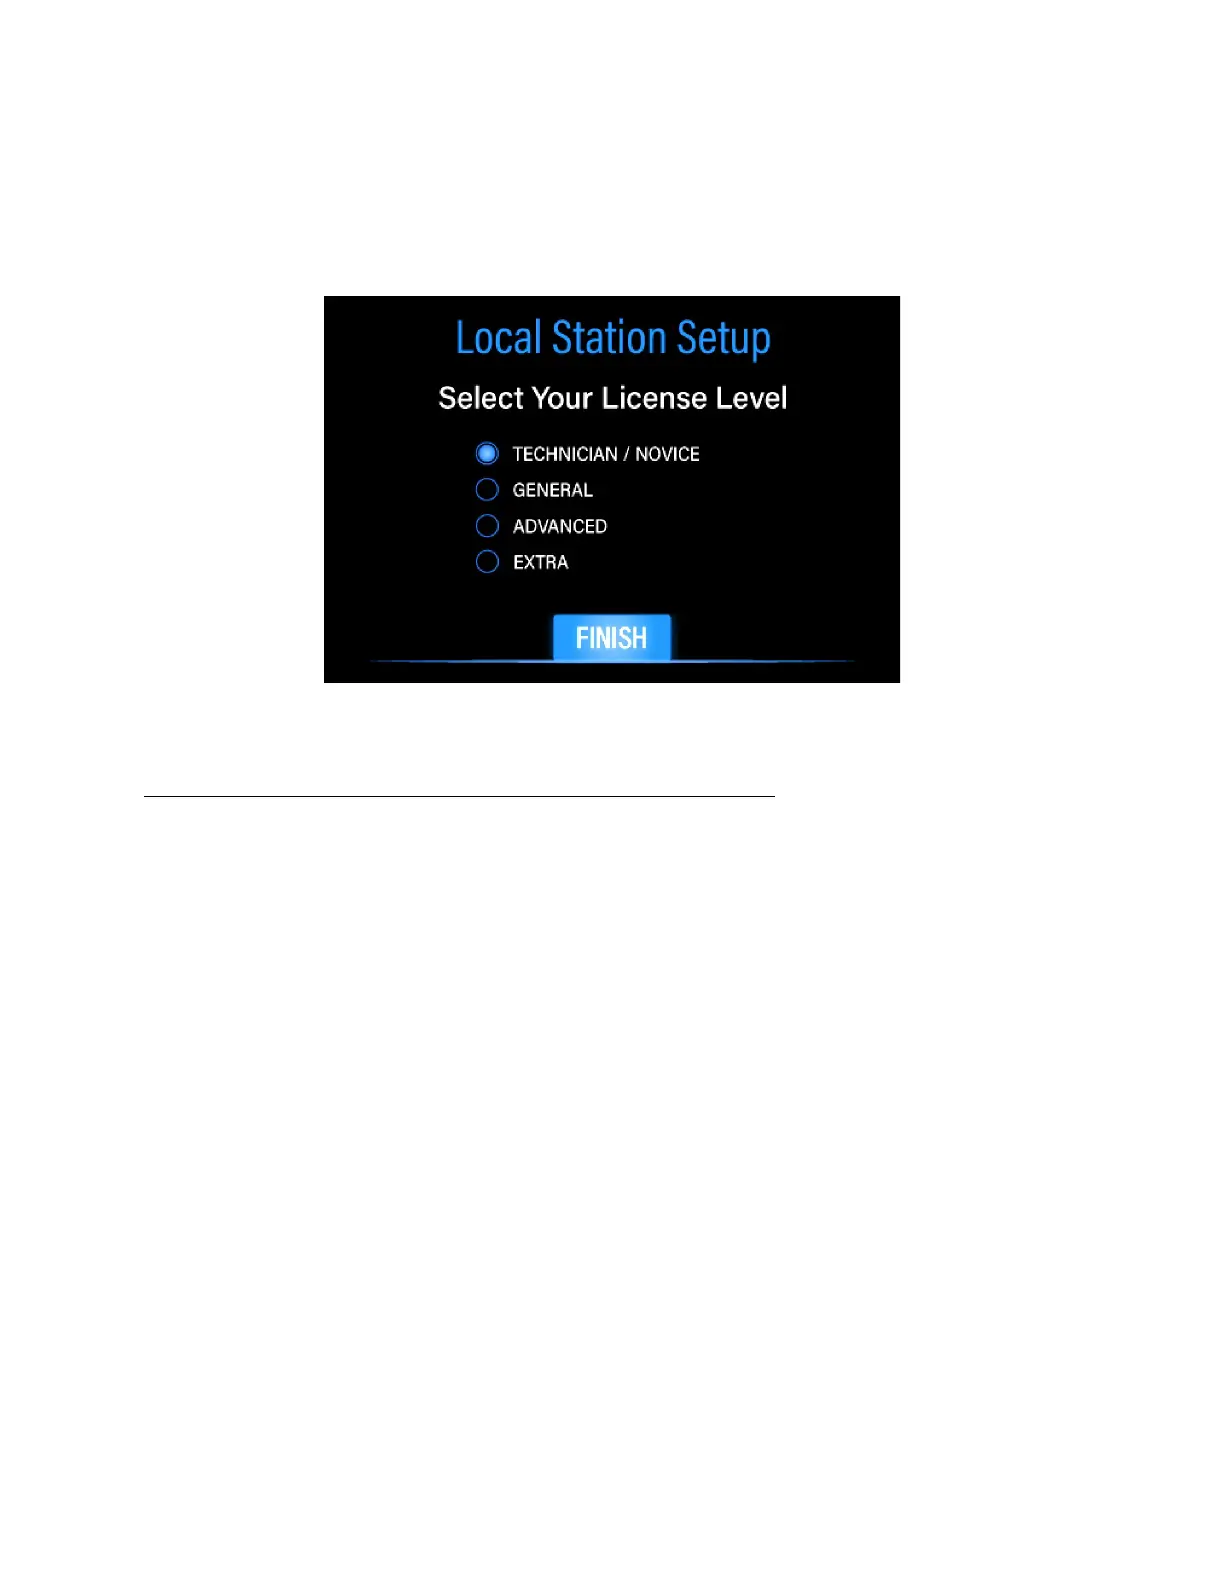
The License Level Entry screen is shown in Figure 6 below.
FIGURE 6: LICENSE LEVEL ENTRY SCREEN
7. Press the FINISH button on the License Level Screen
You will be returned to the Main Screen. You have now completed initial setup of your
DMX-40 transceiver. Before we proceed, it is important to understand how the
Frequency Button works (see Figure 3).
The Frequency Button
The DMX-40 can be thought of as two separate parts: the computer part, and the
transceiver part. The computer portion is always active when power is on. When you
see a frequency value in the Frequency Button, the transceiver section is also enabled,
and the receiver or transmitter is active, depending on receive/transmit state. .
However, when you see the word "External" instead, the internal transceiver, both
receive and transmitter, are inactive.
External Mode aka Companion Mode is useful for experimenting with the operation of
the DMX-40 without causing interference on the band, or when using the DMX-40 with
an external transceiver, allowing the computer section to control that external
transceiver by sending Morse code to it via the KEY IN/OUT jack, and listening to its
receiver via the AUDIO IN jack. Switching between Normal and External modes is a
simple touch on the Frequency Button.!