Notice we are only a few degrees off the meridian ("Meridian offset"), and close to the equator (small value of
Declination.). You are going to alternate between measuring the error (Drift), and adjusting the mount (Adjust). The rate of
declination drift tells us the amount of alignment error. Each adjustment will reduce the error, and you repeat the process
as many times as you need to get the error close to zero. Click Drift to start measuring the declination drift. PHD2 will se-
lect a guide star and start guiding. After a few moments you should see something like this:
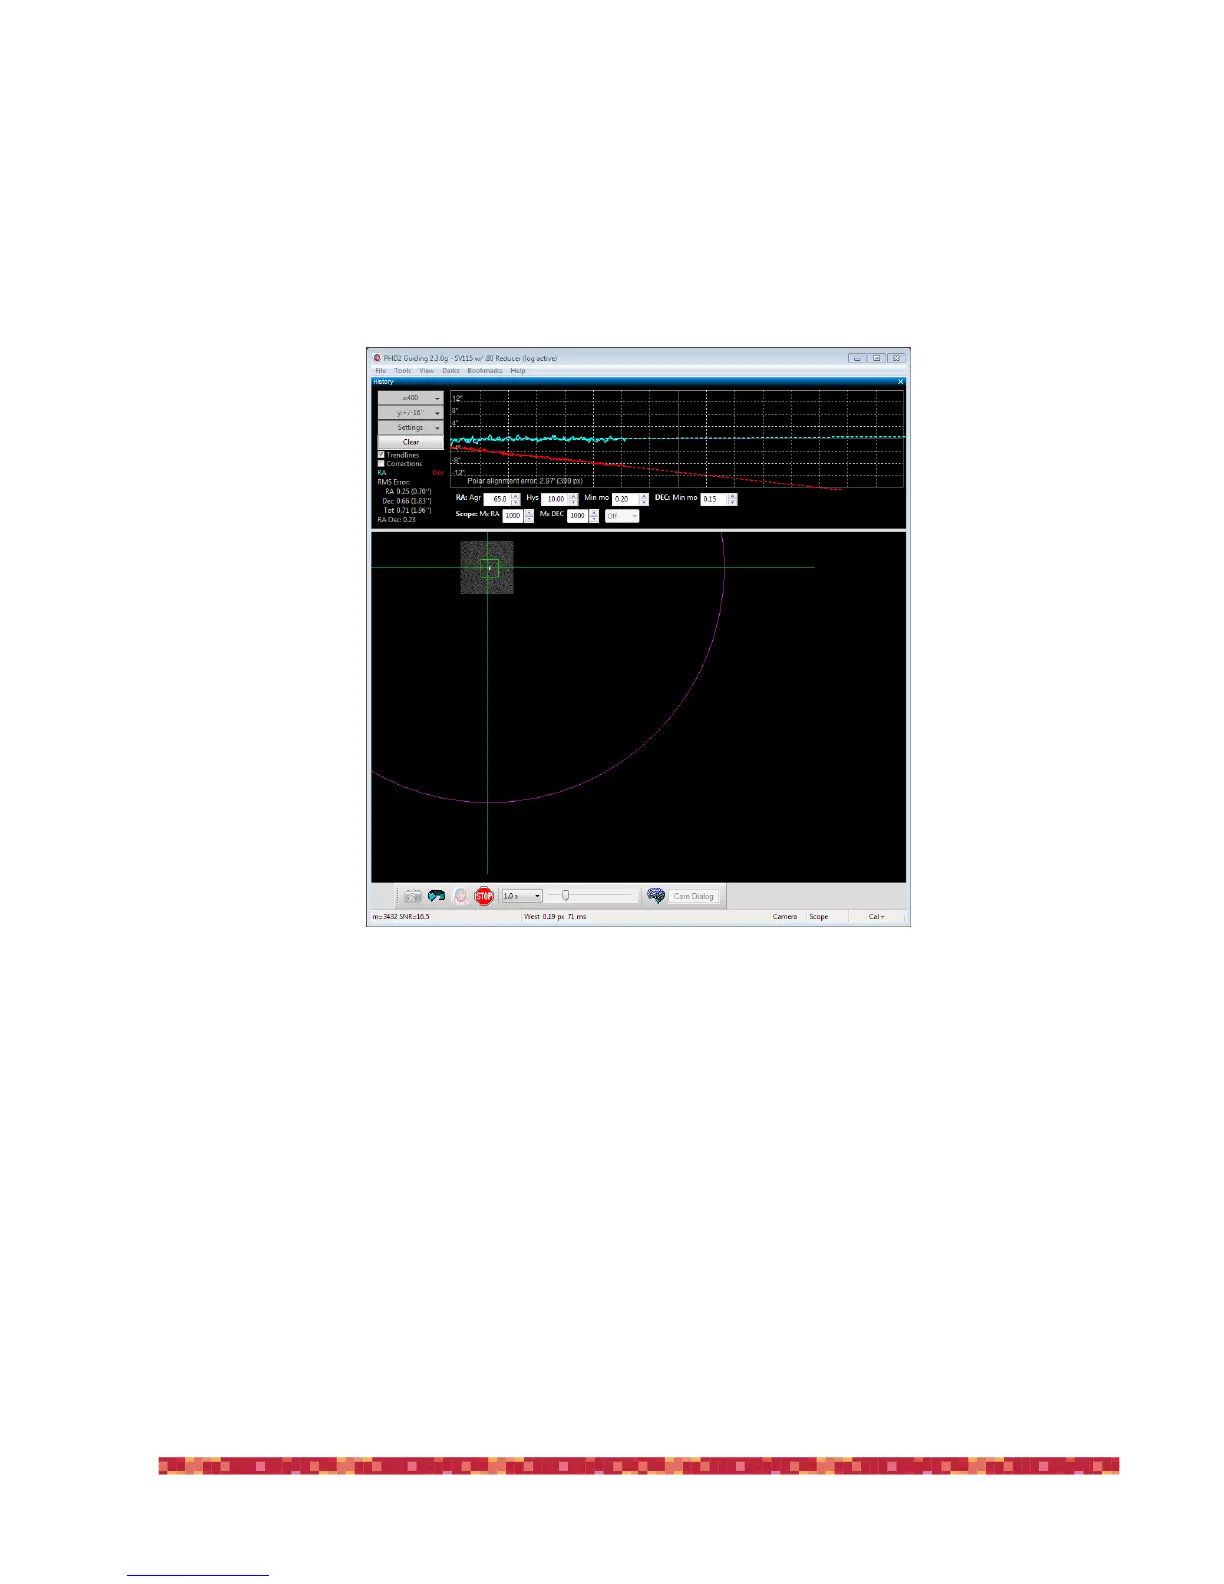
Pay particular attention to the Declination trend line (Red). At first the Dec trend line will be jumping up and down, but
soon the noise should "average out" and the slope of the line will become somewhat stable. When that happens you are
ready to adjust the mount's Azimuth. Our goal is to make the Dec trend line "flat" -- neither trending up nor down over
time. By adjusting the mount's azimuth, you will change the slope of the Dec trend line.
If this is your first time adjusting Azimuth, you will not know which way to go--East or West? PHD2 does not know either,
so you just have to guess, and you have a 50-50 chance of getting it right. If you choose correctly, the new drift line will
be flatter (less steep, closer to horizontal) If you choose incorrectly, the drift rate will increase (more steeply downward in
the example above.). Click the Adjust button. PHD2 will stop guiding, and you can make your adjustment. You'll see some-
thing like this.