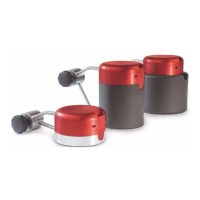
PocketMonitorPMT
28
Revision 01/2020 EN
12.4.2 Perform measurement of the laser power
1. Observe the safety instructions in chapter 12.1 on page23.
2. Set the laser to an on-time that corresponds to the desired irradiation time (10s or 20s).
If you switch the laser on manually, the temporal inaccuracy is included in the measured
value.
• The device does not check the actual irradiation time.
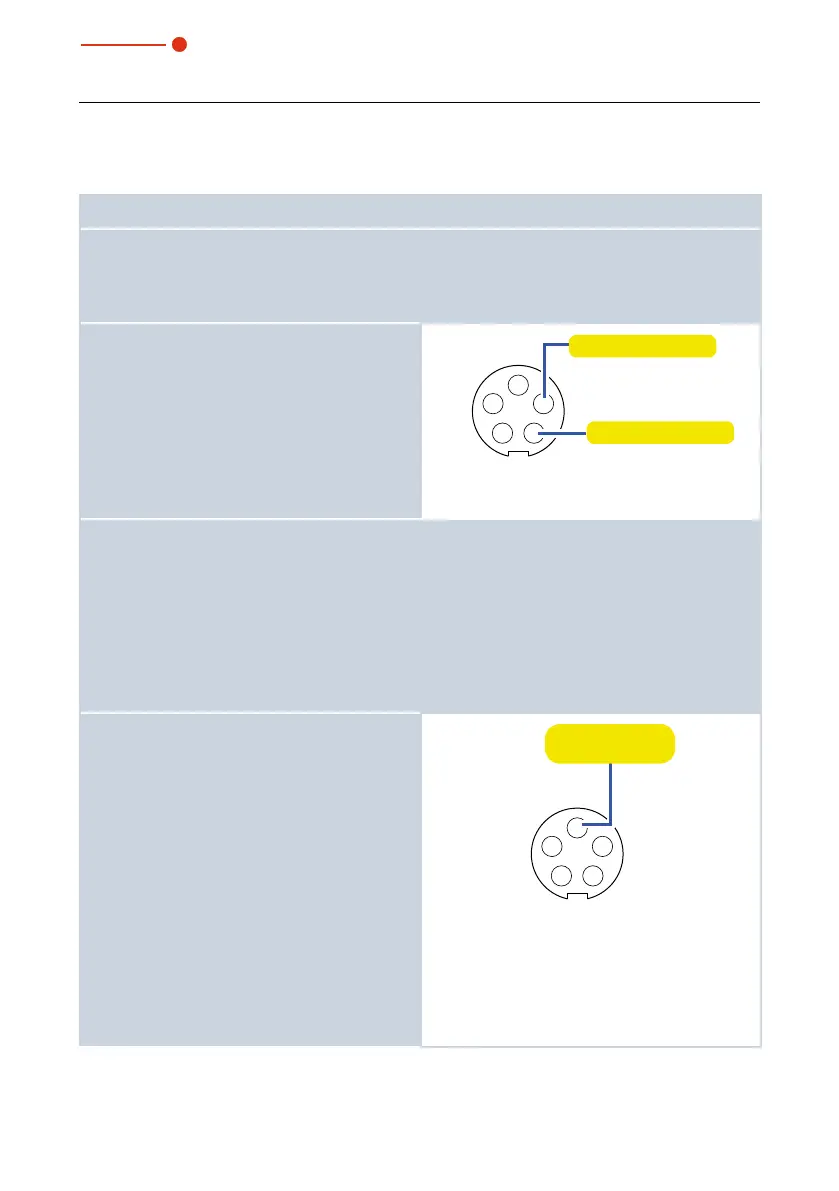
3. To set the desired irradiation time (10s
or 20s), set a 24 V pulse.
• at pin 4: setting of 20 s
• at pin 5: setting of 10 s
1
2
5
4
3
24 V pulse: 10s
24 V pulse: 20s
Pin diagram socket (top view, plug-in side)
4. Switch on the laser.
• To do so, use the shutter if possible. The power control of lasers often causes overshoo-
ting, which distorts the measurement.
• The radiation heats up the absorber. As soon as the temperature of the absorber rises
above a pre-set threshold value, the measurement begins.
5. Switch off the laser.
• After the irradiation time has run out the thermalization time begins (depending on the
absorber type 10s – 60s).
• During thermalization time the output current is reset to 4 mA.
6. To determine an offset, measure the
output current at pin3 with an ammeter
during the thermalization time.
• If the actual measured current deviates
from the 4mA value, you can use this
measurement deviation to correct an
offset.
7. To determine the laser power, measure
the output current at pin3 with an am-
meter after the thermalization time.
8. Calculate the laser power from the
output current according to Tab. 12.3 on
page29.
• The current output after the thermaliza-
tion time remains constant until a new
pulse is applied to pin4 or pin5.
1
2
5
4
3
Current output
4–20mA
Pin diagram socket (top view, plug-in side)
 Loading...