9
9. Make sure that all parts are properly tightened before you use the treadmill. Note: Extra hardware may
be included. Keep the included allen wrenches in a secure place. The large allen wrench is used to adjust the
walking belt (see page 25). To protect the floor or carpet, place a mat under the treadmill.
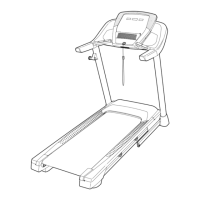
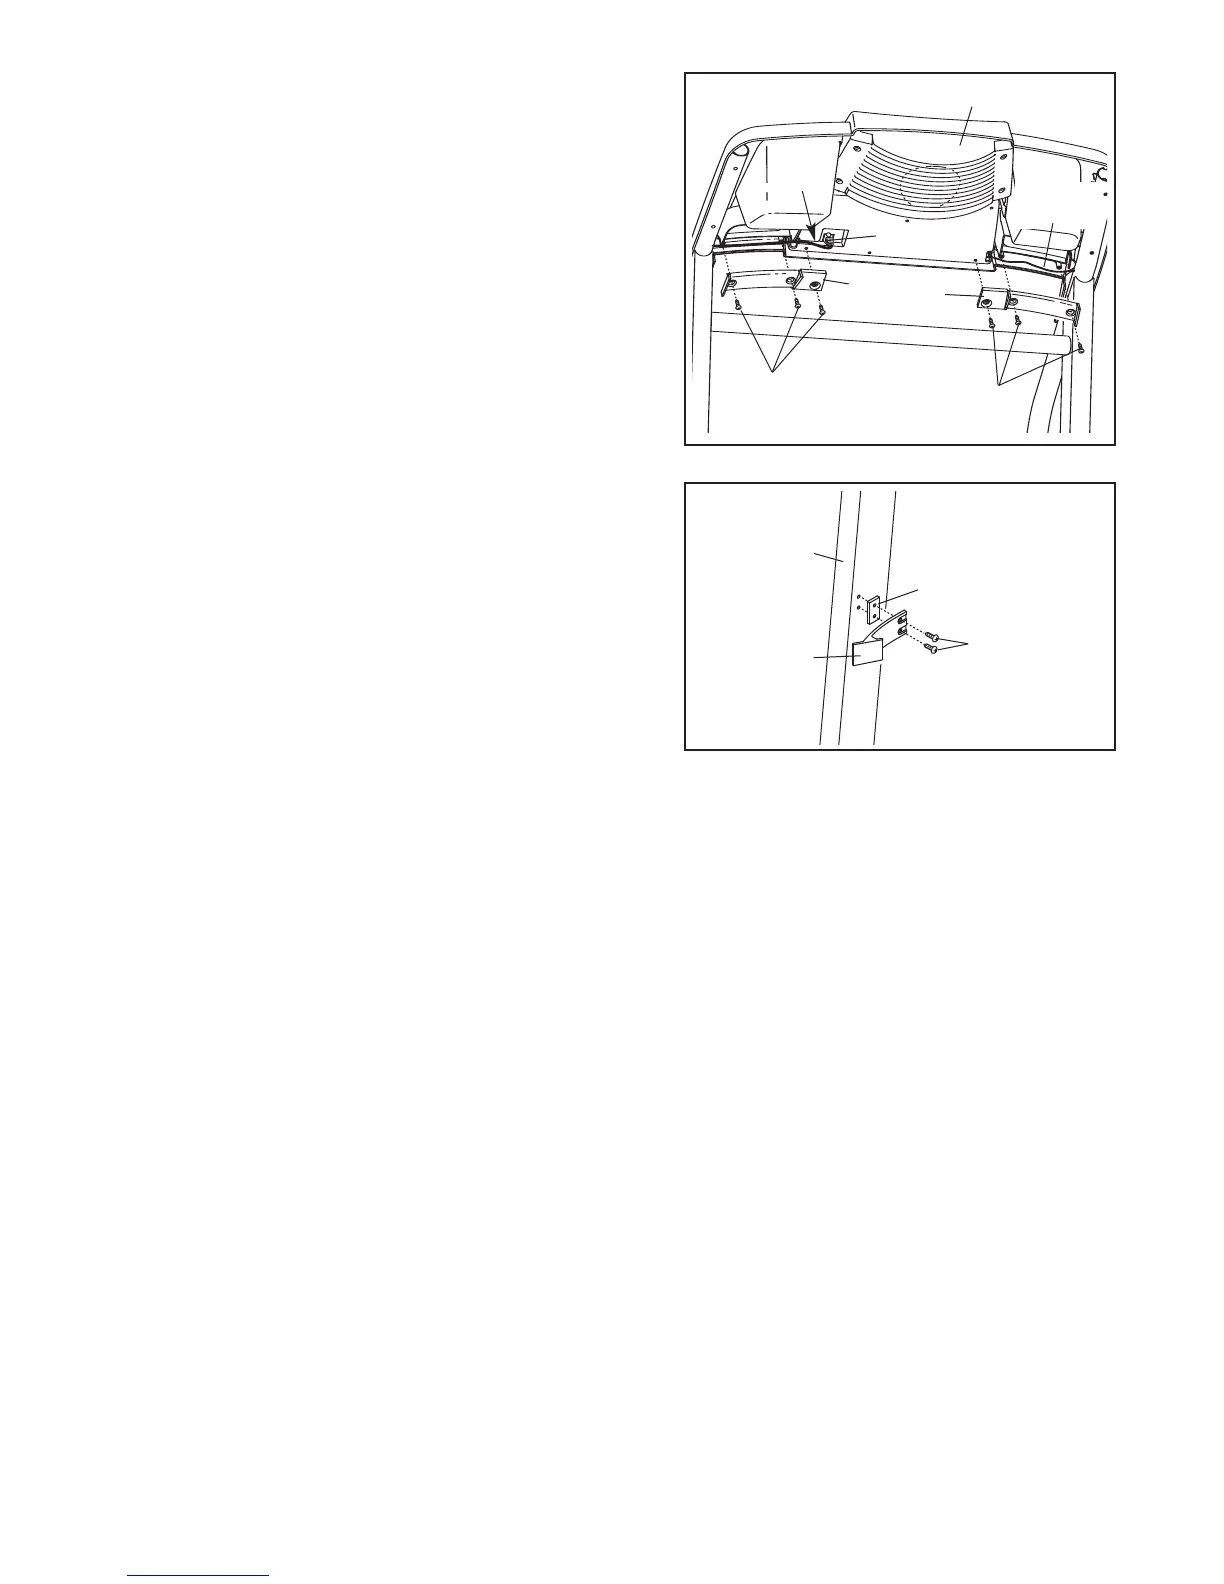
8. Attach the Storage Latch (29) and the Latch Spacer (44)
to the left Upright (69) with two 3/4” Screws (2) as shown.
Do not overtighten the Screws.
2
69
29
44
48
42
G
round
Wire
36
32
47
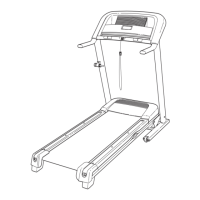
7. Press the Upright Wire (42) into the slot in the underside
of the Console Base (47) in the indicated area. Cover the
U
pright Wire with the Right Grip Plate (36). B
e careful
not to pinch the Upright Wire. Tighten three 1/2”
S
crews (48) into the Right Grip Plate and the Console
Base.
Attach the Left Grip Plate (32) over the ground wire and
the other wires with three 1/2” Screws (48).
Be careful
not to pinch any of the wires.
48
S
lot
7
8
 Loading...