
J
Jessica LewisJul 31, 2025
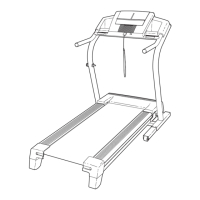
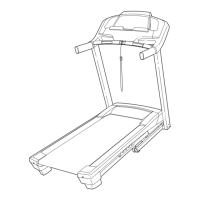
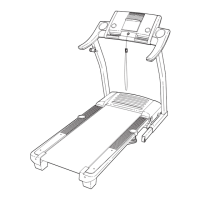
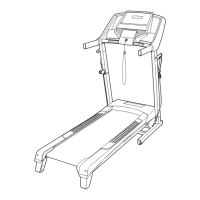
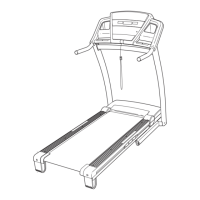
How to fix Pro-Form 675 E when power does not turn on?
- BBruce BeltranJul 31, 2025
First, ensure the power cord is securely plugged into a surge suppressor and that the surge suppressor is connected to a properly grounded outlet. Note that the Pro-Form Treadmill is not compatible with GFCI-equipped outlets. Then, check that the key is fully inserted into the console. Finally, examine the reset/off circuit breaker located on the treadmill frame near the power cord. If the switch protrudes, the circuit breaker has tripped. Wait five minutes, then press the switch back in to reset it.