This document is the User's Manual for the PRO-FORM CADENCE LT treadmill, Model No. PFTL27721.0. It provides comprehensive instructions for assembly, operation, maintenance, and troubleshooting, ensuring users can effectively and safely utilize the equipment for their fitness goals.
Function Description
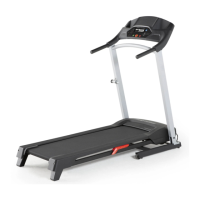
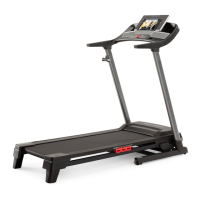
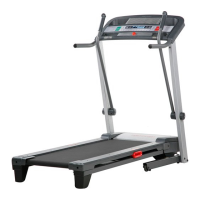
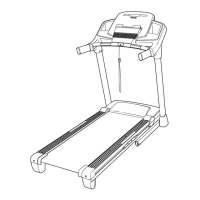
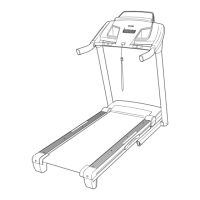
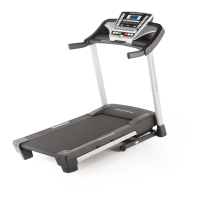
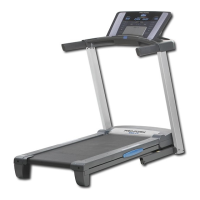
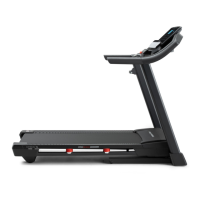
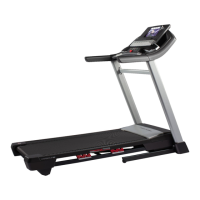
The PRO-FORM CADENCE LT treadmill is designed to provide an effective home workout experience. It allows users to engage in walking or running exercises with adjustable speed and incline settings. The console offers various features to track workout progress and connect with iFIT for interactive training. When not in use, the treadmill can be folded for compact storage, requiring less than half the floor space of other treadmills.
Usage Features
Power and Startup:
To begin, the treadmill requires connection to a properly grounded outlet via a UL 1449 listed surge suppressor. It's crucial to allow the treadmill to warm to room temperature if exposed to cold. After plugging in the power cord, the power switch on the treadmill frame must be in the reset position. The safety key, attached to a clip, must be inserted into the console, and the clip should be secured to the user's waistband. This key acts as an emergency stop, immediately slowing the walking belt if removed.
Console and Displays:
The console features a display that shows various workout information, including Calories (CALS), Calories per Hour (CALS/HR), Distance (MI or KM), Pace, Pulse (BPM and heart symbol), Speed (MPH or KPH), and Time. Users can cycle through these displays using the Display button. The console also has a scan mode that automatically cycles through workout information, which can be customized to show only desired metrics. The unit of measurement (miles or kilometers) can be changed via the ST/M button.
Manual Mode:
In manual mode, users can start the walking belt by pressing the Start button or one of the numbered speed buttons. The speed can be adjusted in 0.1 mph increments using the Speed increase/decrease buttons, or in 0.5 mph increments by holding the buttons. Numbered speed buttons allow for quick selection of specific speeds, including decimal values (e.g., 3.5 mph by pressing 3 then 5). The Stop button halts the walking belt, and the time display will flash.
iFIT Workouts:
The treadmill is iFIT-compatible, offering access to a wide library of studio and destination workouts through the iFIT app on a smart device (iOS® or Android™). Users must download and install the iFIT app, enable Bluetooth on their device, and set up an iFIT account. The console supports Bluetooth connections for smart devices and compatible heart rate monitors. It is important to connect the heart rate monitor before connecting the smart device if both are used. To connect, press the iFIT Sync button on the console, and follow the app's instructions. Once connected, the console's LED will turn solid blue. Workouts can be selected from the iFIT app, and during a workout, the iFIT coach may guide the user with video, music, and volume options. The treadmill's speed will automatically adjust according to the workout, though users can manually override these settings.
Heart Rate Monitoring:
The console is compatible with Bluetooth Smart heart rate monitors. Connecting a heart rate monitor allows continuous monitoring of heart rate, which is crucial for achieving fitness goals, whether for fat burning or cardiovascular strengthening. The console pairing number will appear on the display when the iFIT Sync button is pressed, and the LED will flash red twice upon connection.
Incline Adjustment:
The treadmill offers two incline levels to vary exercise intensity. To change the incline, the safety key must be removed, the power cord unplugged, and the treadmill folded into the storage position. Users then rotate both incline feet to the desired position, ensuring they are firmly in place before lowering the treadmill for use.
Settings Mode:
The settings mode, accessed by pressing the gear button, allows users to view software version numbers, perform display and button tests, and check total usage time and distance. It also enables adjustment of the display contrast level and toggling the demo mode on or off. The demo mode, intended for store displays, keeps the console lit and active even after the key is removed.
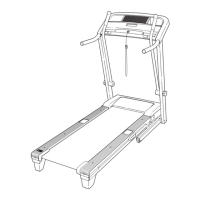
Folding and Moving:
For storage, the treadmill can be folded vertically. Users must remove the safety key and unplug the power cord. The metal frame should be lifted about halfway to the vertical position, then the latch knob pulled to the left to allow the frame to be fully raised until the latch plate rests against the latch pin. To move the folded treadmill, hold the frame and one handrail, place a foot against a wheel, and pull back on the handrail until the treadmill rolls on its wheels. It is important to move the treadmill carefully and avoid uneven surfaces.
Maintenance Features
Regular Cleaning and Inspection:
Regular maintenance is vital for optimal performance and to reduce wear. Users should inspect and properly tighten all parts each time the treadmill is used. Worn parts should be replaced immediately with manufacturer-supplied parts. The treadmill should be cleaned regularly by pressing the power switch to the off position, unplugging the power cord, and wiping exterior parts with a damp cloth and mild soap. It's crucial not to spray liquids directly onto the treadmill or allow them near the console to prevent damage. After cleaning, the treadmill should be thoroughly dried with a soft towel.
Troubleshooting Power Issues:
If the treadmill does not turn on, users should verify the power cord is plugged into a surge suppressor and a grounded outlet. The power switch on the treadmill frame should be checked; if it has tripped (protrudes), wait five minutes and press it back in. Console activation is also necessary for full functionality. If the treadmill turns off during use, check the power switch, unplug and replug the power cord, and remove/reinsert the safety key.
Walking Belt Adjustment:
The walking belt may slow down if it is overtightened or off-center. If overtightened, remove the key, unplug the power cord, and turn both idler roller screws counterclockwise by 1/4 of a turn. The belt is correctly tightened if it can be lifted 2 to 3 inches (5 to 7 cm) off the walking platform. If the belt is off-center, remove the key, unplug the power cord, and turn the left idler roller screw clockwise 1/2 of a turn if the belt shifted left, or counterclockwise 1/2 of a turn if it shifted right. After adjustments, plug in the power cord, insert the key, and walk on the treadmill for a few minutes to check alignment.
Lubrication:
The walking belt is coated with a high-performance lubricant. Users should never apply silicone spray or other substances to the walking belt or platform unless instructed by an authorized service representative, as this can deteriorate the belt and cause excessive wear. If lubrication is suspected to be needed, contact customer support.
Storage:
When storing the treadmill, it should be kept indoors, away from moisture and dust, and out of direct sunlight. Temperatures should not exceed 85°F (30°C) in the storage position.