Do you have a question about the Pro-Form 590 LT and is the answer not in the manual?
Provides contact details and support resources for product issues.
General caution to read all precautions and instructions before use.
Shows decal locations and how to request replacements if missing or illegible.
Lists critical safety precautions to protect users from serious injury.
Advises consulting a physician before starting any exercise program.
Owner must ensure all users are informed of warnings and precautions.
Instructions on treadmill placement, clearance, floor protection, and indoor use.
Outlines usage restrictions, keeping children/pets away, and weight limits.
Wear appropriate clothes and athletic shoes; avoid bare feet or sandals.
Details surge suppressor specifications and grounding requirements for safe operation.
Covers safe operation, emergency stops, handrail use, speed adjustment, and pulse sensor limitations.
Never leave treadmill unattended; unplug after use and before cleaning.
Do not move until assembled; secure latch when folding/moving.
Treadmill is for in-home use only; stop if feeling faint or experiencing pain.
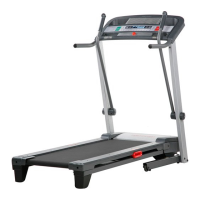
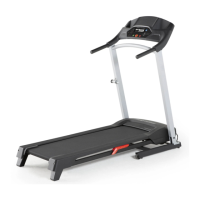
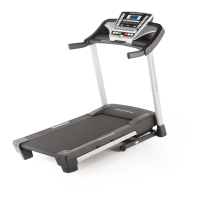
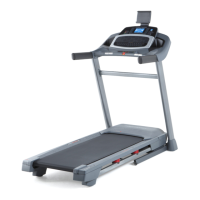
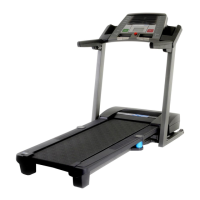
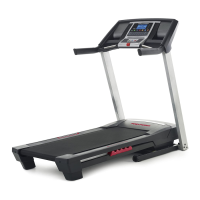
Introduction to the treadmill and recommendation to read the manual carefully.
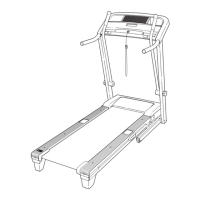
Encourages familiarization with labeled parts via the provided diagram.
Details assembly requirements, tools needed, and identifies assembly hardware.
Unplug power cord and position frame for stability.
Attaching base feet using specific screws and spacers.
Attaching wheels with bolts and locknuts, ensuring free movement.
Routing wire harness and attaching right upright spacer.
Attaching the right upright using bolts and washers, with partial tightening.
Pressing base caps into the base.
Attaching the second wheel and positioning the frame.
Attaching the left upright using bolts and washers, with partial tightening.
Pressing remaining base caps into the base.
Guides on installing resistance mechanisms and cones, including greasing.
Attaching crosswalk arms with screws, ensuring correct bend orientation.
Attaching the right handrail to the console assembly and connecting console wires.
Attaching the left handrail to the console assembly with screws.
Guides connecting the console wire harness to the upright, with a warning about proper connection.
Final tightening of bolts connecting uprights and handrails.
Attaching and aligning the storage latch mechanism.
Final checks for tightness, removing protective plastic, and floor protection.
Important note about not applying silicone spray or other substances to the walking belt.
Instructions on plugging in the power cord, including safety warnings and surge suppressor requirements.
Explains grounding requirements and states incompatibility with GFCI outlets.
Diagram of console components and overview of features for effective workouts.
Instruction to remove console screen plastic and information on display units.
Advises allowing the treadmill to warm up after cold exposure to prevent damage.
Guides to plug in, reset breaker, and insert key to turn on power.
Explanation of demo mode and how to turn it off.
Detailed steps for manual mode: inserting key, selecting mode, starting belt, adjusting speed/incline, and monitoring progress.
Explains the function of the upper, lower left, and lower right console displays.
How to reset the console displays.
Instructions on using the handgrip pulse sensor.
How to use the fan settings.
Steps for finishing exercise, folding, removing the key, and powering off.
How to select iFit workouts and start the walking belt.
Explains workout progress display and using crosswalk arms.
How to manually adjust settings or stop preset workouts.
References for monitoring progress, heart rate, and fan use.
Explains information mode for usage tracking, unit selection, and demo mode control.
Instructions on how to use crosswalk arms and adjust resistance.
Step-by-step guide to folding the treadmill for storage.
Advice on protecting the floor and storage conditions.
Instructions for safely moving the folded treadmill.
Instructions on releasing the latch and pivoting the frame downward.
Instructions on firmly gripping and lowering the frame to the floor.
Solutions for power-related problems, including breaker and key checks.
Solutions for console displays remaining lit or not functioning properly.
Procedures for motor hood removal and reed switch/magnet alignment.
Solution for incline issues by recalibrating the incline system.
Solutions for belt slowing, including surge suppressor and idler bolt adjustment.
Instructions for centering or tightening the walking belt using idler roller bolts.
Solution for squeaking crosswalk arms by applying grease.
Warning to consult a physician and disclaimer about the pulse sensor.
Guidance on planning programs, finding intensity for fat burning and aerobic exercise.
Guidelines for warm-up, training zone, cool-down, and recommended exercise frequency.
A comprehensive list of all parts with key numbers, quantities, and descriptions.
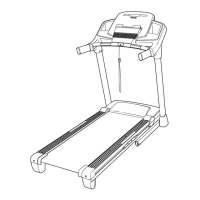
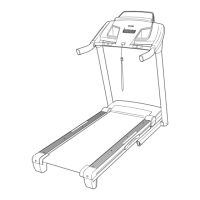
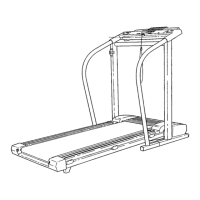
Diagram showing the exploded view of treadmill components.
Diagram showing the exploded view of treadmill components.
Diagram showing the exploded view of treadmill components.
Diagram showing the exploded view of treadmill components.
Lists required information for ordering replacement parts.
Requirement to register the product within 30 days for warranty.
Details warranty coverage, exclusions, and limitations.
Disclaimer regarding consequential damages and consumer legal rights.