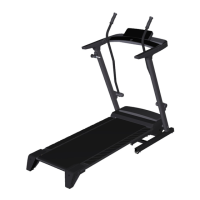
12
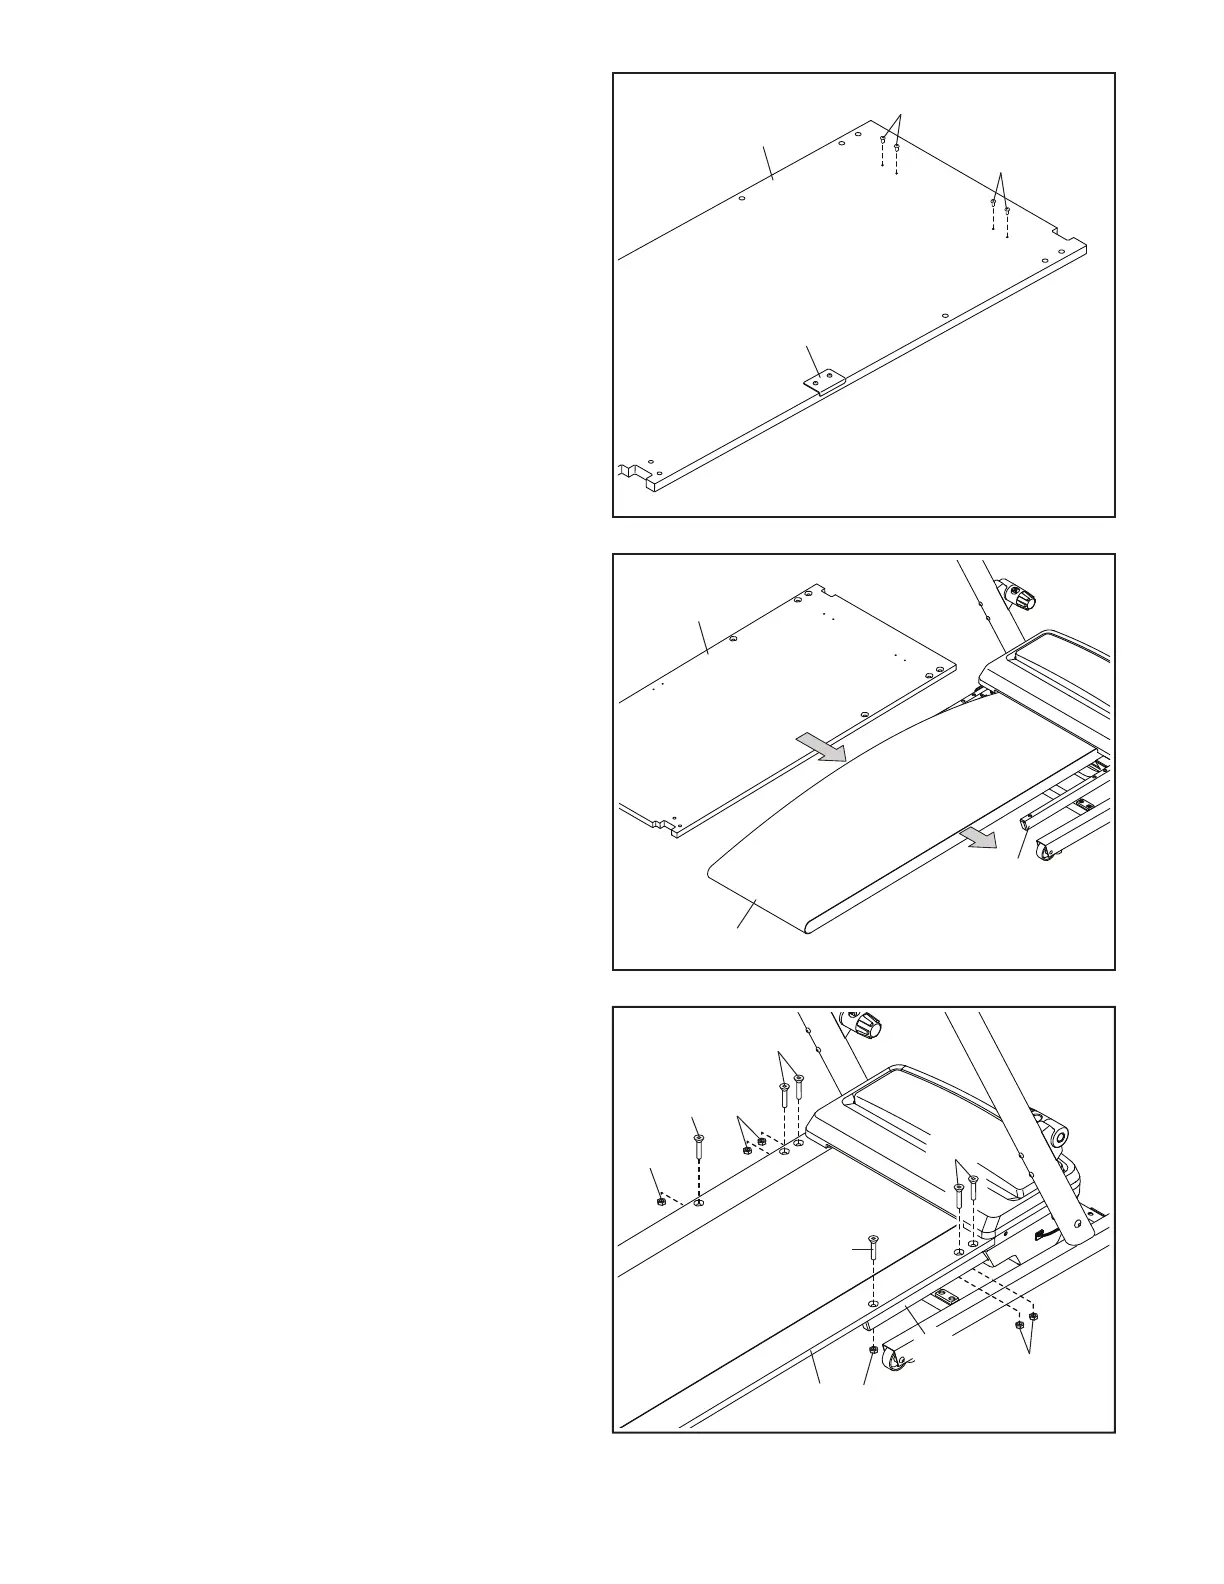
11. IMPORTANT: Make sure that the Screws on
the bottom of the Walking Platform (35) that
you attached in step 10 do not catch on the
Walking Belt (36) or the frame (41) during this
step.
Unroll the Walking Belt (36). Orient the Walking
Platform (35) as shown. Then, have a sec-
ond person hold one side of the Walking Belt
open as you slide the Walking Platform into the
Walking Belt.
11
35
36
41
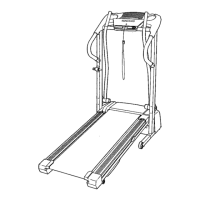
10. Lay the Walking Platform (35) on a soft surface
to avoid scratching the Walking Platform. Make
sure that the Latch Plate (33) is on the top
surface.
Start four M4.2 x 13mm Screws (5) in the loca-
tions shown. Do not fully tighten the Screws;
leave about a 1/8" (3mm) gap between each
Screw head and the surface of the Walking
Platform (35).
Then, turn the Walking Platform (35) over so
that the Latch Plate (33) is on the bottom.
10
35
33
5
5
12. Attach the Walking Platform (35) to the Frame
(41) with six M10 x 70mm Bolts (6) and six M10
Nuts (11); insert all six Bolts, and then tighten
the Nuts.
12
6
6
35
11
11
6
11
11
6
41