© Pro-Ject Audio · Pro-Ject 2 Xperience · Revision 15.4.2004/7.2004
3
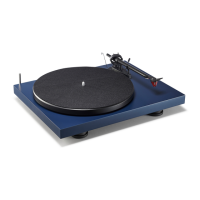
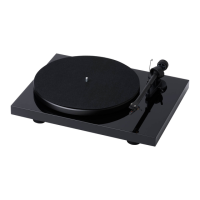
PRO-JECT 2 Xperience
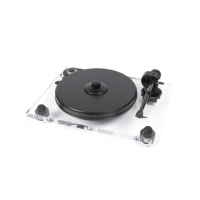
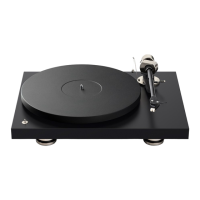
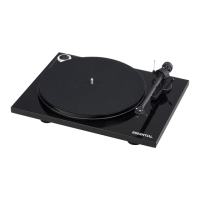
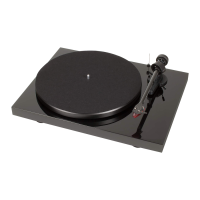
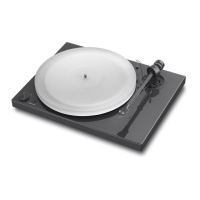
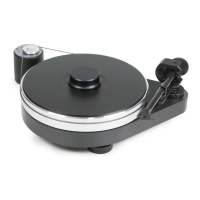
Controls, features and connections
1 Motor transportation screw (marked red)
2 Stepped drive pulley
3 Drive belt * 3a Hook
4 Hub
5 Sandwich platter *
6 Tonearm counterweight * 6a Downforce scale
7 Tonearm lift lever
8/18 Tonearm rest and removable transport lock
9 Tonearm tube 9a Tonearm base
10 Lid *
11 Lid hinges
12 Hinge fasteners
13 Power supply socket
14 Phono output sockets and earth connection
15 Anti-skating weight adjustment scale
16 Anti-skating weight *
17 Anti-skating weight support hoop
20 Power switch
21 Headshell with optional finger lift *
22 Motor
23 Feet
Screw-down record clamp (not shown) *
Dear music lover,
thank you for purchasing a PRO-JECT AUDIO record player.
In order to achieve maximum performance and reliability with this record player you should study these instructions
for use carefully.
!
Warning of a hazard for the user, the unit or possible misuse.
Important notice.
During assembly and adjustment of the deck small parts could be lost if not carefully placed in a suitable
receptacle.
Before starting assembly make yourself acquainted with the parts listed above and correspondingly numbered
in the technical drawings above. Separately packed items are marked with an asterisk *.