www.usaprocom.com
200204-01B6
WATER VAPOR: A BY-PRODUCT OF
UNVENTED ROOM HEATERS
Water vapor is a by-product of gas combus-
tion. An unvented room heater produces ap-
proximately one (1) ounce (30 mL) of water
for every 1,000 BTUs (0.3 KWs) of gas input
per hour. Unvented room heaters are recom-
mended as supplemental heat (a room) rather
than a primary heat source (an entire house).
In most supplemental heat applications, the
water vapor does not create a problem. In
most applications, the water vapor enhances
the low humidity atmosphere experienced
during cold weather.
The following steps will help ensure that water
vapor does not become a problem.
1. Be sure the heater is sized properly for the
application, including ample combustion
air and circulation air.
2. If high humidity is experienced, a dehu-
midier may be used to help lower the
water vapor content of the air.
3. Do not use an unvented room heater as
the primary heat source.
UNPACKING
1. Remove top inner pack.
2. Tilt carton so that heater is upright.
3. Remove protective side packaging.
4. Slide heater out of carton.
5. Remove protective plastic wrap.
6. Hold the screen, lift, and pull forward.
7. Remove log set by cutting plastic ties.
8. Carefully unwrap logs.
9. Check for any shipping damage. If heater
or log is damaged, promptly inform your
dealer where you bought the heater.
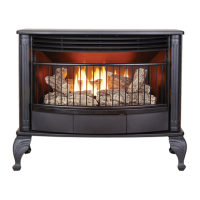
Leg Installation
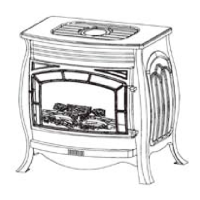
1. Remove two screws in the upper corners
of the screen (one on each side, see
Figure 2). Lift and pull forward to remove.
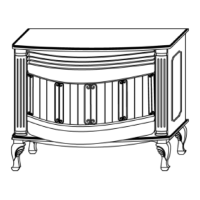
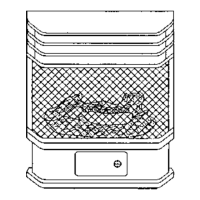
2. Carefully lay heater on its back. Attach legs
with hardware provided (see Figure 3).
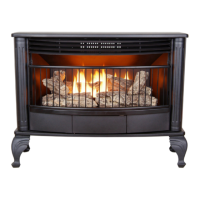
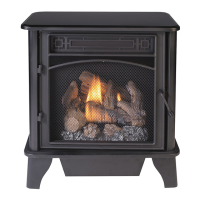
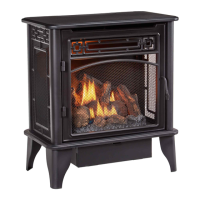
Figure 1 - Vent-Free Stove
Figure 2 - Removing Screen
Figure 3 - Installing Legs
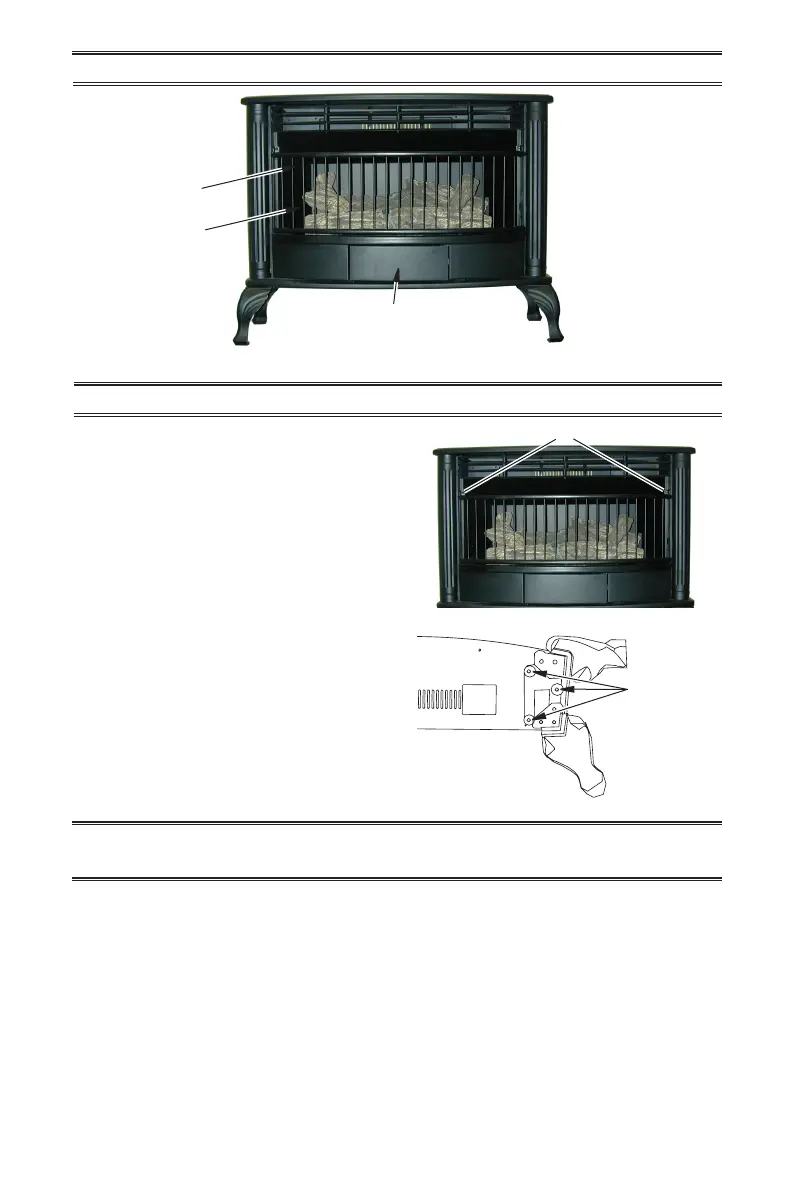
PRODUCT IDENTIFICATION
Screws
3 Screws
Logs
Screen
Heater Controls (Inside Panel)