APPLICATION OF PROGLOVE SYSTEM
1
ST
STEP: CHARGE SCANNER 2
ND
STEP: CONNECT THE CONNECTIVITY DEVICE
CAUTION
Only use scanner in a dry Charging Station and
only touch with dry hands!
This may otherwise lead to the Charging Station
not functioning properly.
The pins face down.
Insert scanner in the
Charging Station.
RESULT
Scanner pulses red and charges in the Charging
Station.
NOTE
The LEDs pulse red while in charging mode. When
the battery is fully charged, the LEDs pulse green.
CAUTION
Only touch the connectivity device with dry hands! This may otherwise
lead to the connectivity device not functioning properly.
NOTE
The following steps are only needed when connecting via Gateway.
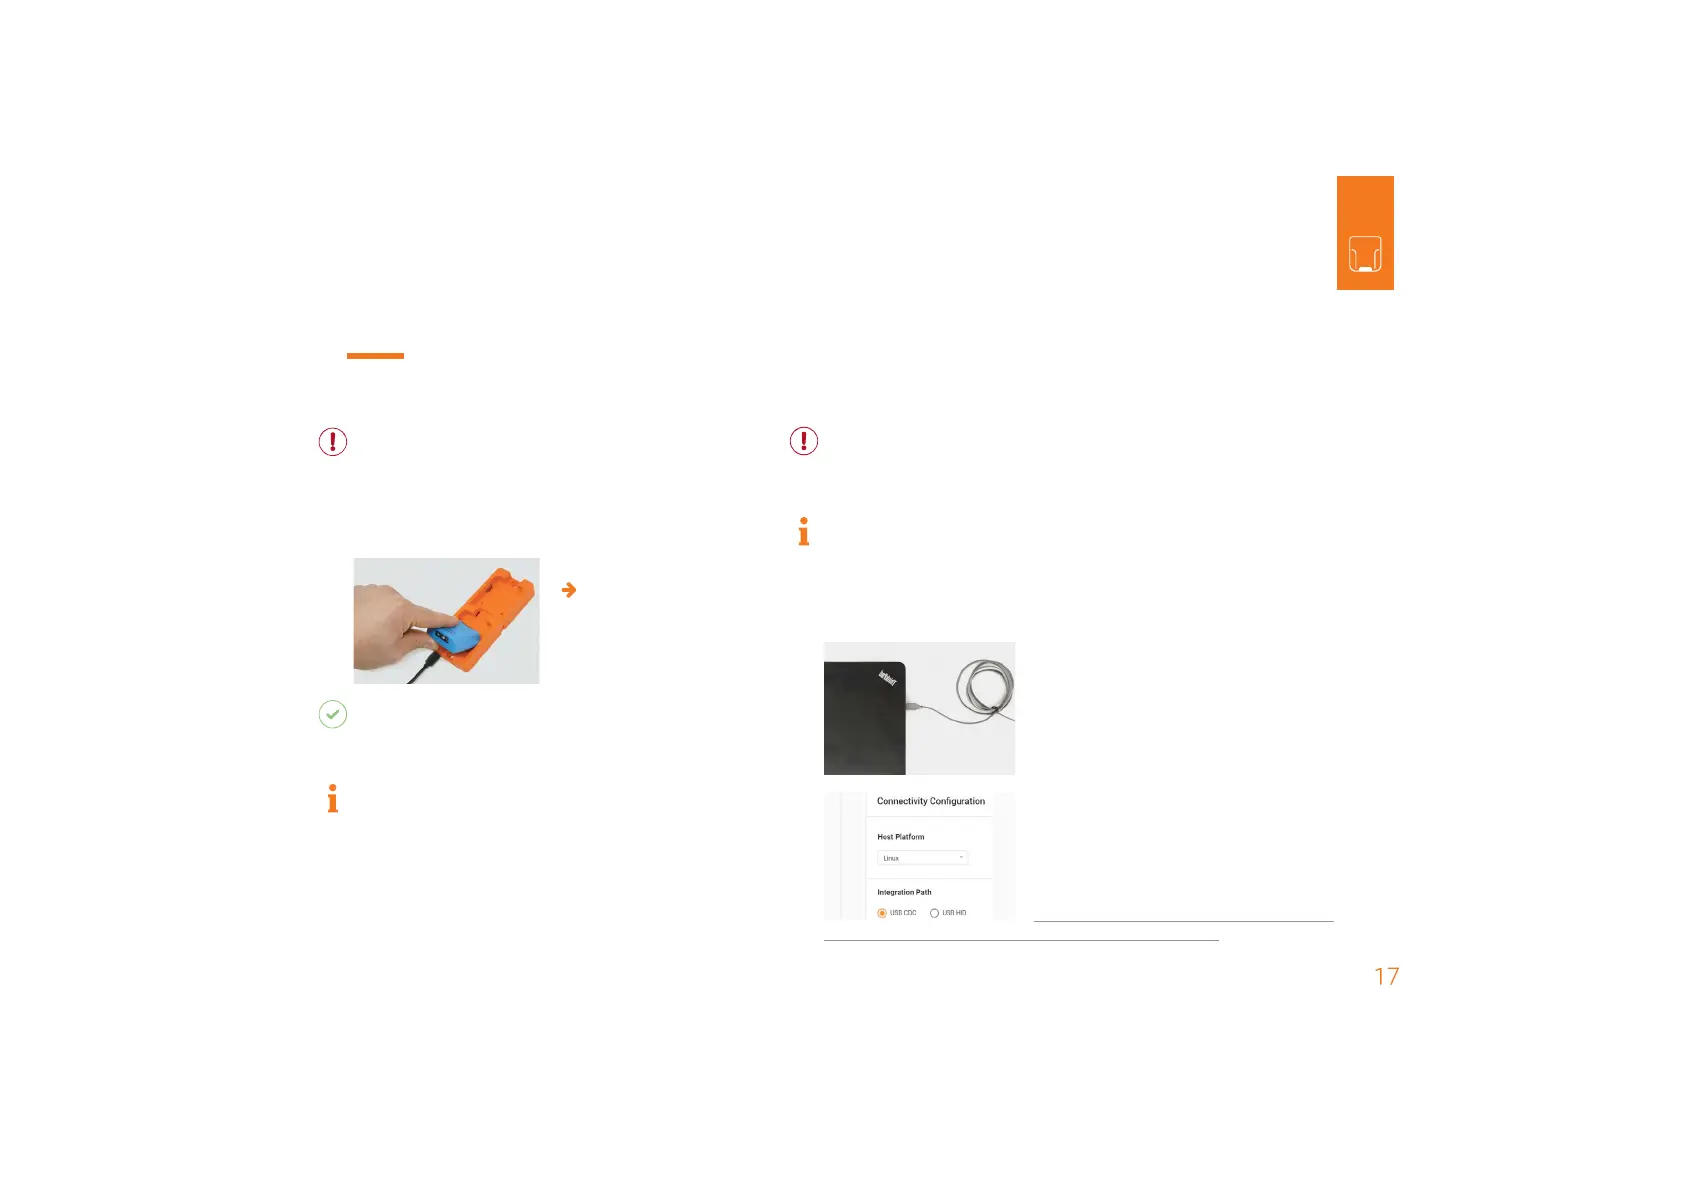
CONNECTION WITH USB CABLE IN USB HID MODE:
1. Connect the USB cable with the end
device. Follow the previous step 1 and step
2 for “Connetion with USB Cable in USB HID
Mode”. Continue with the following steps:
3. In the configuration tool
(https://insight.proglove.com/)
under “Connectivity Configuration >
Integration Path” select USB CDC.
More detailed information about this can be
found in chapter “Configure devices and firmware update.”