7
ASSEMBLY INSTRUCTIONS
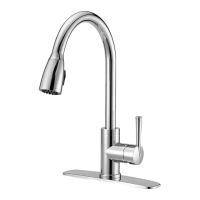
9. Attach the weight (K) to cover the weight
locator label (J) on the spray hose (L).Use a
Phillips screwdriver to secure.
10. Turn on water supply.
OPERATING INSTRUCTIONS
1. Remove spray head (A) from faucet body (B).
1
To spout
1
9
10
1
Locate here
L
J
K
K
B
A
6
ASSEMBLY INSTRUCTIONS
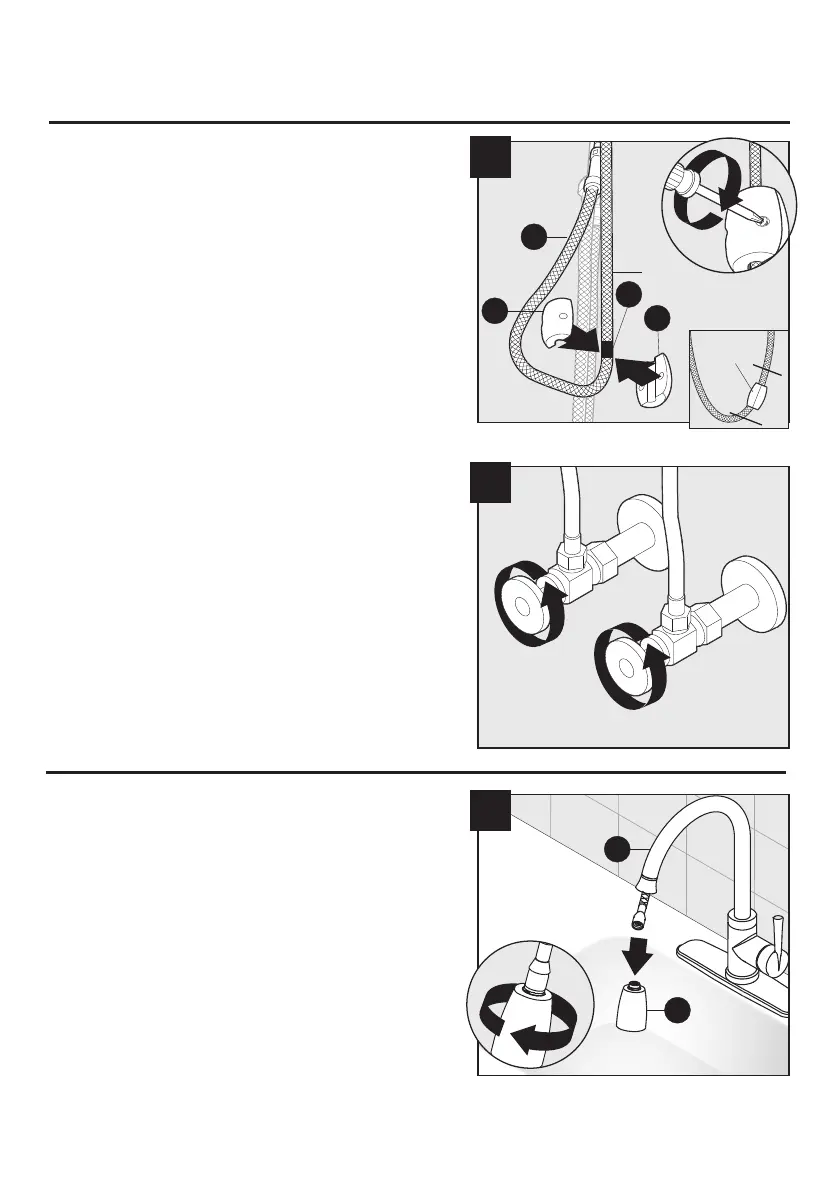
7. Remove cap from discharge tube (D).
8. Attach quick connector (M) to discharge tube
(D). Pull down on quick connector (M) to
ensure it is secure.
NOTE: For removal, see “Quick Connector
Removal.”
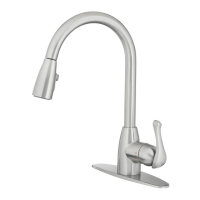
6. Connect water supply lines (C) and tighten
water supply nuts using two wrenches.