13
HDD ReplacementProduct Manual
Cautions
Swing open the drive carrier handle before you insert the drive carrier
into the enclosure.
To avoid hand contact with an electrical hazard, remove only one drive
carrier a time.
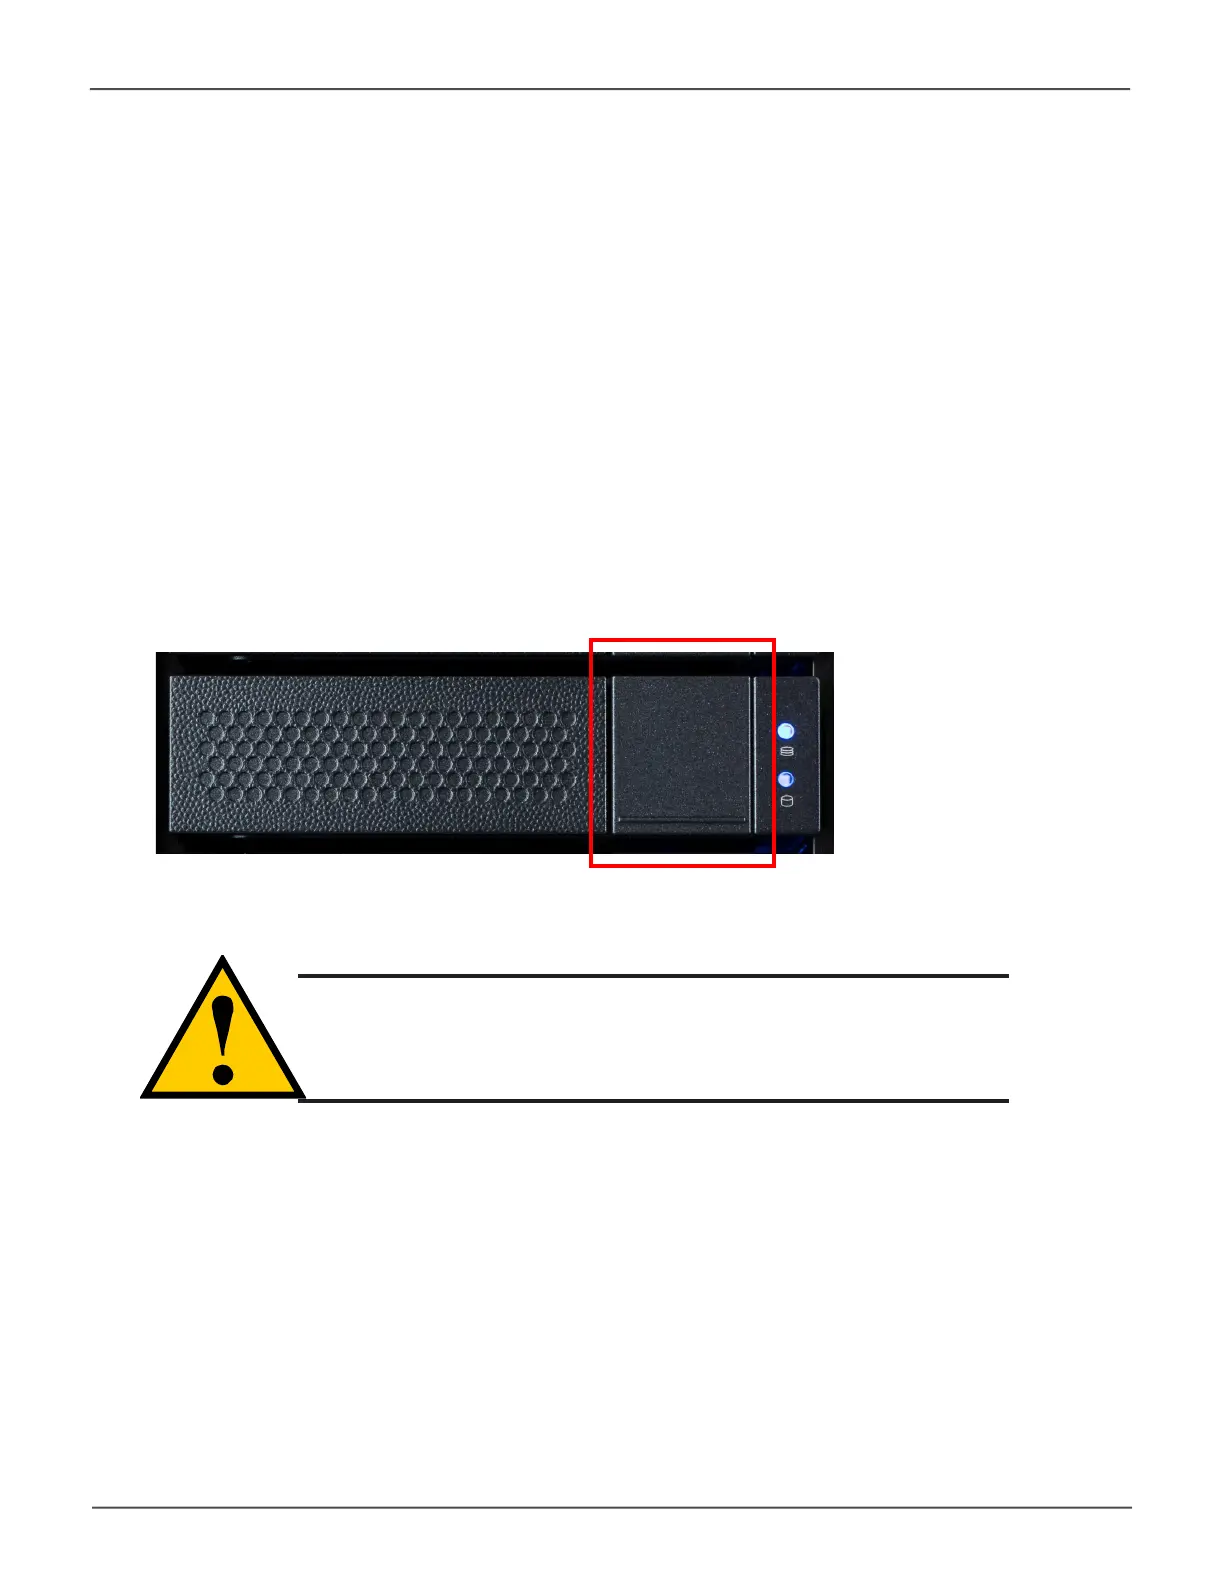
1. Press the drive carrier release button.
2. Grasp the handle between thumb and nger, gently pull the empty drive carrier out of the
enclosure.
3. Carefully lay the drive into the carrier with the power and data connectors facing away from the
carrier handle.
Removing the Drive Carrier
The drive carrier accommodates 2.5-inch and 3.5-inch drives.
Hdd replacement
VTrak models are shipped with Hard Disk Drives (HDD) installed, so it will not be necessary to install new drives in
order to use the device. If it is necessary to change a drive, follow the instructions in this section. It is best to have
identical HDD in all bays, or at least identical specications for capacity and speed. Go to PROMISE Support online
to nd a list of compatible HDD for the VTrak Series.
Drive carrier front view
Carrier release button

 Loading...


