3
4
DO NOT FLY YOUR TILT™ IN FOUL WEATHER!
WARNING
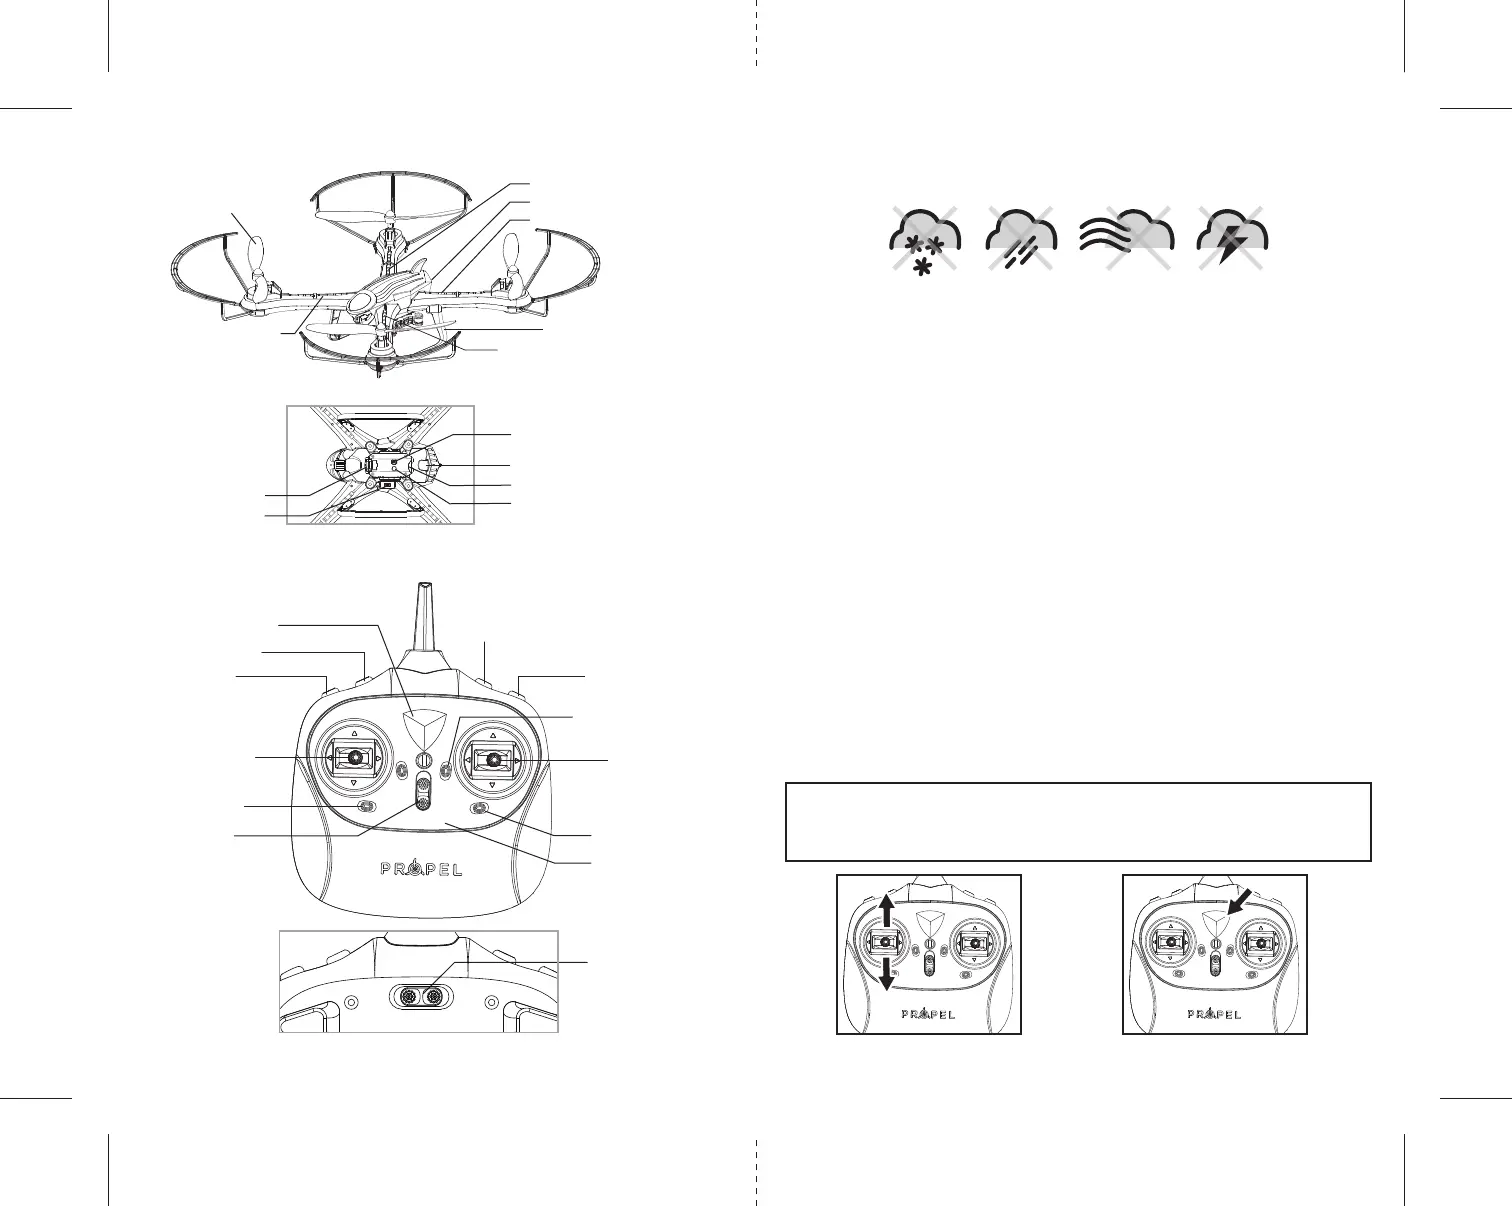
CONTROLLER DIAGRAM
Battery Eject lever
Power Indicator Light
Left Control Stick
Auto Land Button
Forward/Backward Trim
Right Control Stick
Power On/Off
Left /Right
Turn Trim
Left/Right Bank Trim
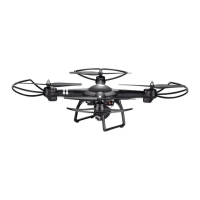
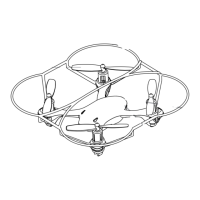
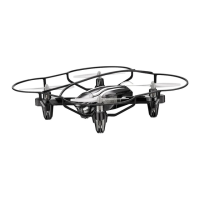
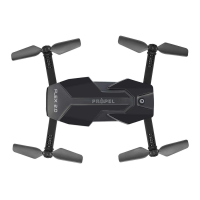
Rotor Blades
Front (White LED Lights)
Front (White LED Lights)
Back (Red LED Lights)
Back (Red LED Lights)
Landing Gear
Digital Camera
Camera data interface
Still Photo &
Video Recording Button
Speed Button
360˚ Stunt Roll Button
3 CH Mode/ 4 CH Mode
Back of Remote-controller
Camera Indicator Light
Micro SD Card Slot
Microphone
Battery compartment
TILT
™
DIAGRAM
FLIGHT PREPARATION
• Verify that there are 4 “AA” batteries inside the remote control unit and the TILT™ has been
fully charged.
• Make sure to be in a large open space preferably a field or a park with an open radius of at least 200 feet.
• Make sure to start your drone on a clean flat level surface before take-off.
•
IMPORTANT! Until you have experience in flying your TILT
™, it is not advised to use in any rate of wind.
Wait until a zero wind day or extremely light wind when learning how to fly.
SYNCING YOUR TILT
™
Important! When syncing your TILT
™
with the controller always make sure that the drone is on a flat
level surface and that your digital trim settings are in the center position. This insures that the 6 Axis
gyro is properly programmed to respond to your trim settings. Your TILT ™ utilizes an automatic 2.4G
channel selection system that allows up to 8 people to fly side by side in the same wireless range with no
interference.
1. Before starting, make sure that the power switch on your controller is off and the battery is removed
from the TILT ™. Make sure that there are no other 2.4G devices in the area.
2. Insert the battery into the TILT ™ and set it down on any flat surface. The red and white LED lights on
top of the drone should begin to flash repeatedly.
3. Quickly turn ON the remote and you will notice that the top red LED light on the face of the controller
should also be flashing.
4. Push the left control stick all the way up until it stops and then pull it back all the way down to the
bottom(see illustration below). When pulling the stick down to the bottom you should hear a
high-pitched beep and the lights on both the drone and the controller should stop flashing and become
solid. If the lights on both the
drone and the controller have stopped flashing and become solid you have
successfully synced your
TILT ™
and are ready to fly. If the lights on the controller or the drone are still
flashing repeat steps 1-4 again.
•
TIP 1: Try not to leave too much time between putting your battery into the drone
and turning on the controller or your syncing window will time-out.
• TIP 2: Syncing your drone indoors or in the shade will make it easier to see the LED
light indicators on both the controller and the drone.
Move the control stick all the way
up and all the way down, you
should hear a beep
The flashing red LED light will
become solid when you are
synced
1 2 3
4CH3CH
Speed Indicator