1. Overview of the equipment 1
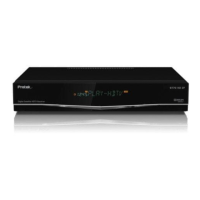
1-1. Front Panel 1
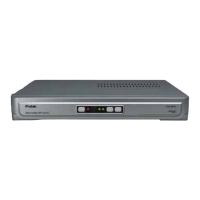
1-2. Rear Panel 1
1-3. Remote Control 2
1-4. Accessories 2
2. Connecting your HD-Receiver 3
2-1. Antenna Connection 3
2-2. Video Connection 3
2-2-1. HDMI (High Definition Multimedia Interface) connection 3
2-2-2. Connecting to a HDTV with HD YPbPr 4
2-2-3. Connecting to a Conventional TV with Composite Video 4
2-2-4. Connecting to a Conventional TV wtih SCART connection
4
2-3. Audio Connection 5
2-3-1. Stereo Audio Connection 5
2-3-2. Digital Audio Connection 5
2-4. LAN Connection 5
3. Getting Started 6
Step-1. Check the contents in the gift box 6
Step-2. Connect ANT Cable 6
Step-3. Connecting the Video 6
Step-4. Connecting the Audio 6
Step-5. Connecting the Power 6
Step-6. Install the Remote Control batteries 6
Step-7. Video Format Setting 6
Step-8. Check up the On Screen Display 6
Step-9. Select the Satellite and Automatic Channel Search 6
Step-10. Change Programs 6
4. Using the Menu system 7
4-1. Preferences 7
4-1-1. Edit Channel List 7
4-1-2. Timers Setup 7
4-1-3. Preferred Languages 7
4-1-4. OSD Language 7
4-1-5. Preferred Audio Type 7
4-1-6. InfoBar Time Out 7
4-2. System Setup 8
4-2-1. 4:3 Channels Display As 8
4-2-2. 16:9 Channels Display As 8
4-2-3. GMT Offset 8
4-2-4. Summer Time 8
4-2-5. Restore Factory Defaults 8
4-2-6. Network Setting 8
Contents
iv