06
07
W W W . D Y E P A I N T B A L L . C O M
RIZE
™
BOA RD
SE TTINGS A ND F UNC TI ONS
RIZE
™
BOA RD
SE TTINGS A ND F UNC TI ONS
TURNING THE RAIL™ ON AND OFF
To turn o n the RIZE
RIZE
RIZE
RIZE
RIZE
RIZE
™, press and ho ld the p ower butto n until
the LED’s turn blue. The b lue lig ht indicates b oard b oot up .
After the b oot up seq uence, the LED’s will turn either RED
( no b all) or GREEN ( b all in b reach, read y to fire) . To turn the
™ o ff, press and ho ld the p ower b utton until the LED’s
turn off.
NOTE: The RIZE
RIZE
™ automatically switches off after 10
minutes of non-use
.
FIRING THE ™
A s soo n as the marker is turned on and the LED’s turn fro m
blue to either red or g reen, the ™ is read y to fire. If there
is no b all and the LED’s are RED, yo u need to hold the
trigg er for 1 second to force the ™ to fire once. If there is
a p aintball insid e the b reech and the LED is g reen, just p ress
the trigger to fire the marker.
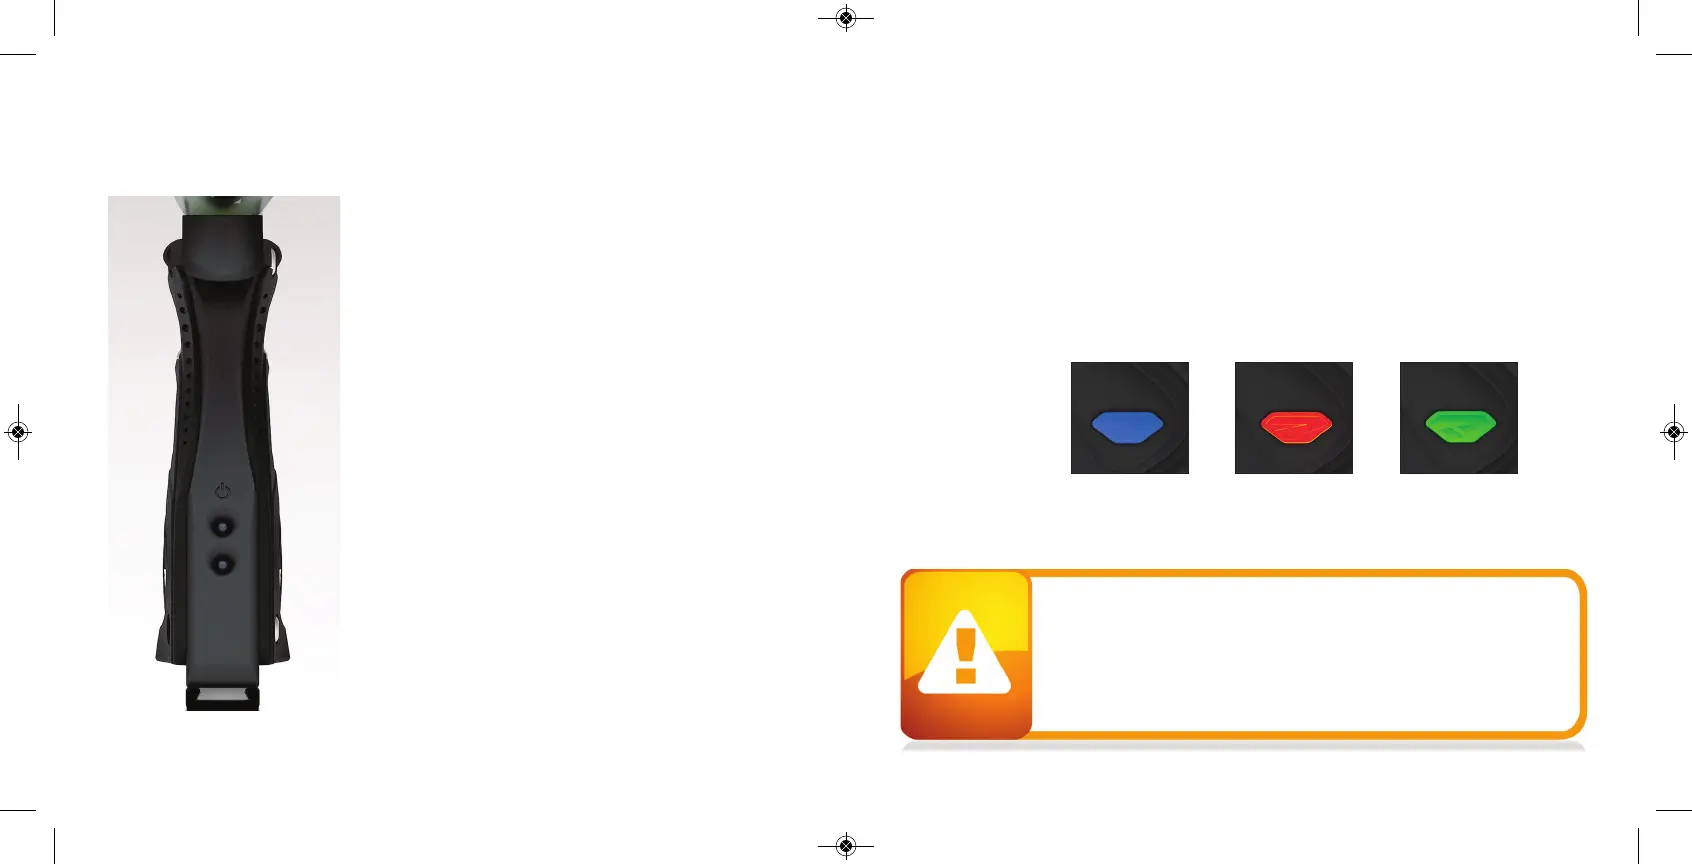
LED LIGHT INDICATOR
The ™ uses a super b right LED mounted on
the circuit
board inside the g rip frame. This light is used to provid e
information to the user ab out the ™. It is mounted b ehind
the PROTO™ log o on the left sid e of the g rip p anel.
When you turn on the marker in normal op eration mode with the p ower button, the lig ht colors
mean the following:
Blue - Boot seq uence
Red - Breech is clear, no b all detected insid e the ™ ( eye is on)
Green - Ball in b reech, ready to f
ire ( eye on)
Blinking Red - Eye is turned off
Blinking Green - Eye failure, eye is b locked or d irty ( see ™ Eye, p age 26)
To turn o ff the eye feature press and hold the b ottom b utton until the LED lig ht starts blinking
Red indicating the eye feature is turned o ff.
NOTE: The eye is always activated when you turn the marker on.
When servicing your marker:
• Make sure a barrel p lug is fitted to the ™.
• Make sure yo ur hop p er is removed fro m the ™.
• Make sure there are no paintb alls in the b reech of the ™.
• A lways remove the first stag e reg ulator and relieve all resid ual g as
pressure fro m the ™ b efore d isassemb ly.
• The ™ can hold a small residual charg e of g as, ty pically 2 shots, with
the first stage reg ulator removed . Always
d ischarge the marker in a safe
direction to relieve this residual gas p ressure.
RIZE
RIZE
RIZE
RIZE
RIZE
RIZE
RIZE
W W W . D Y E P A I N T B A L L . C O M