13.3.2.2 Incorrectly seated IR sensor
Filament sensor should be seated as depicted in the picture above. For detailed information,
please see the assembly manual.
13.3.2.3 Dust on the sensor - how to clean
This is not a common cause, but as a last measure, try to unscrew the filament cover and
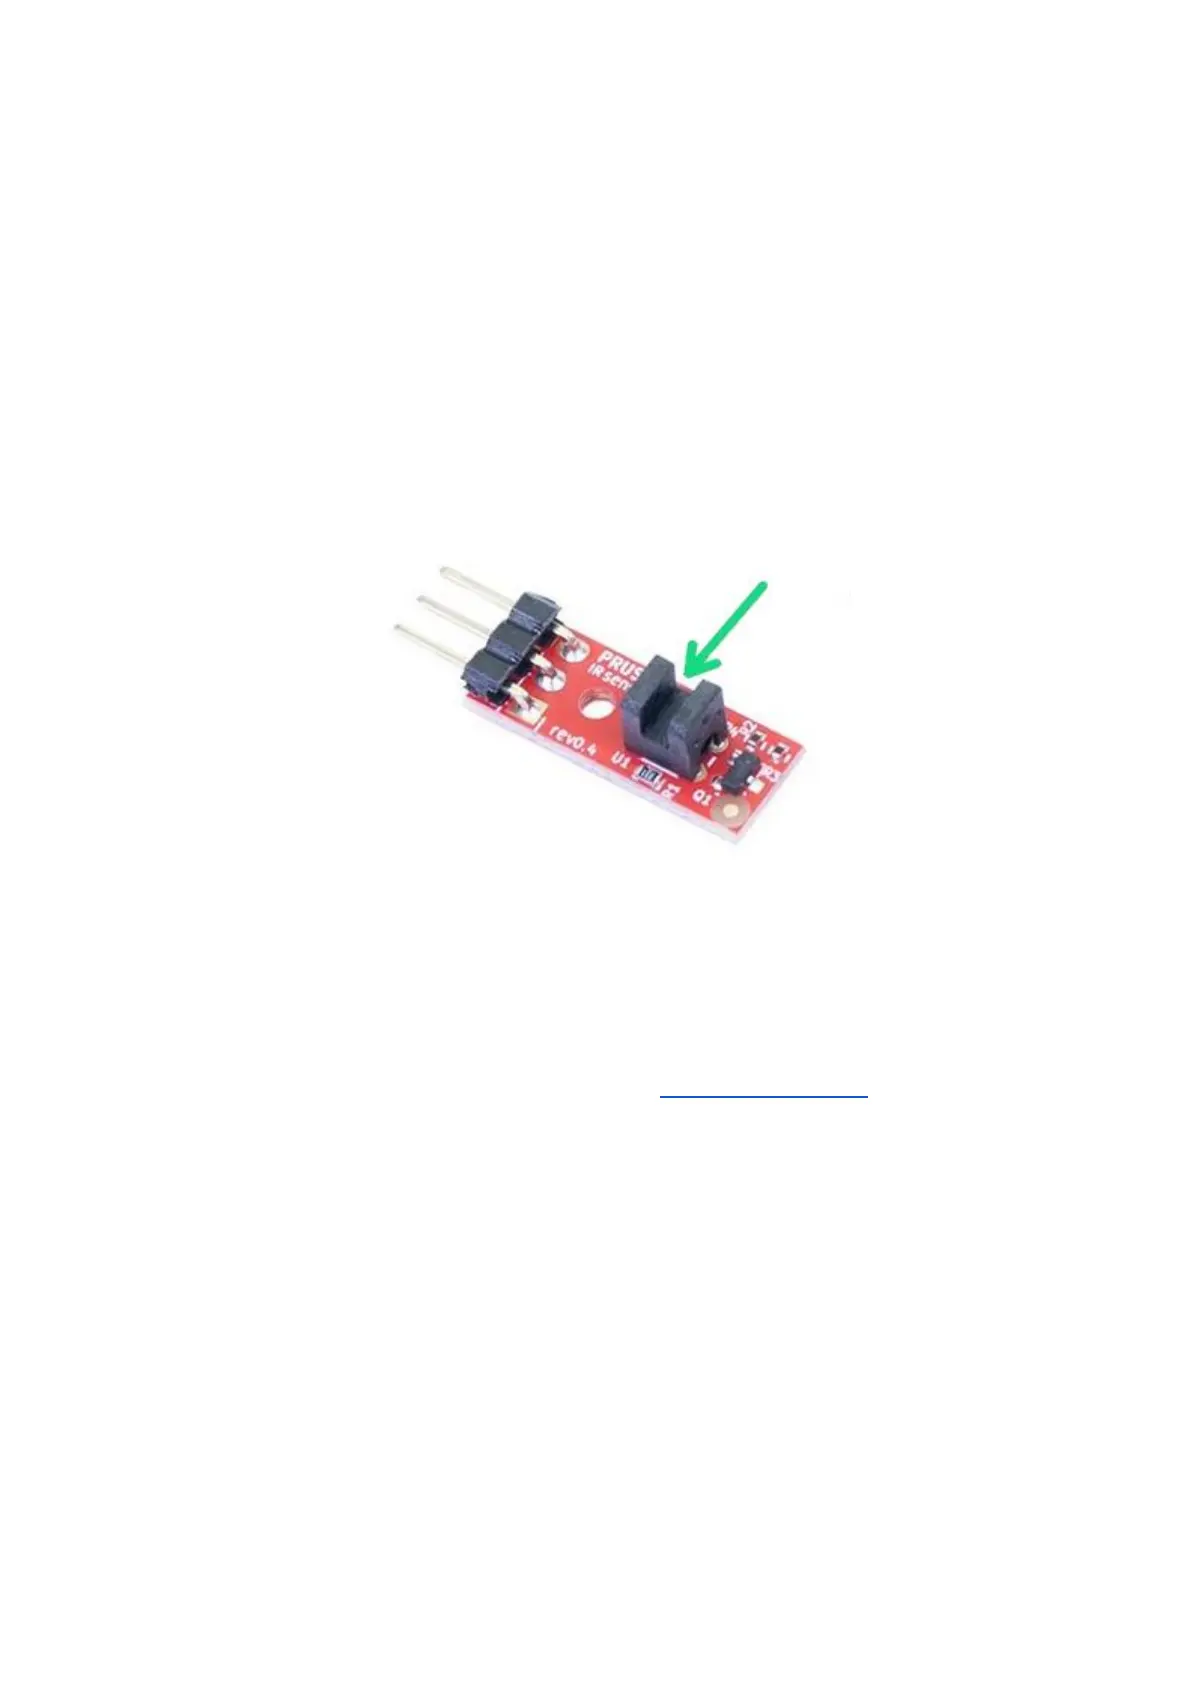
filament sensor itself. Clean the sensor in marked area as depicted in the picture below - the
easiest way is to use a can of compressed air.
Pict. 39 - IR filament sensor
Before you mount the sensor back, connect the sensor cable (note the correct orientation)
and turn on the printer. Open the LCD menu - Support - Sensor info and try to insert an
allen key or a strand of black filament into the sensor (green arrow in picture 39). If the IR
value has changed from 0 to 1, the filament sensor is working properly, which means you
have probably a mechanical problem with the extruder (overtightened FS-lever, blocked
steel ball, wrong magnet orientation). Please refer to the assembly manual and make sure
that extruder is assembled properly.
13.3.2.4 IR sensor is defective
If you have tried all mentioned solutions without success, there is a possibility that the IR
sensor is defective. In this case, please contact our support.
13.4 Clogged / jammed extruder
Material clogged in the extruder can cause problems with the printing or with the loading of a
new filament.
● Heat the nozzle, remove the filament from the extruder, and cut the rod about 10 cm
above the damaged part.