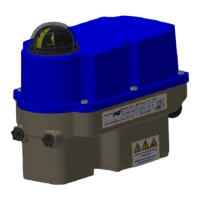
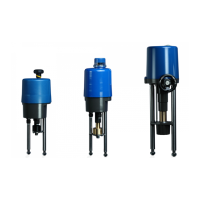
7. Valve mounting
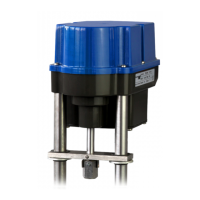
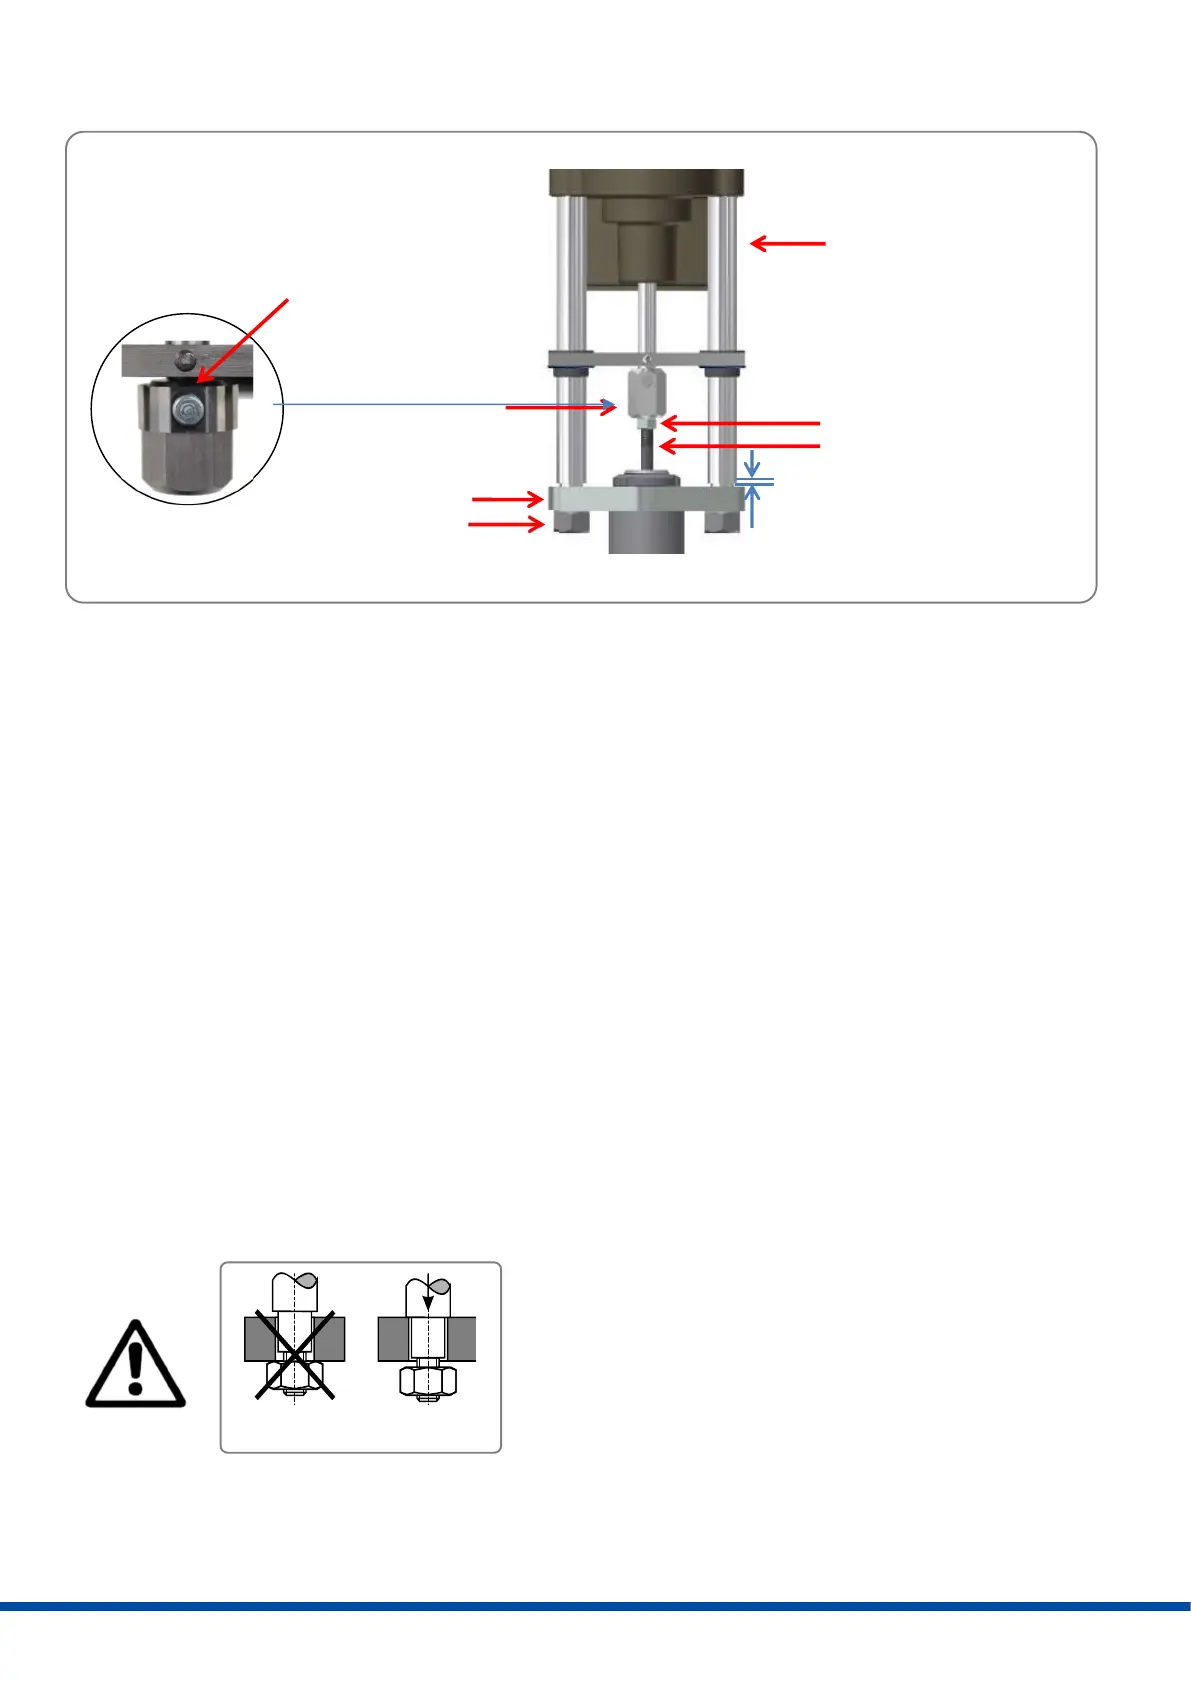
7.1 Valve mounting spring extend (SE)
Initial position: Valve stem is retracted
1. Put actuator onto the bracket.
2. Remove the coupling pin and screw the coupling 13 mm on the valve stem. There must be a 1 mm gap between
the pillars and the bracket.
3. Insert the coupling pin again and fix the locking nut.
4. Connect the actuator to electric supply (see 9.).
5. Retract the actuator spindle manually (see 10.7) until the edges of the pillars rest on the bracket.
6. Screw and tighten the pillar nuts.
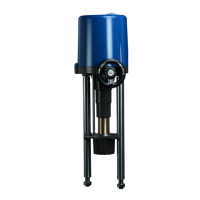
7.2 Valve mounting spring retract (SR)
Initial position: Valve stem is extended
1. Put actuator onto the bracket, screw on and fix the pillar nuts.
2. Connect the actuator to electric supply (see chapter 9.).
3. Drive the actuator manually (see chapter 10.7) until the coupling rests on the valve stem.
4. Remove the spring clamp with the coupling pin and screw the coupling 13 mm on the valve stem.
5. Redrive the actuator manually (see chapter 10.7) until the spring clamp with the coupling pin can be re-inserted.
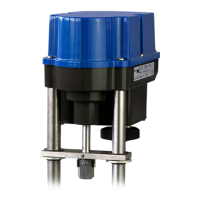
RIGHT WRONG
Before the pillar nuts are tightened, make sure that the pillars
are sitting on the valve mounting bracket. If necessary, correct
the position of the actuator by using manual operation. If these
instructions are not observed, personal injury or damage to the
actuator and/or valve may result.
pillar
valve stem
locking nut
coupling
pillar nut
bracket
spring clamp with
coupling pin
1 mm
 Loading...