8
8. Setting the mechanical stops
There are two adjustable screws installed at the actuator / gearbox for setting the mechanical limit of the 90°
motion.
When setting the mechanical end positions, only the handwheel may be used. Do not operate the
actuator electrically.
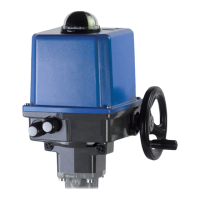
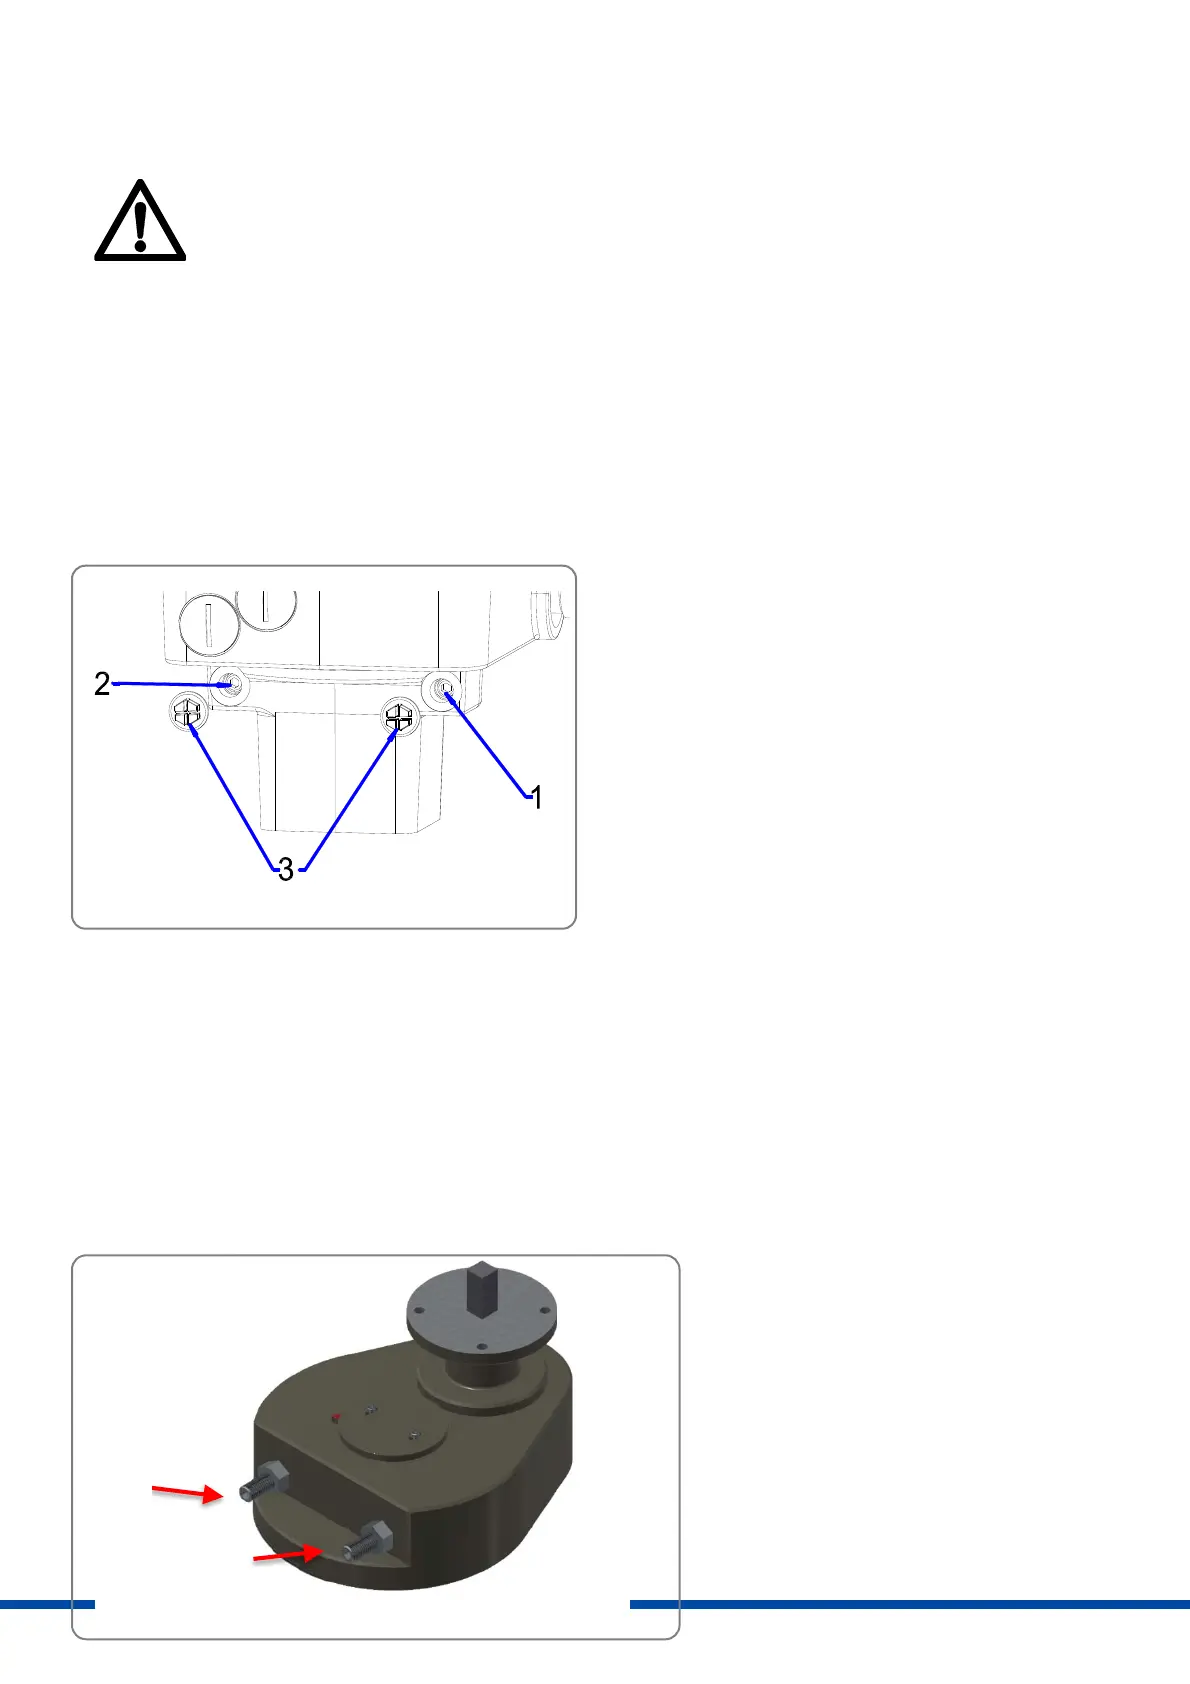
8.1 Setting the mechanical stops PSQ103-1503
Remove the protection cap (Figure 7, item 3) from either stop screw.
Unscrew both hexagon sockets anti-clockwise by approximately 5 turns.
Move the actuator to the closed position by turning the handwheel clockwise.
Turn stop screw for closed position (Figure 7, item 1) to the stop.
Move the actuator to the open position by turning the handwheel anti-clockwise.
Turn stop screw for open position (Figure 7, item 2) to the stop.
Screw on protection cap.
Item 1: Stop screw CLOSED position
Item 2: Stop screw OPEN position
Item 3: Protecting caps
Figure 7: Mechanical stops PSQ103-1503
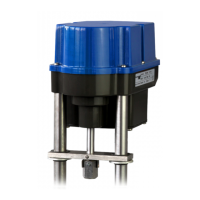
8.2 Setting the mechanical stops PSQ2003/2803
Unscrew both hexagon sockets anti-clockwise by approximately 5 turns.
Move the actuator to the closed position by turning the handwheel anti-clockwise.
Turn stop screw for closed position (Figure 8Fehler! Verweisquelle konnte nicht gefunden werden., item 1) to
the stop.
Move the actuator to the open position by turning the handwheel clockwise.
Turn stop screw for open position (Figure 8Fehler! Verweisquelle konnte nicht gefunden werden., item 2) to the
stop.
Tighten hexagon nuts.
Item 1: Stop screw CLOSED position
Item 2: Stop screw OPEN position
Figure 8: Mechanical stops PSQ2003/2803
①
②
 Loading...